环境架构
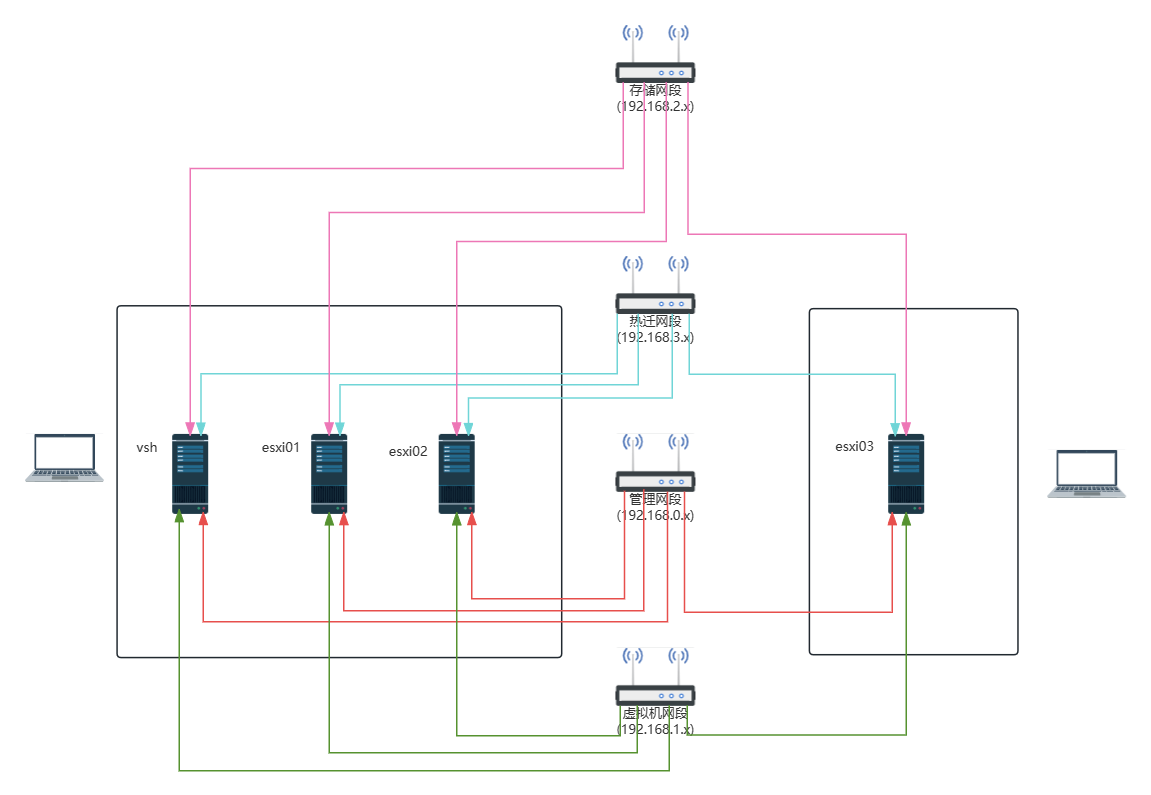
管理网络ip地址划分(192.168.0.X/24)
| 所在物理机 | 服务 | ip地址 | 网卡模式 |
|---|---|---|---|
| PC01 | vsphere | 192.168.0.140/24 | 桥接 |
| PC01 | esxi01 | 192.168.0.141/24 | 桥接 |
| PC01 | esxi02 | 192.168.0.142/24 | 桥接 |
| PC02 | esxi03 | 192.168.0.143/24 | 桥接 |

虚拟机网络ip地址划分(192.168.1.X/24)
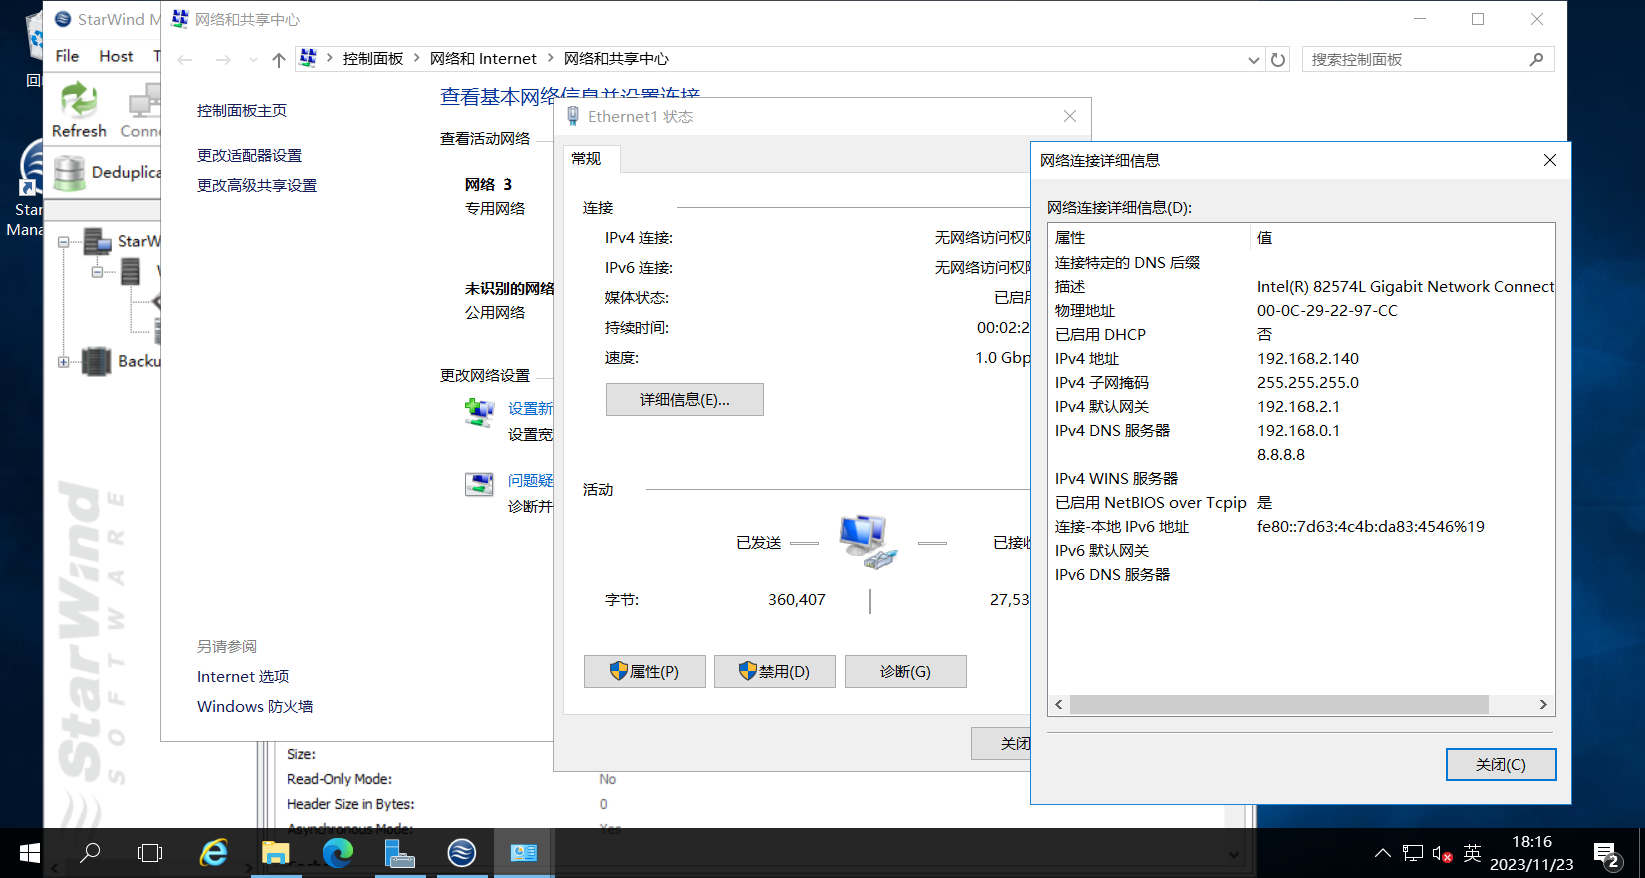
存储网络ip地址划分(192.168.2.X/24)
(存储网络架构图同管理网络,省略)
| 所在物理机 | 服务 | ip地址 | 网卡模式 |
|---|---|---|---|
| PC01 | vsphere | 192.168.2.140/24 | 桥接 |
| PC01 | esxi01 | 192.168.2.141/24 | 桥接 |
| PC01 | esxi02 | 192.168.2.142/24 | 桥接 |
| PC02 | esxi03 | 192.168.2.143/24 | 桥接 |
热迁网络ip地址划分(192.168.3.X/24)
(热迁网络架构图同管理网络,省略)
| 所在物理机 | 服务 | ip地址 | 网卡模式 |
|---|---|---|---|
| PC01 | vsphere | 192.168.3.140/24 | 桥接 |
| PC01 | esxi01 | 192.168.3.141/24 | 桥接 |
| PC01 | esxi02 | 192.168.3.142/24 | 桥接 |
| PC02 | esxi03 | 192.168.3.143/24 | 桥接 |
1.部署iscsi服务器
安装前添加一张网卡,并配置到iSCSI网段
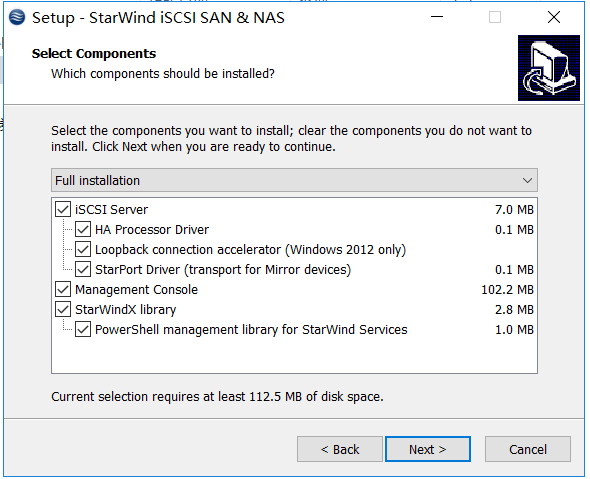
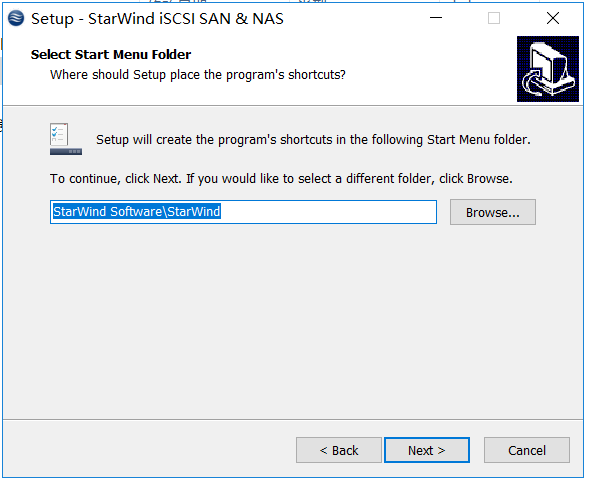
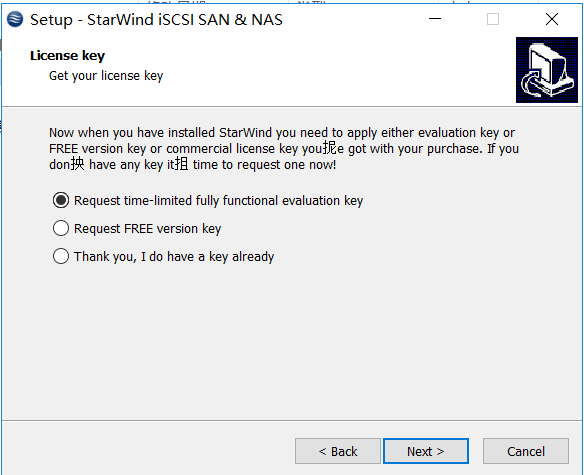
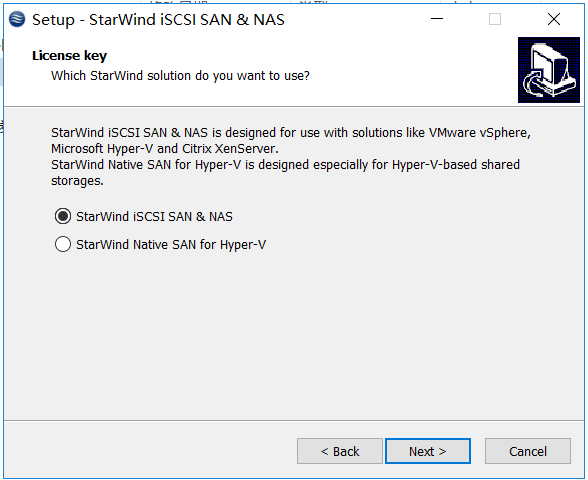
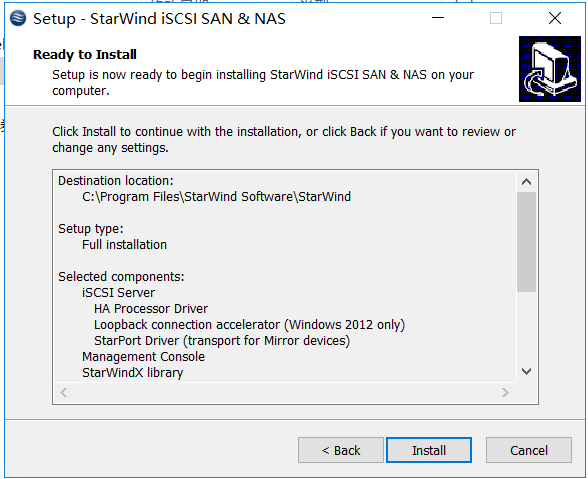
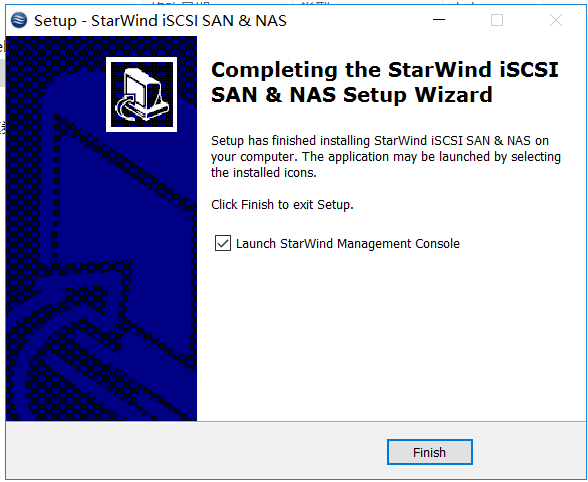
1.1.安装StarWind iSCSI
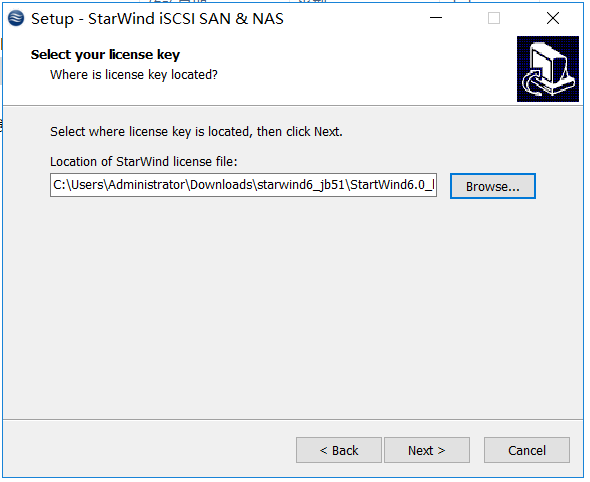
选择key文件
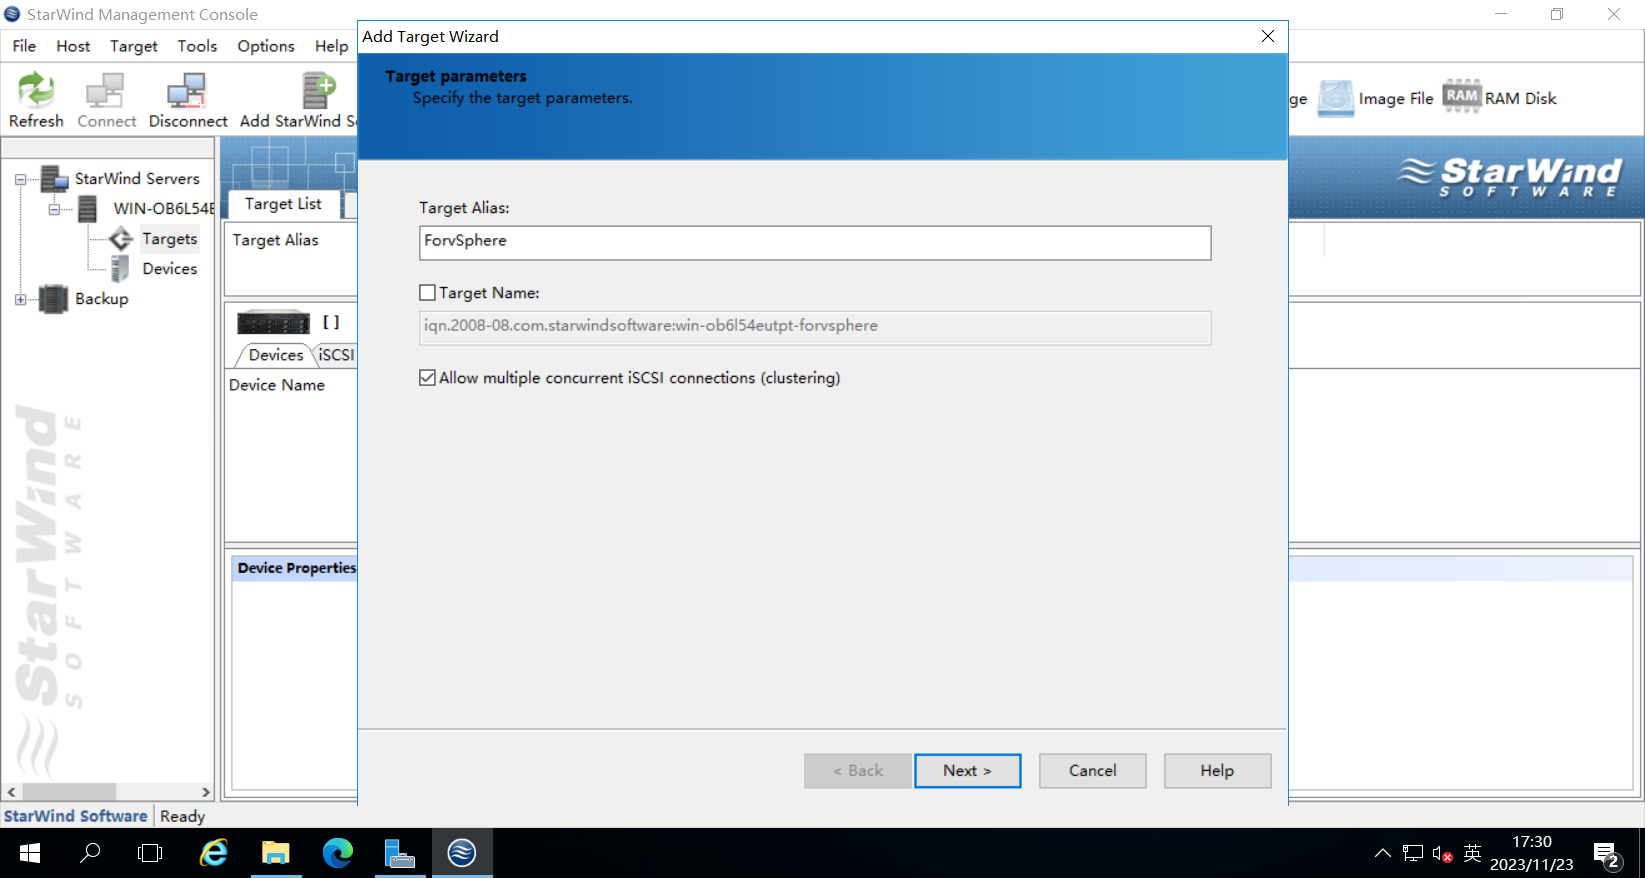
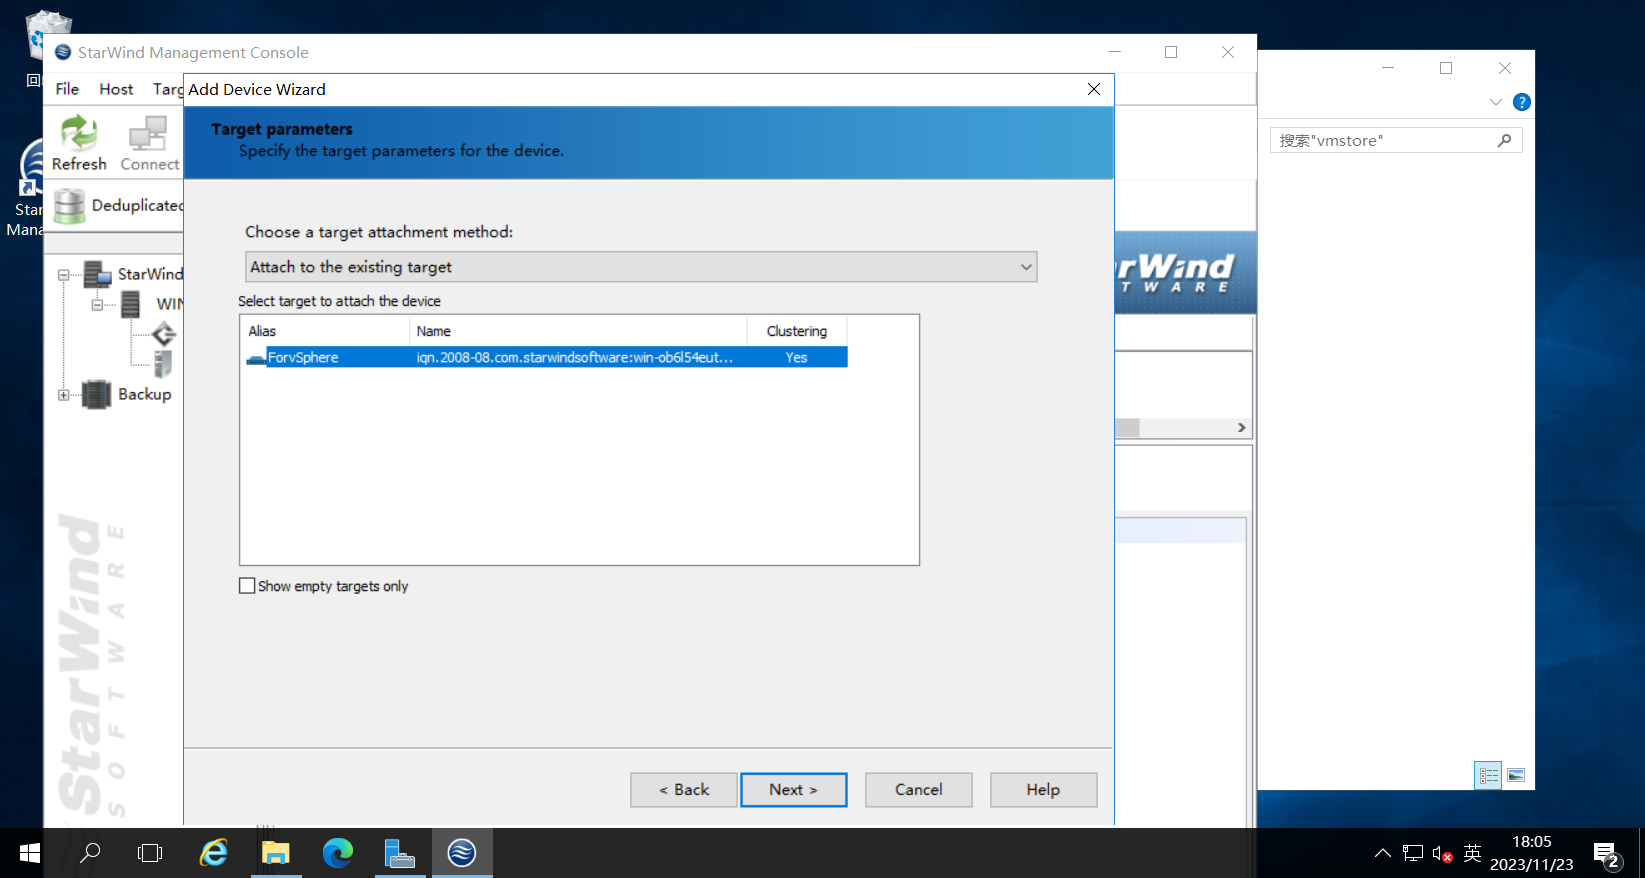
1.2.创建iSCSI目标
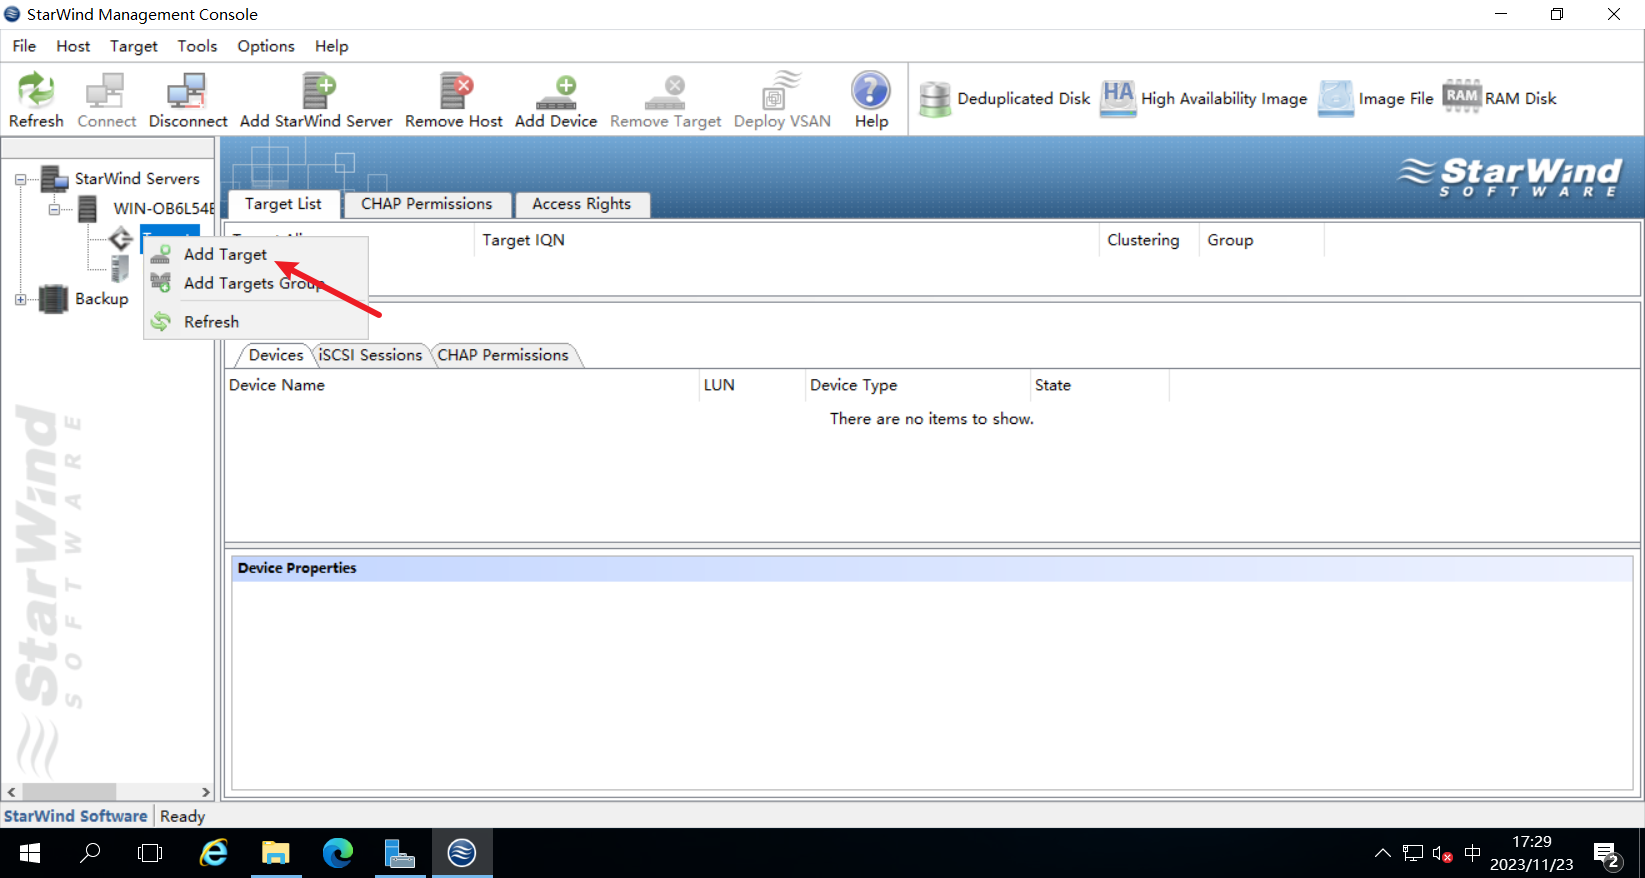
设置iSCSI目标名称

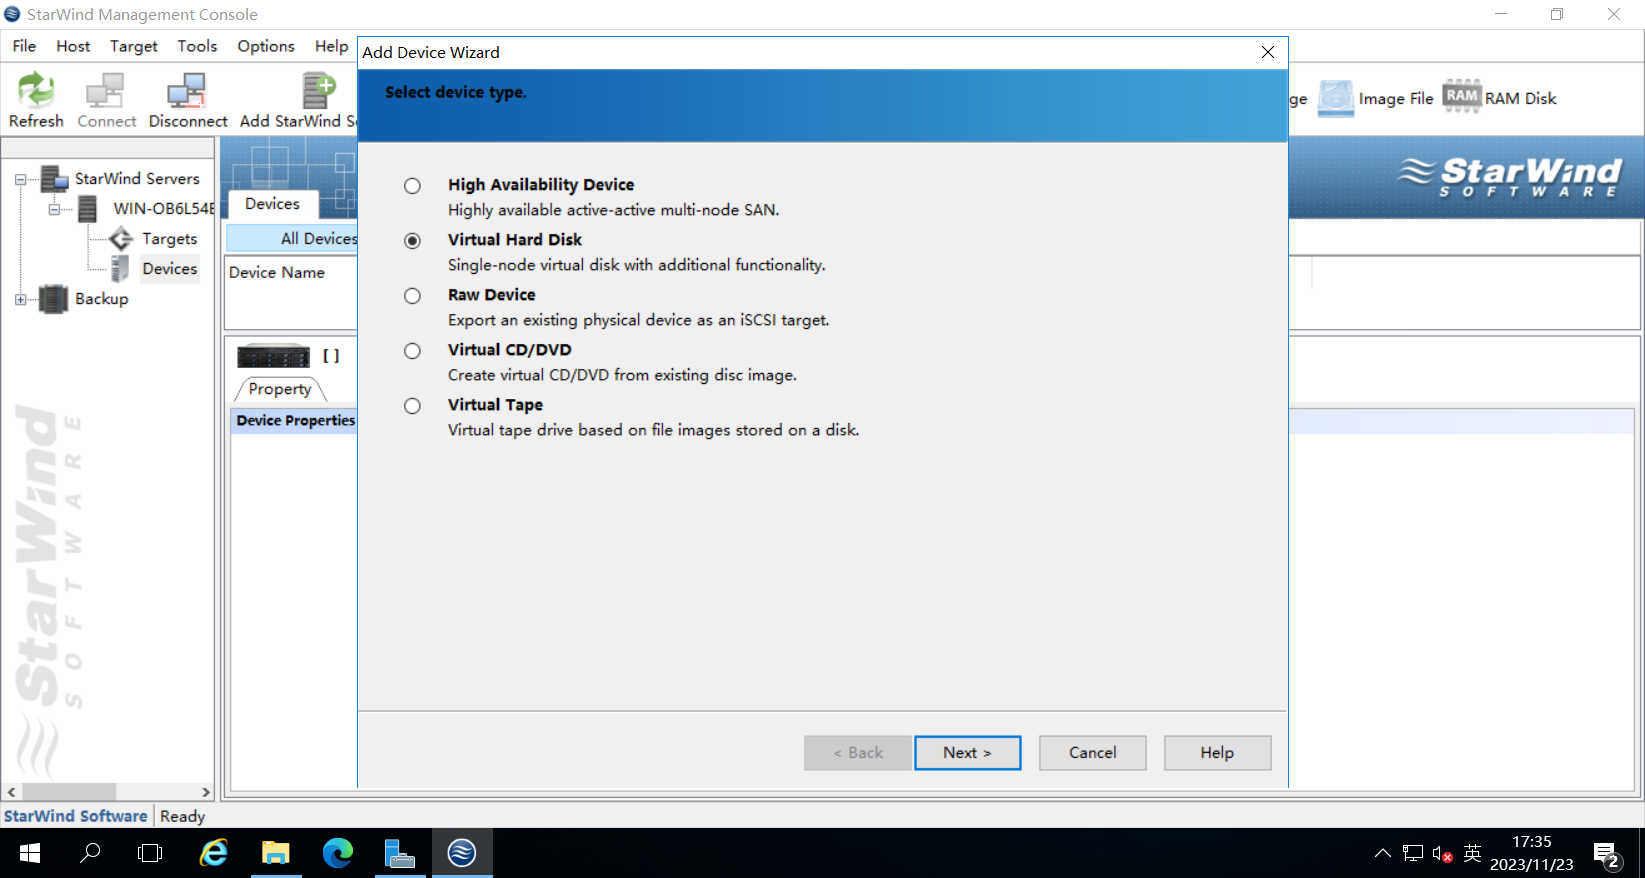
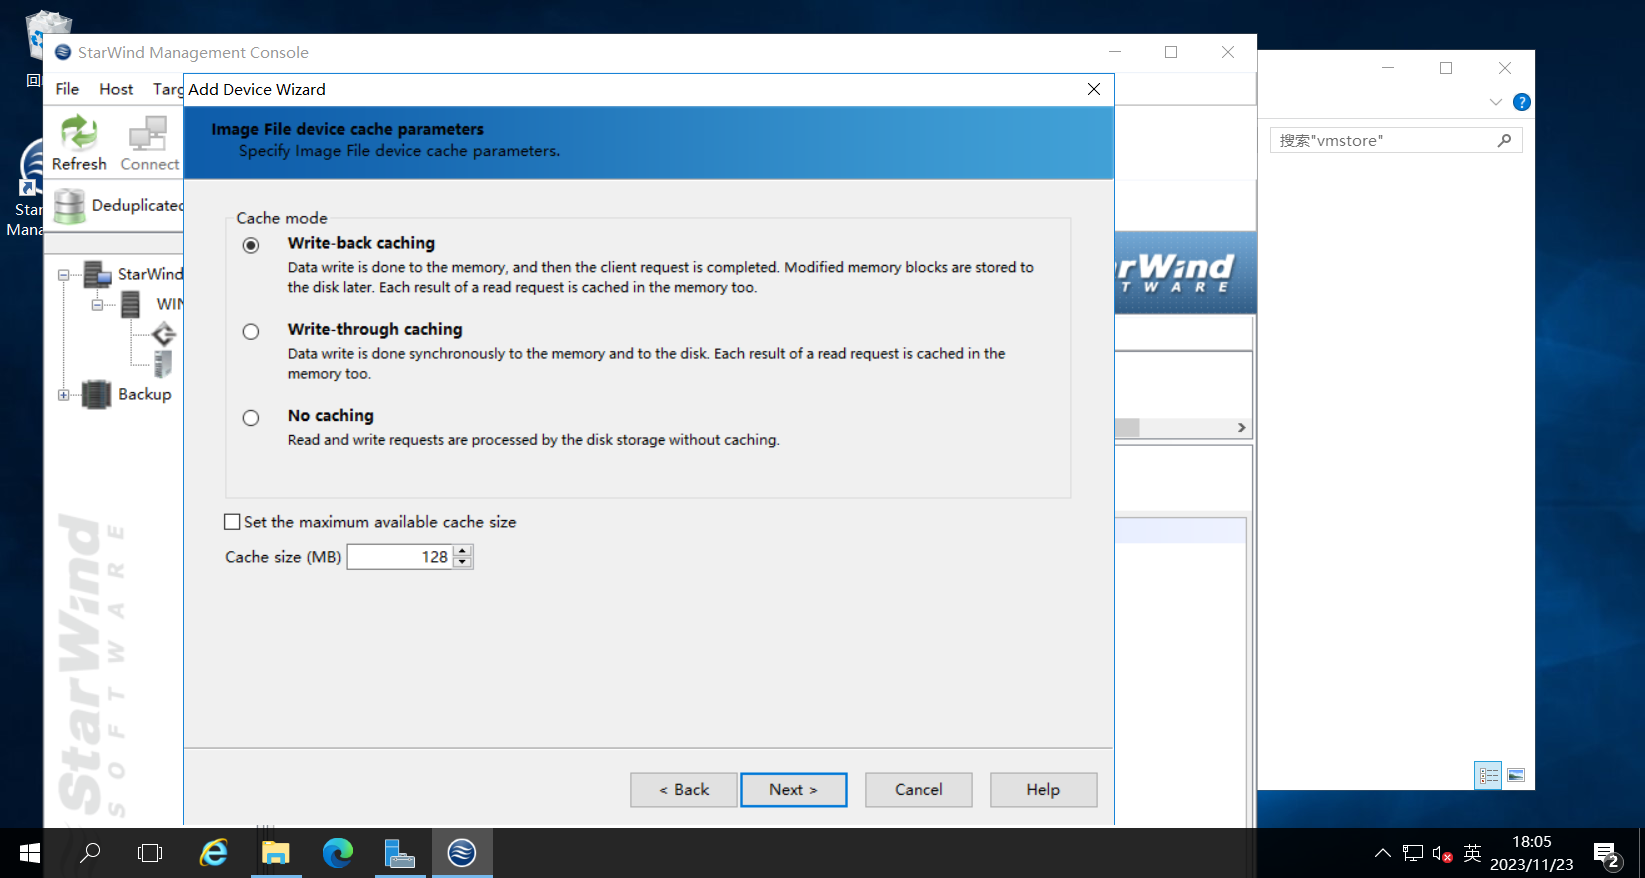
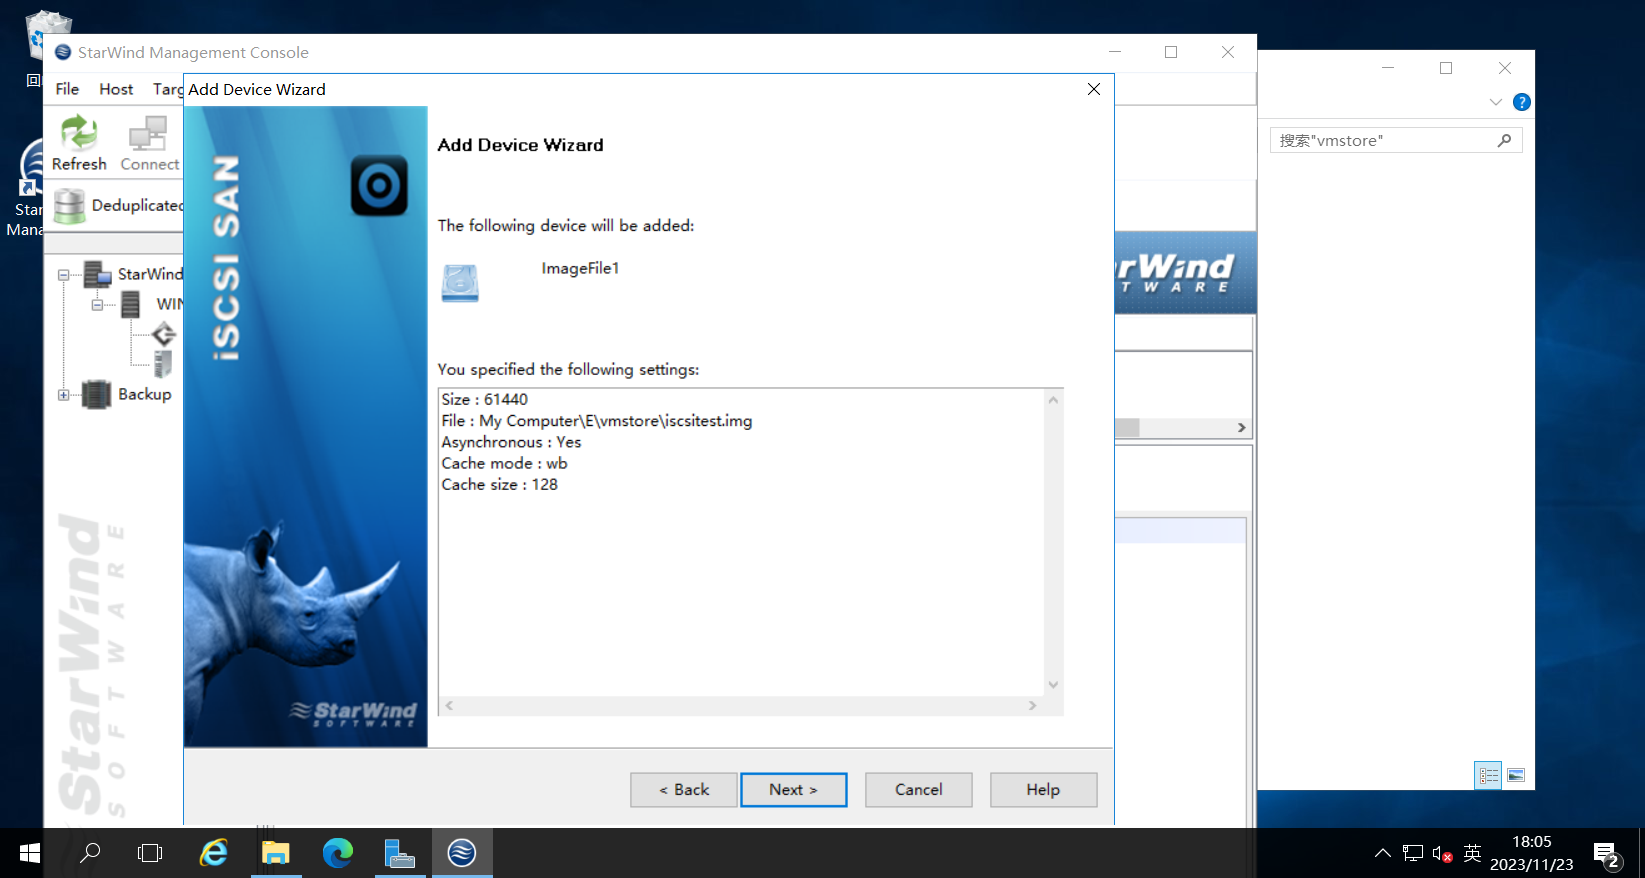
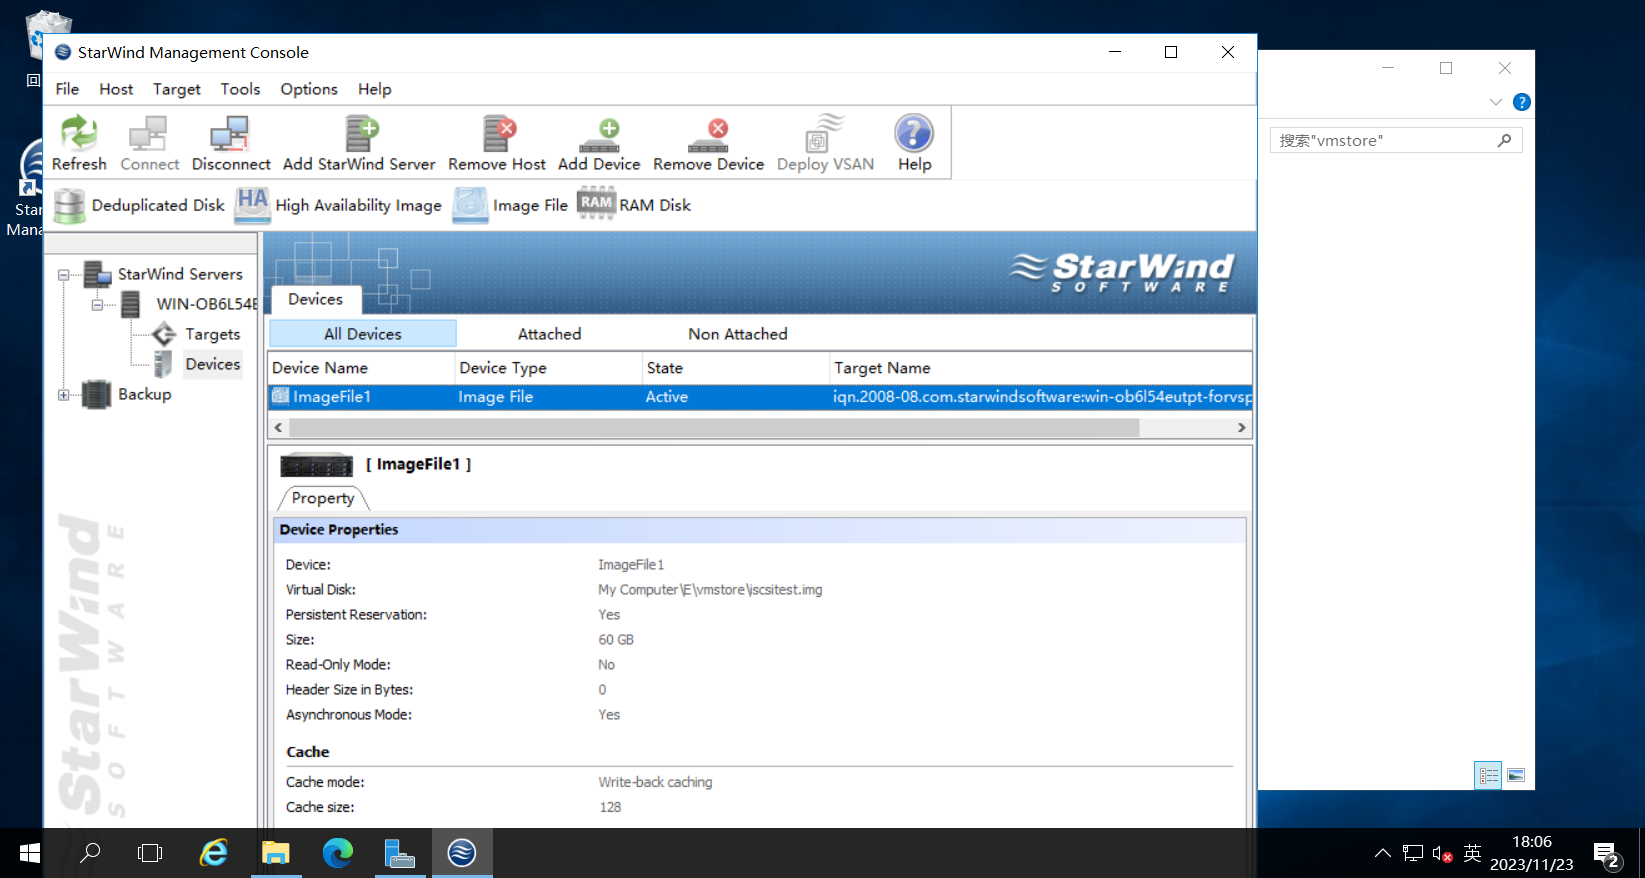
1.3.创建iSCSI设备

设备类型选择虚拟磁盘
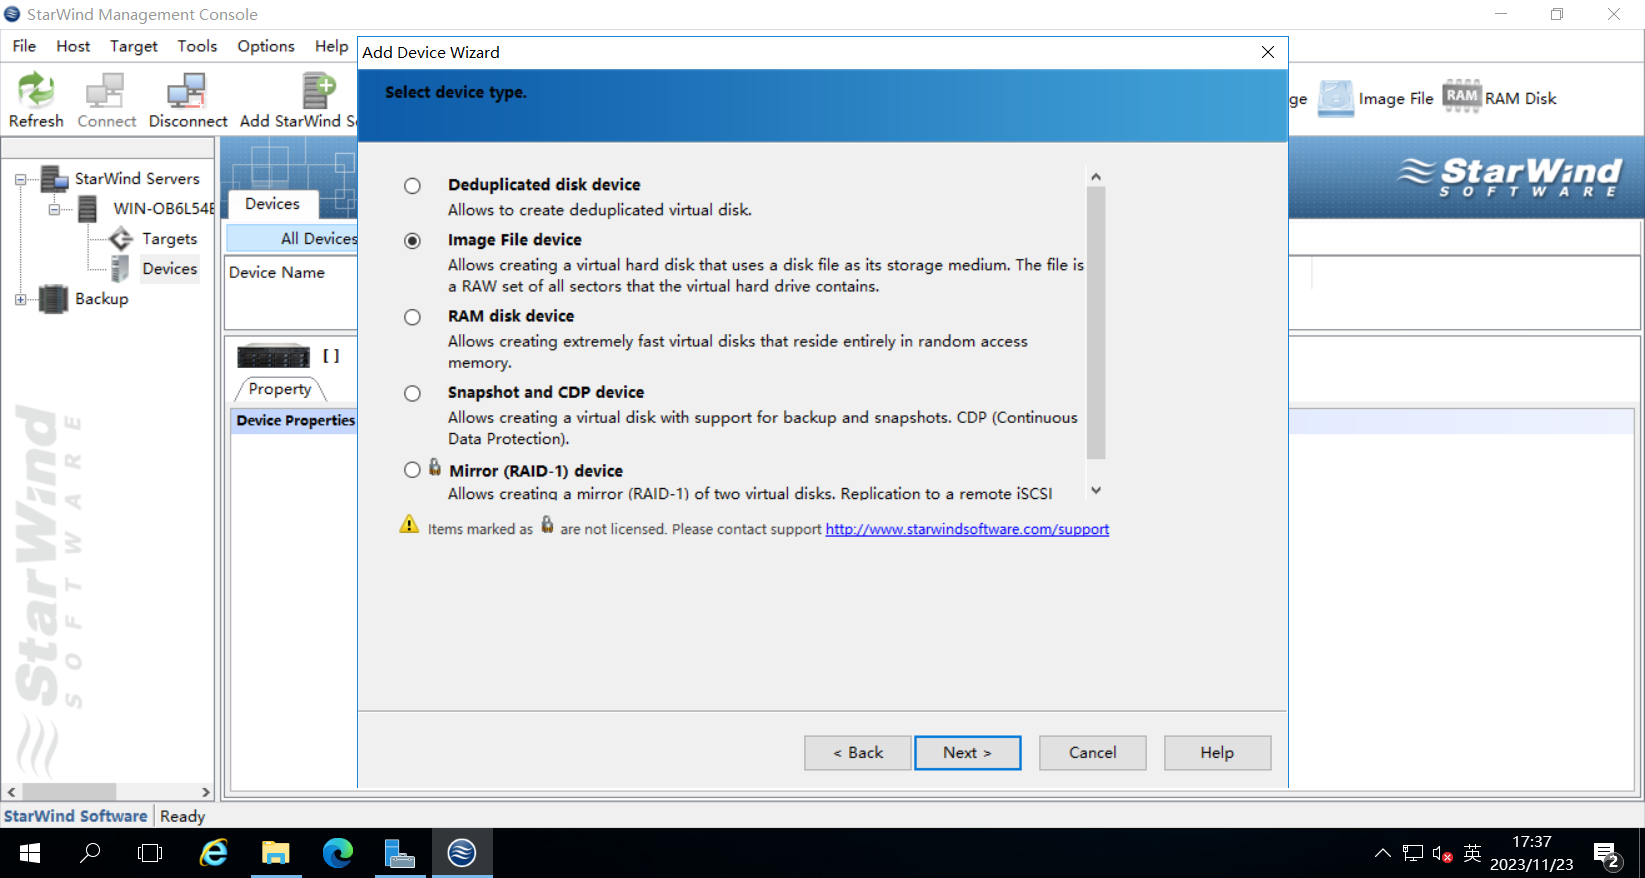
设置虚拟磁盘的设备类型为磁盘文件(映像文件)存储
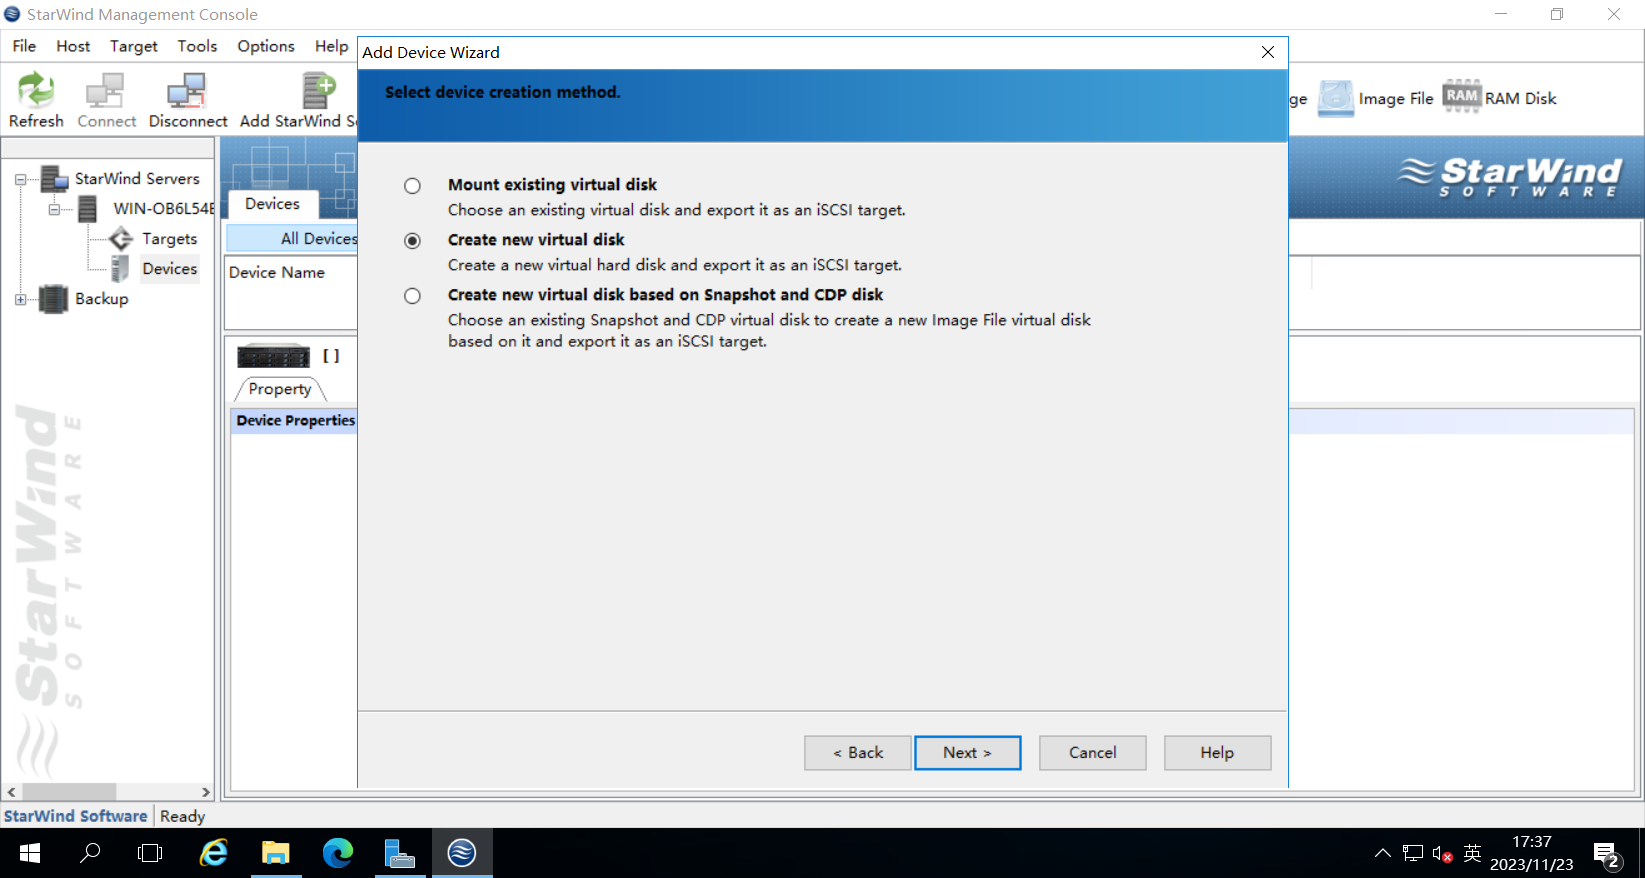
选择"创建一个新文件"存储


2. 配置用于iSCSI存储的虚拟网络
已配置了一张在iSCSI网段的网卡,故省略
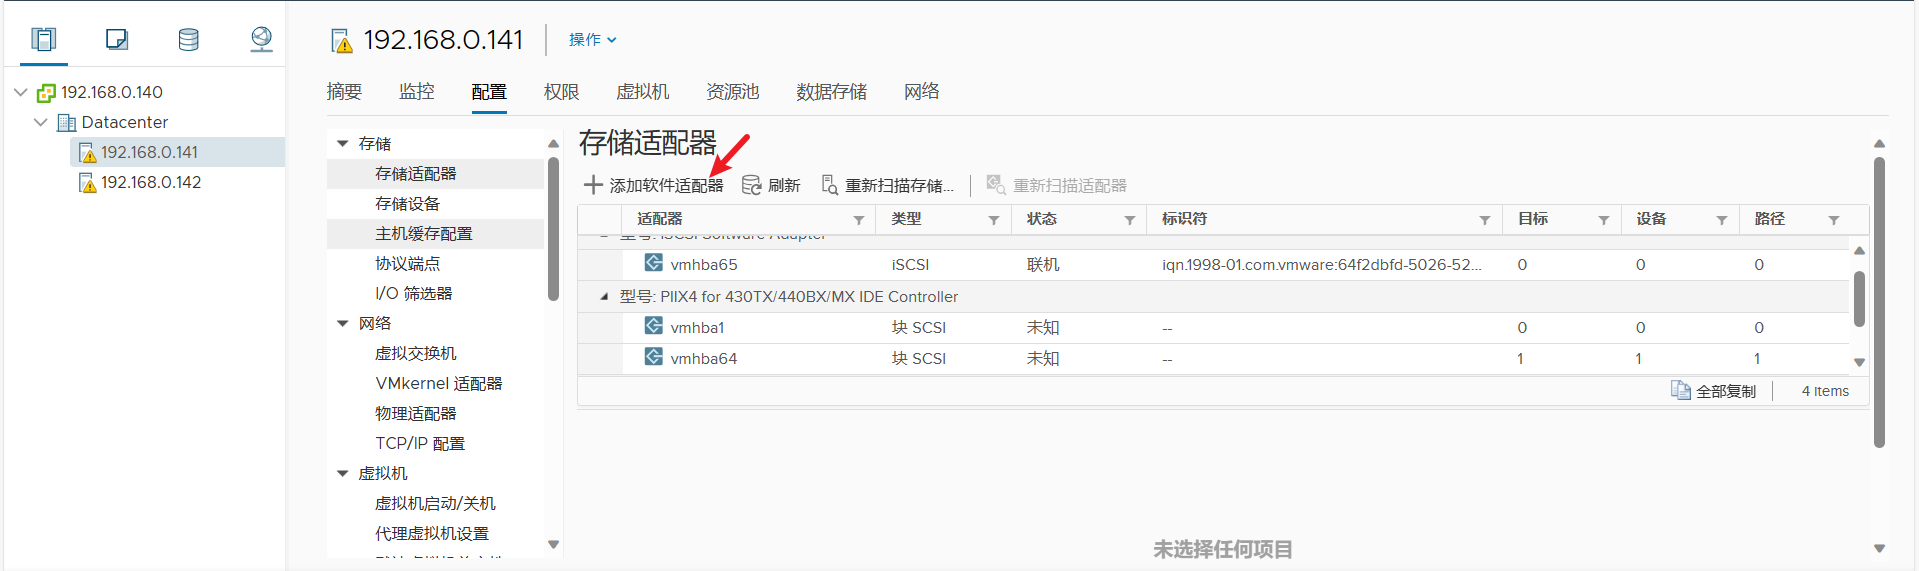
3.为ESXi主机配置iSCSI适配器
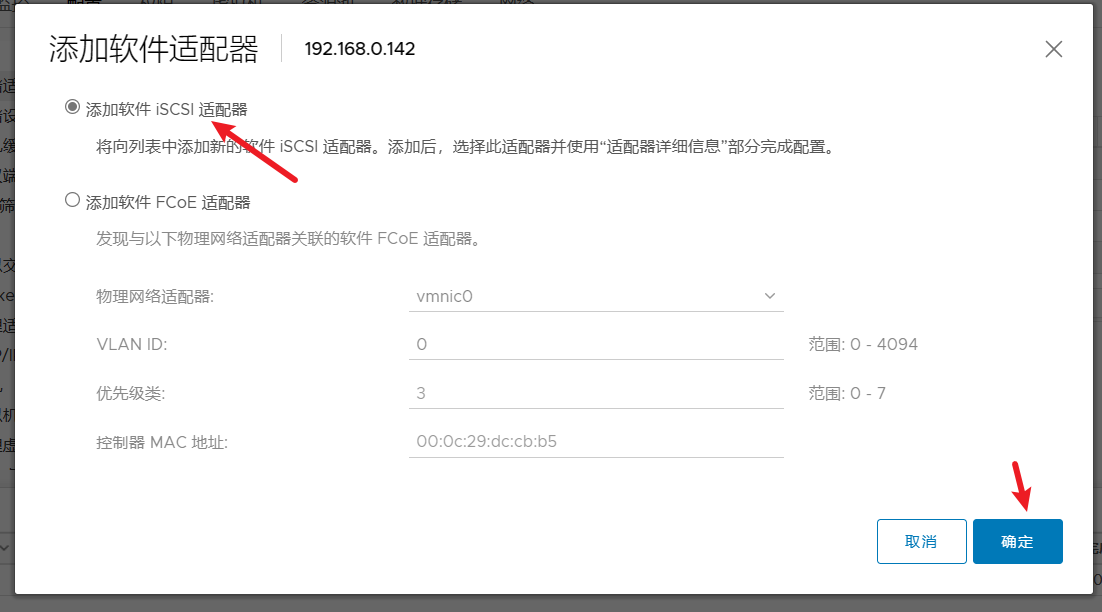
3.1.激活软件iSCSI适配器
3.2.设置iSCSI网络
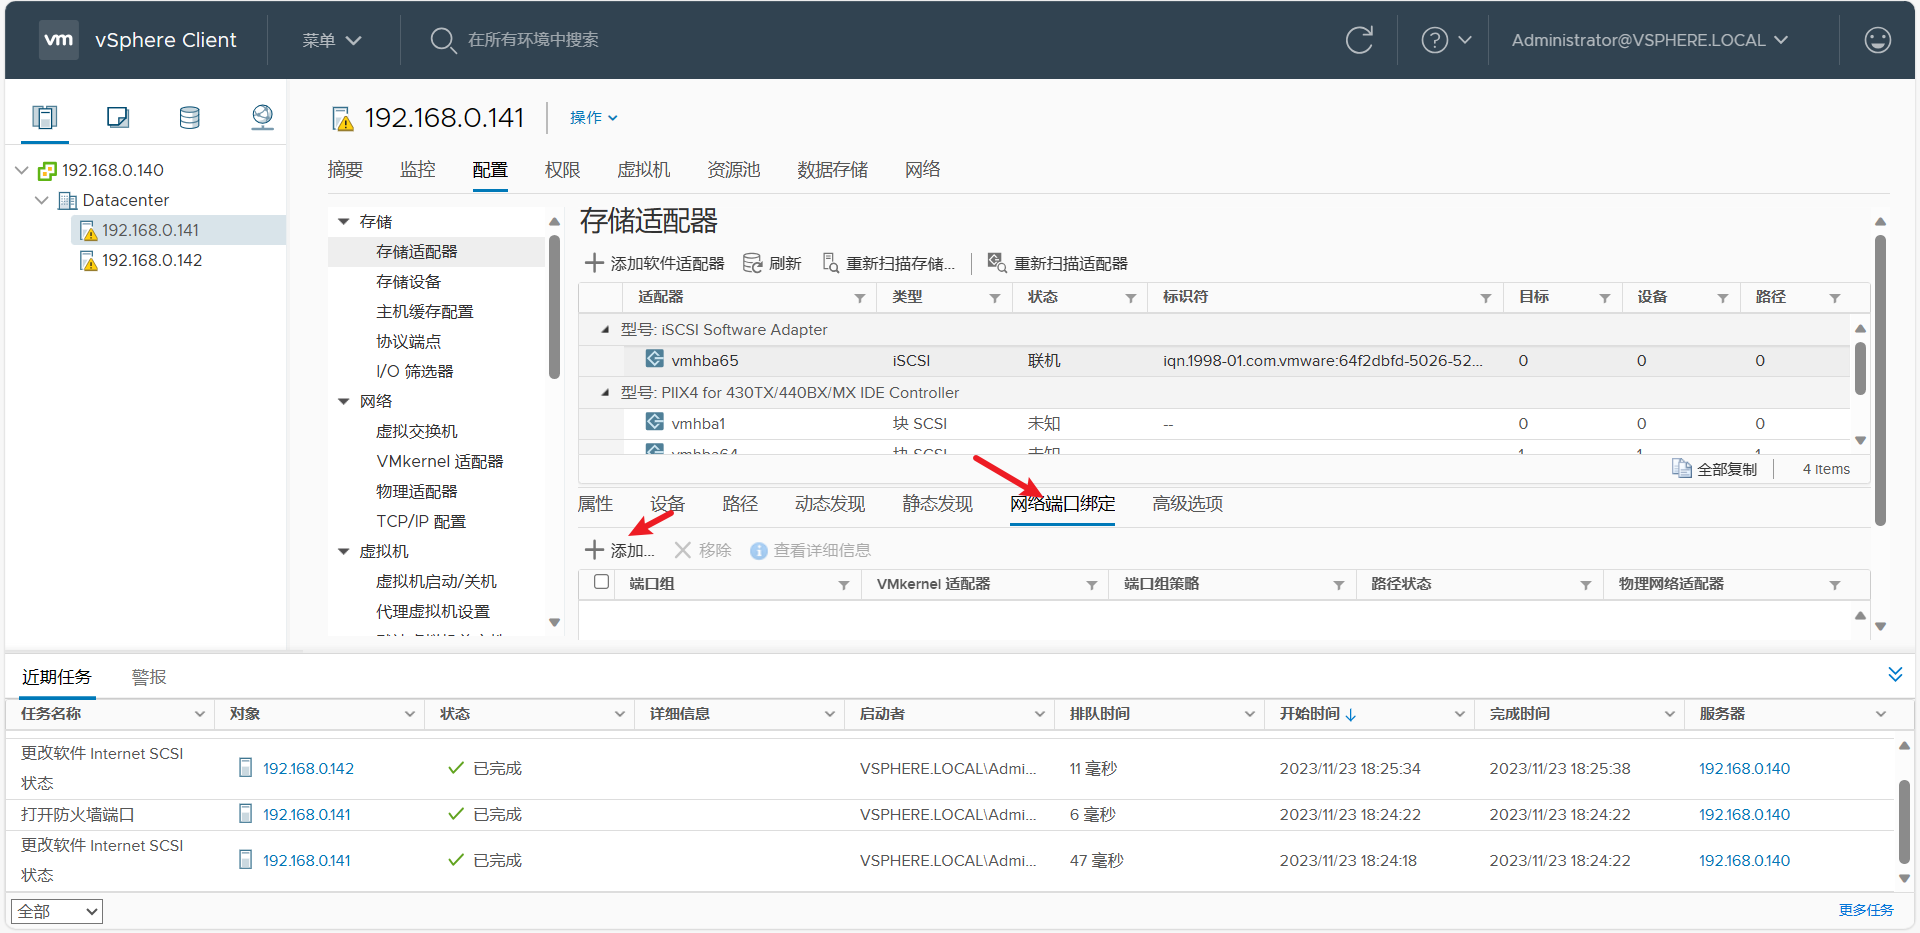
绑定到之前我们设置的网卡中

其他ESXi主机同理
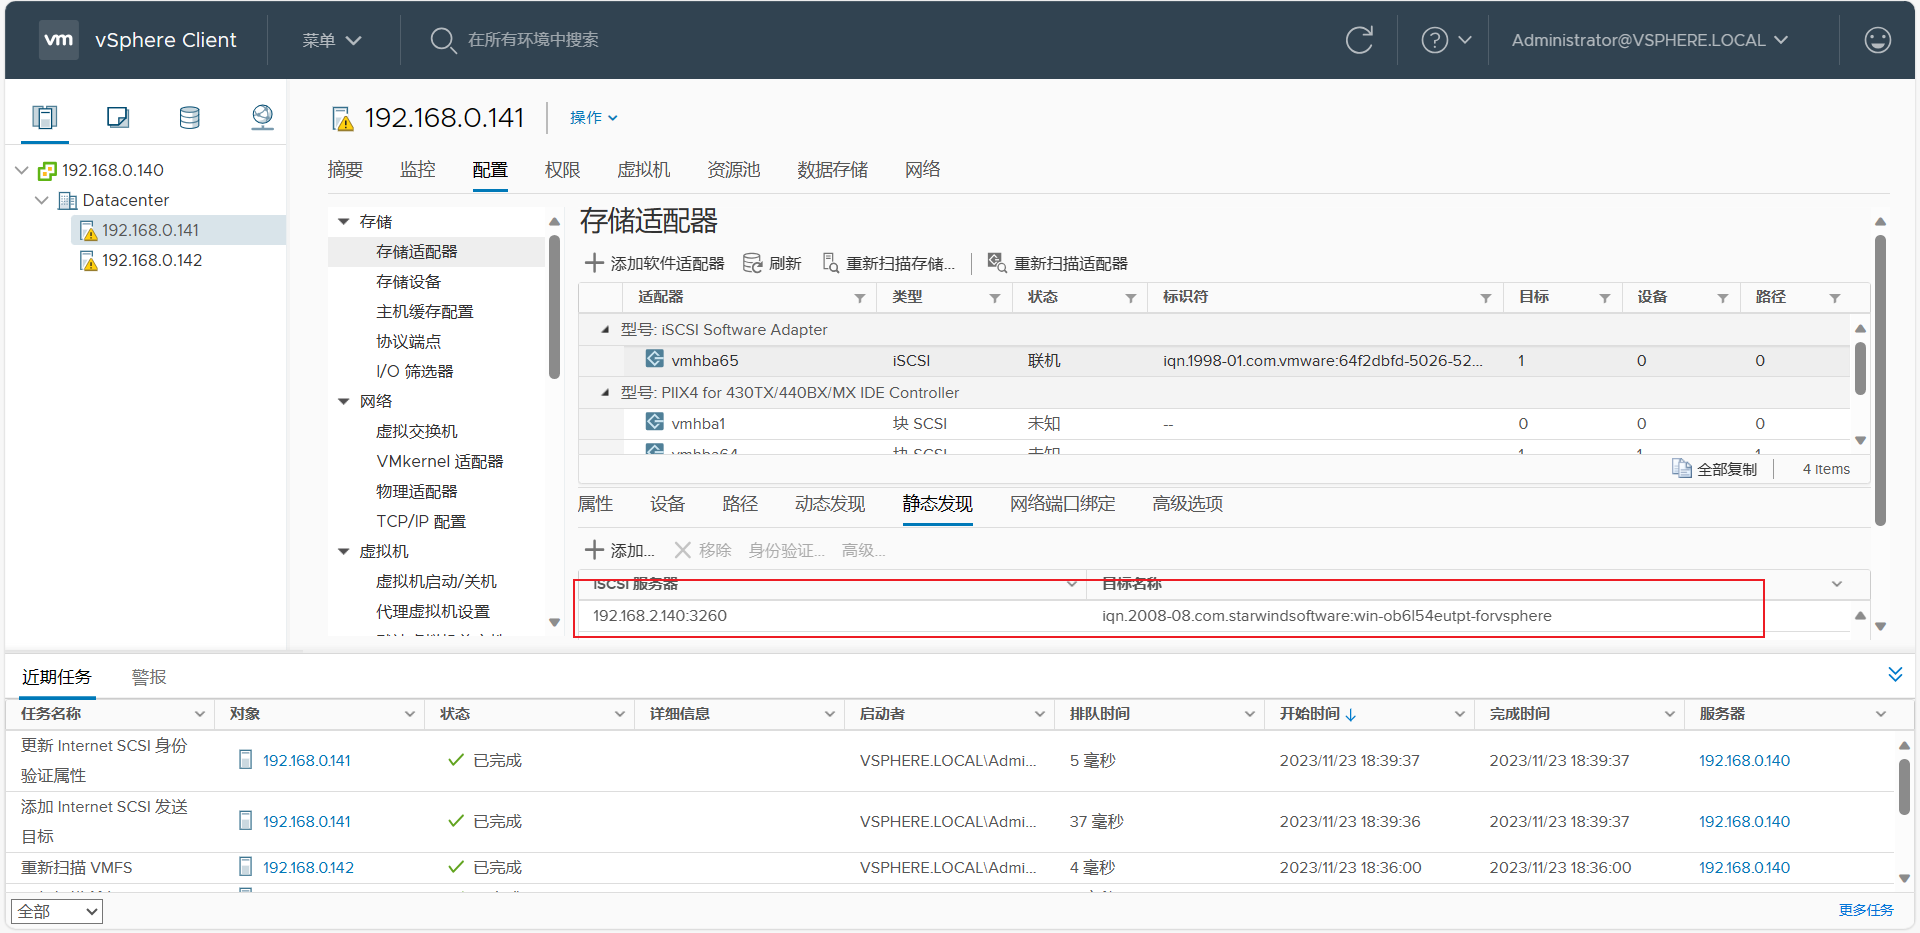
3.3.设置iSCSI的动态或静态发现
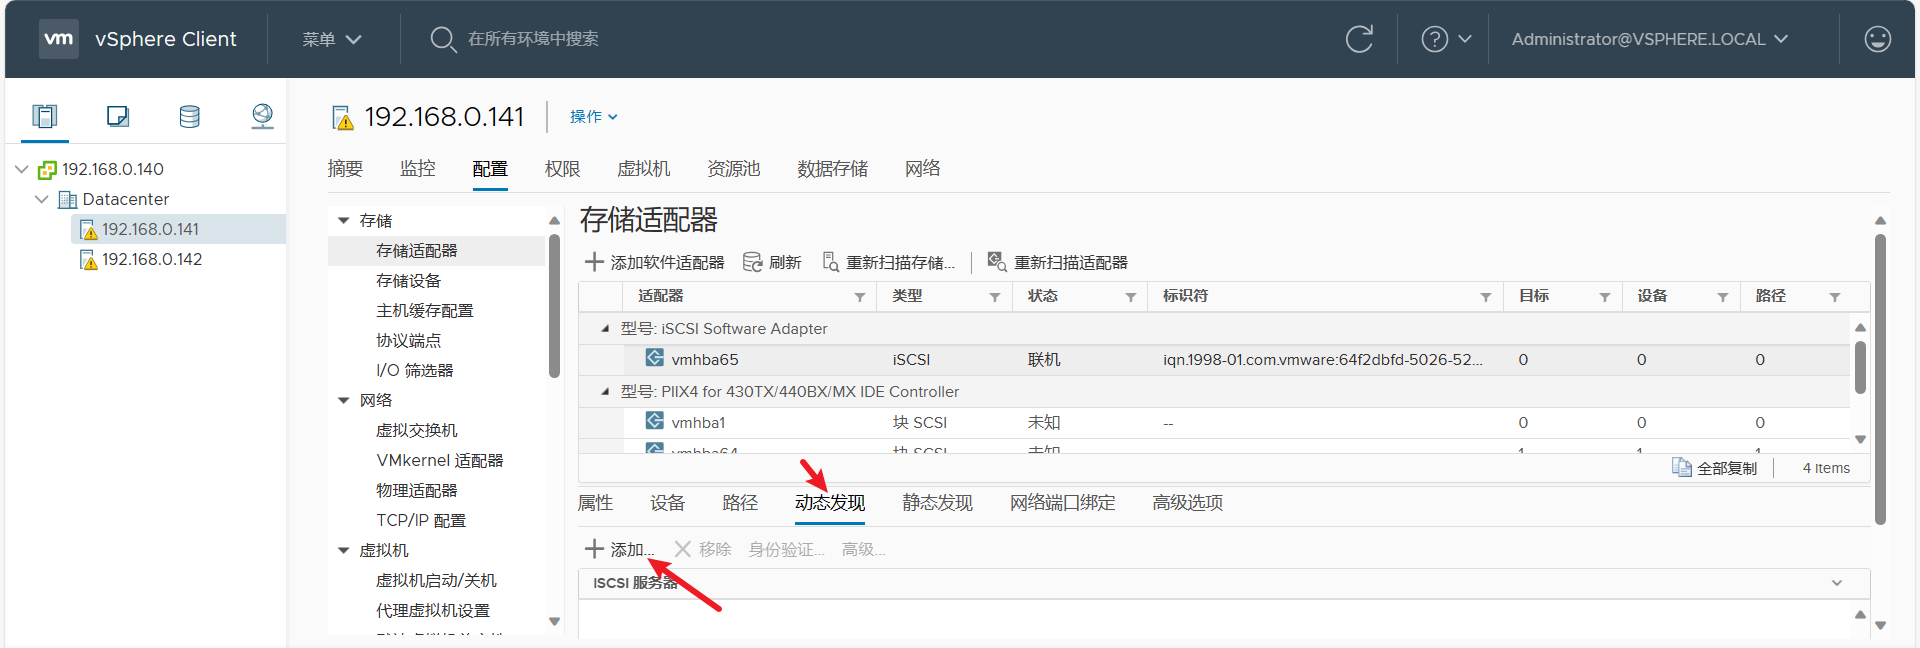
将iSCSI服务器ip填写(注意要同一网段)
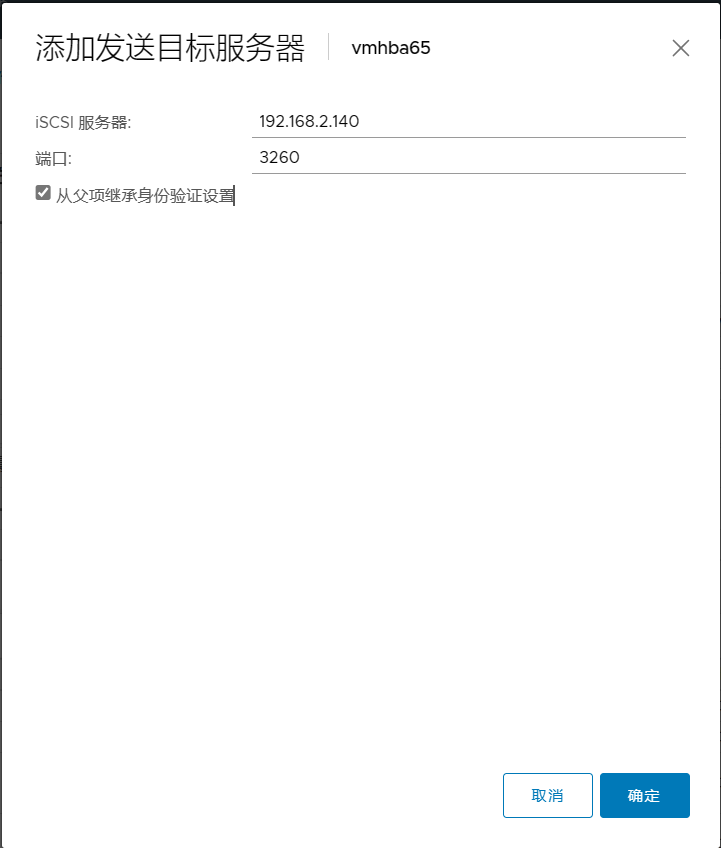
更新后会在"静态发现"页面中显示
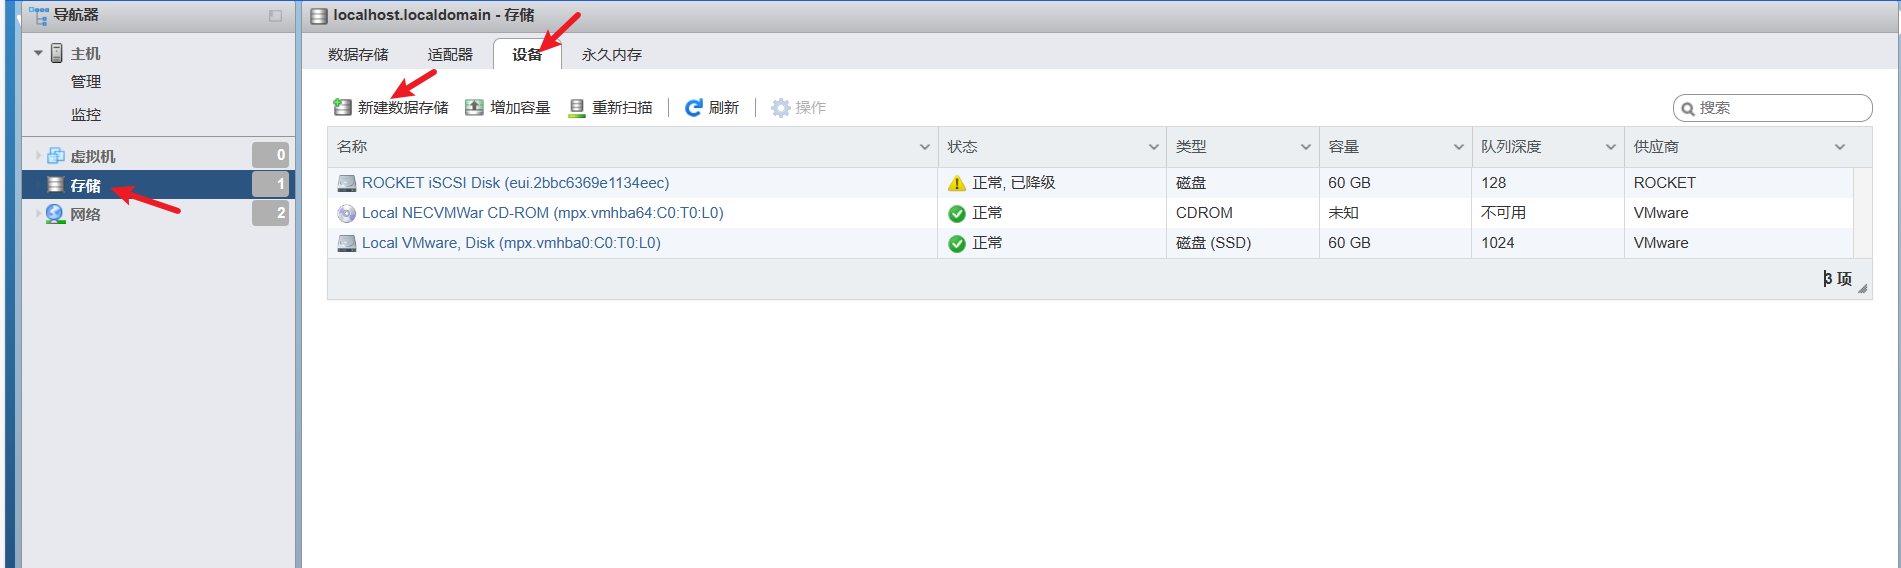
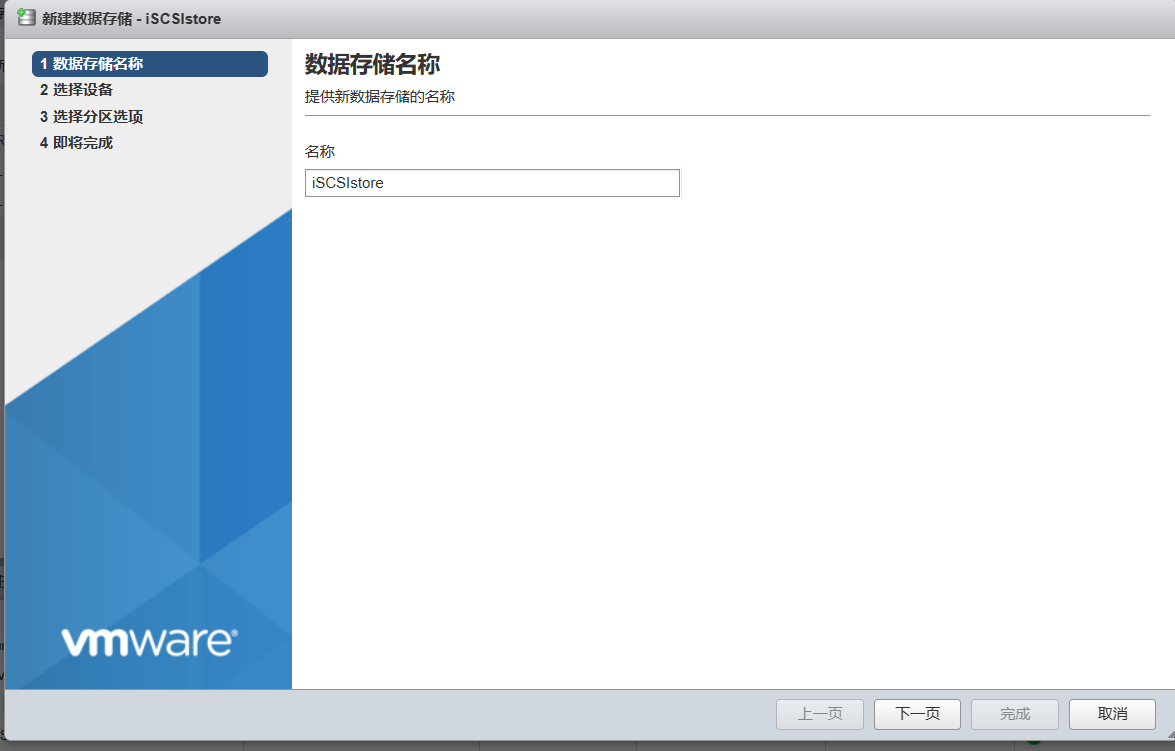
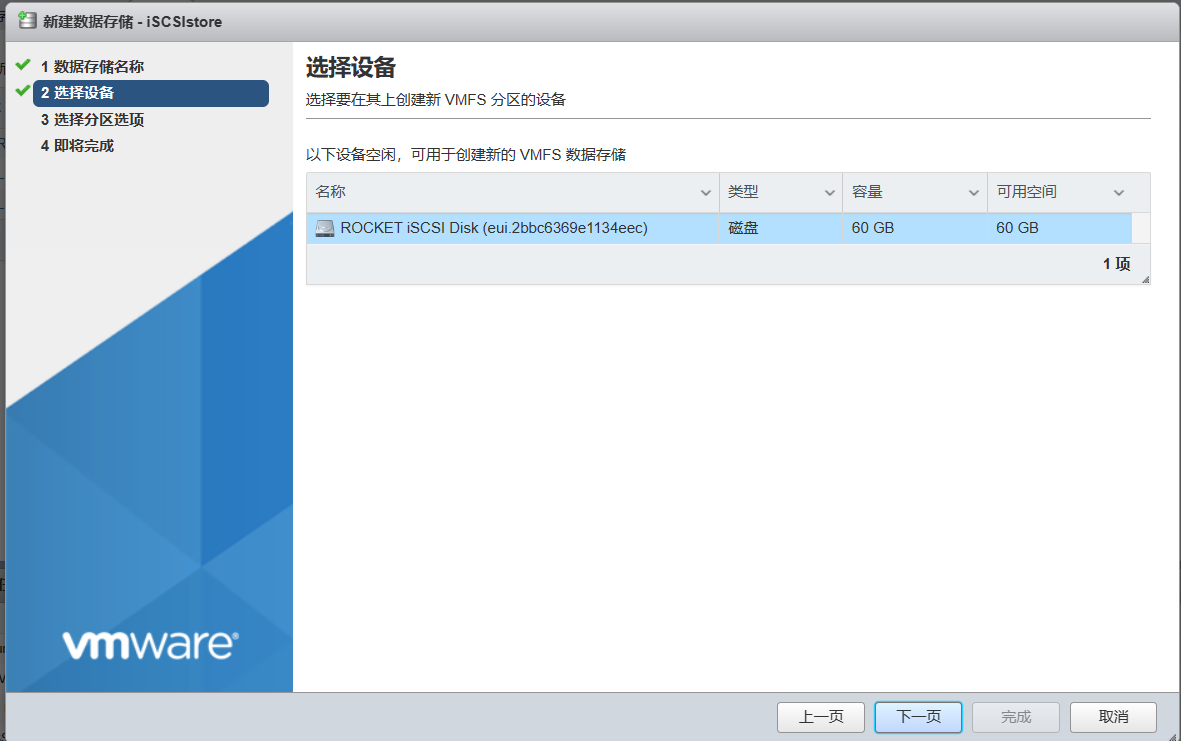
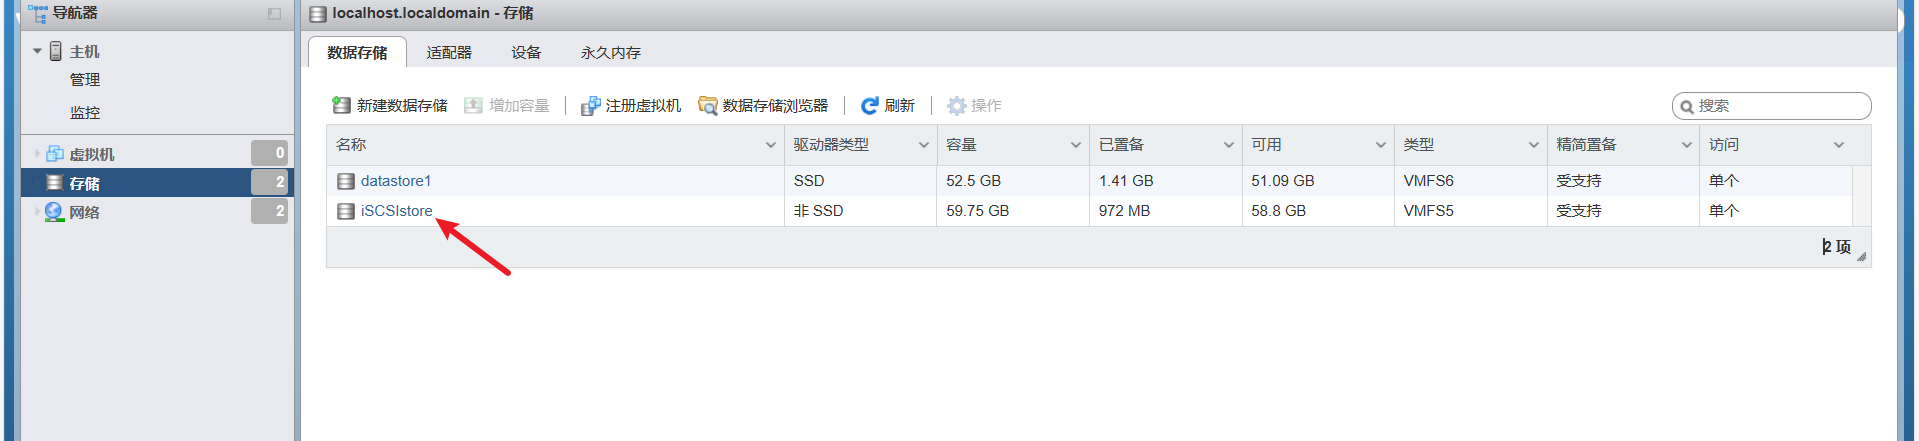
4. 为ESXi主机添加iSCSI存储
vsph 6.7 好像不能远程设置数据存储,我选择在esxi主机控制面板上创建
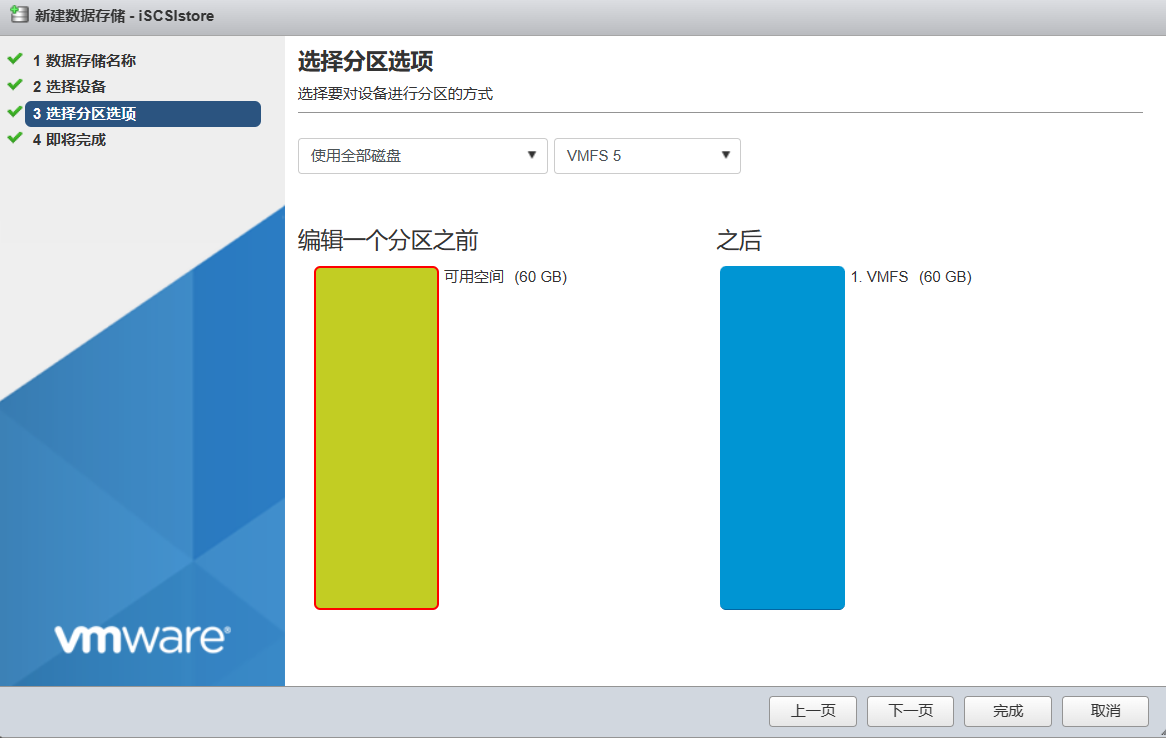
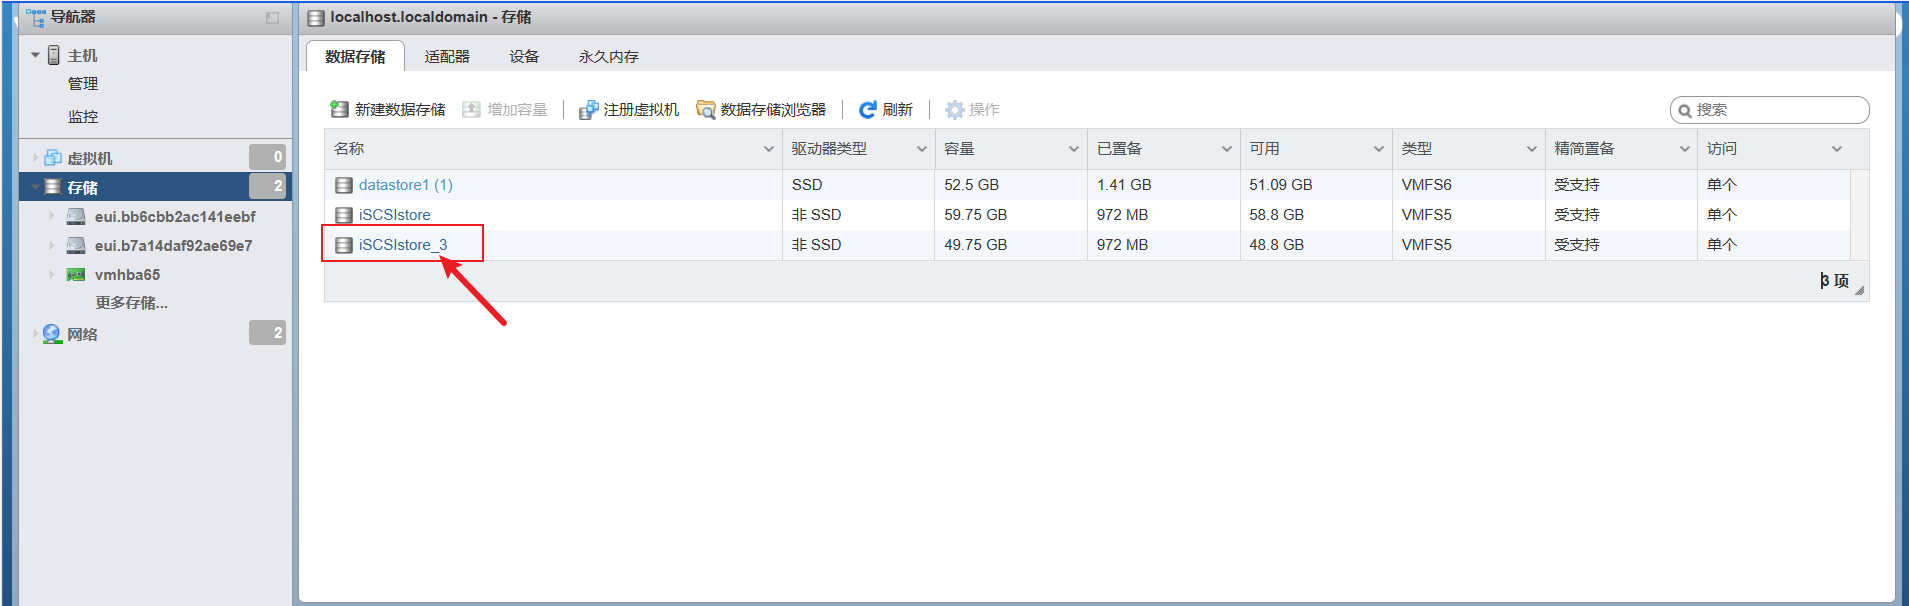
创建完成后刷新,即可在所有连接iSCSI服务器的esxi主机上显示该数据存储池
PS:同理再创建一个iSCSIstore_1(这里我命名成了iSCSIstore_3,后续也以这个名称示例),留到后续实验会用到
Comments NOTHING