前面的实验已配置好了两台ESXi主机,故跳过其基础配置,接下来为冷迁移实验
注意:以下实验至少需要两台esxi主机,请注意!
1.冷迁移
1.1 冷迁移概述
冷迁移(cold migration),也叫静态迁移。
在迁移到另外的计算节点时,这段时间虚拟机实例是处于宕机状态的,即关闭电源的虚拟机进行迁移。
通过冷迁移,可以选择将关联的磁盘从一个数据存储移动到另一个数据存储,实例需要重启才能工作。
适用于对象系统可用性要求不是很高的时候,迁移过程中会关机, 拷贝 instance 的镜像文件和重建 libvirt.xml (这个配置文件中会涉及网络环境, 存储设备等配置), 并重新在目标主机上启动。
优点:虚拟机不需要位于共享存储器上,数据丢失率小。
缺点:需要关闭电源,业务中断。
1.1.2冷迁移操作
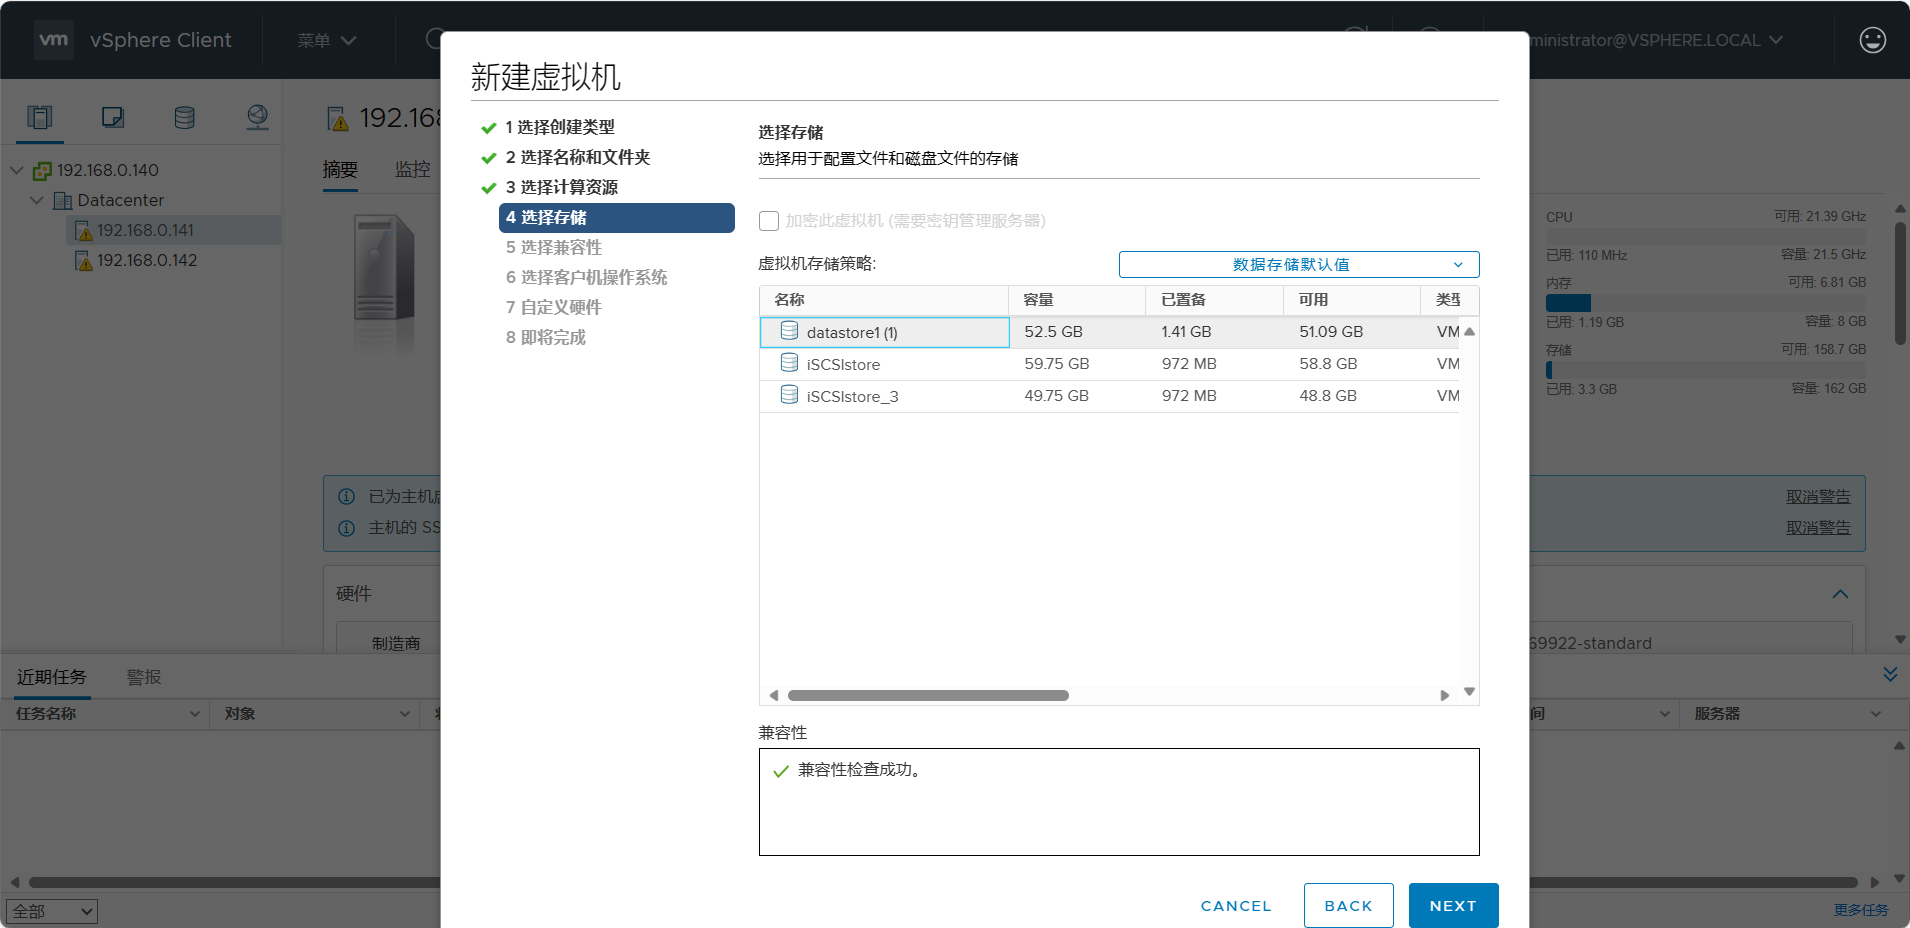
这里我们创建一个虚拟机用于测试冷迁移,需要注意冷迁移虚拟机不能在共享存储中(例如iSCSI存储等)!
这里的datastore1 (1)为所在esxi主机上的存储
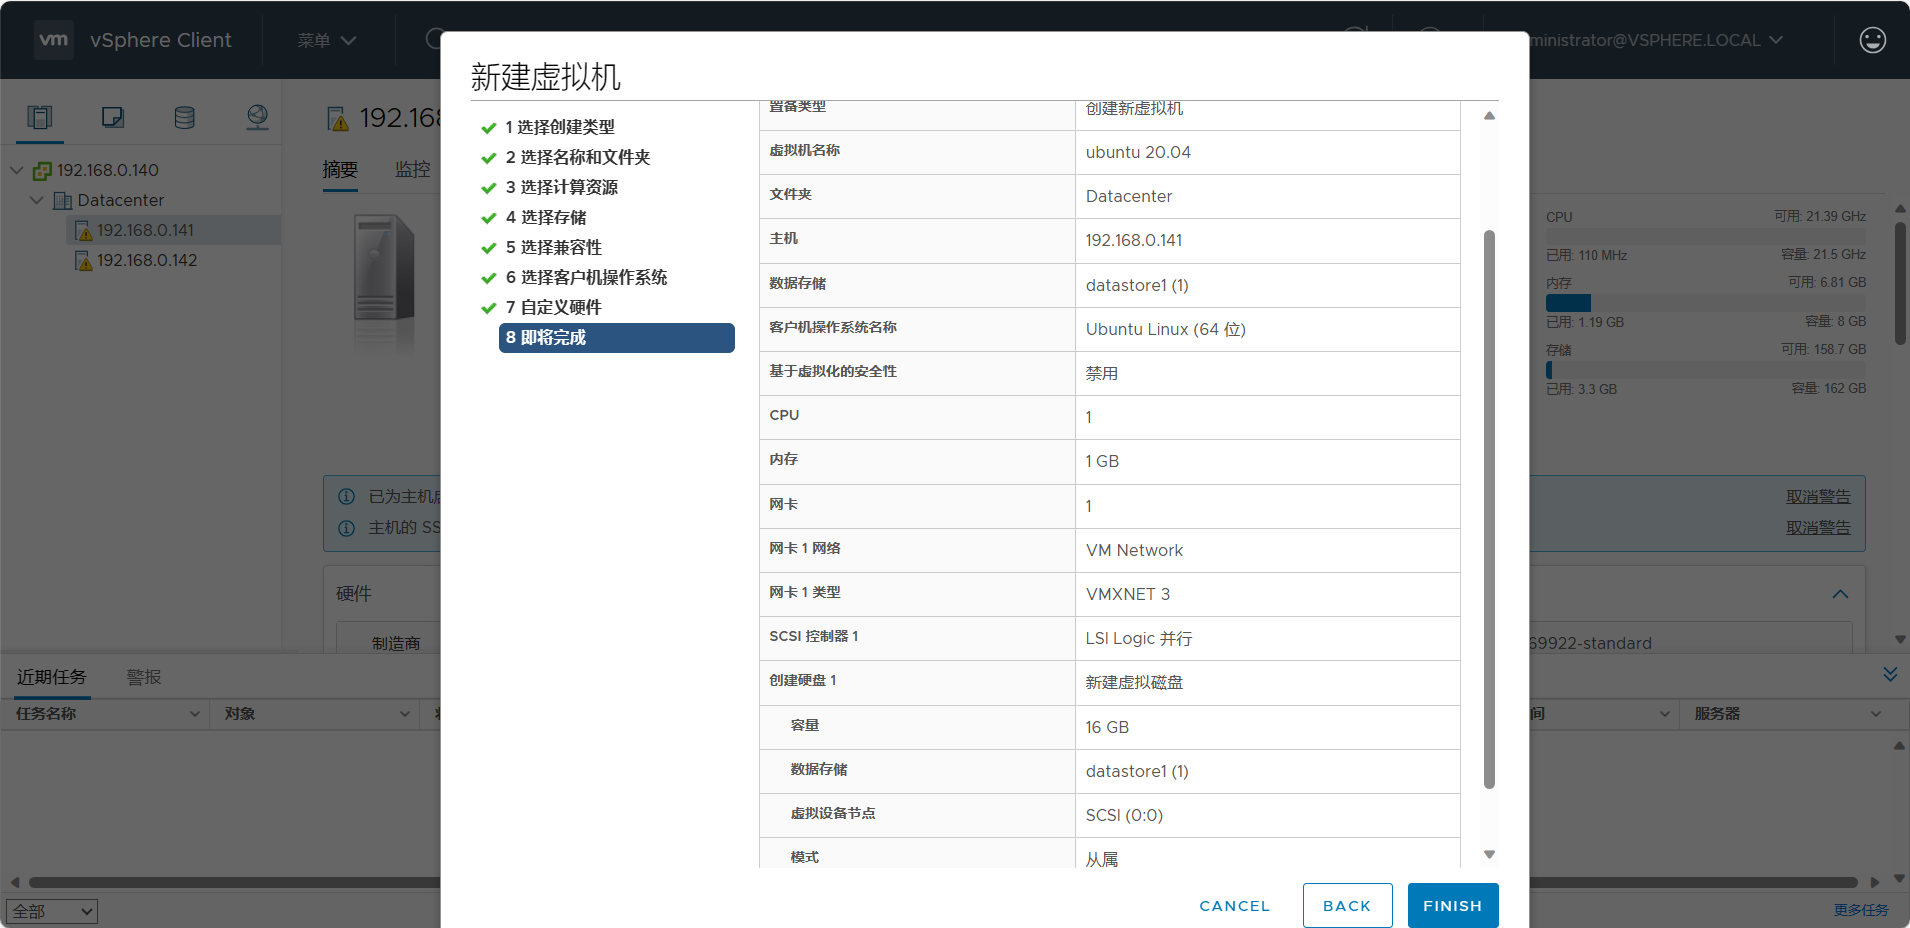
其他正常设置,设置信息参考该消息概览
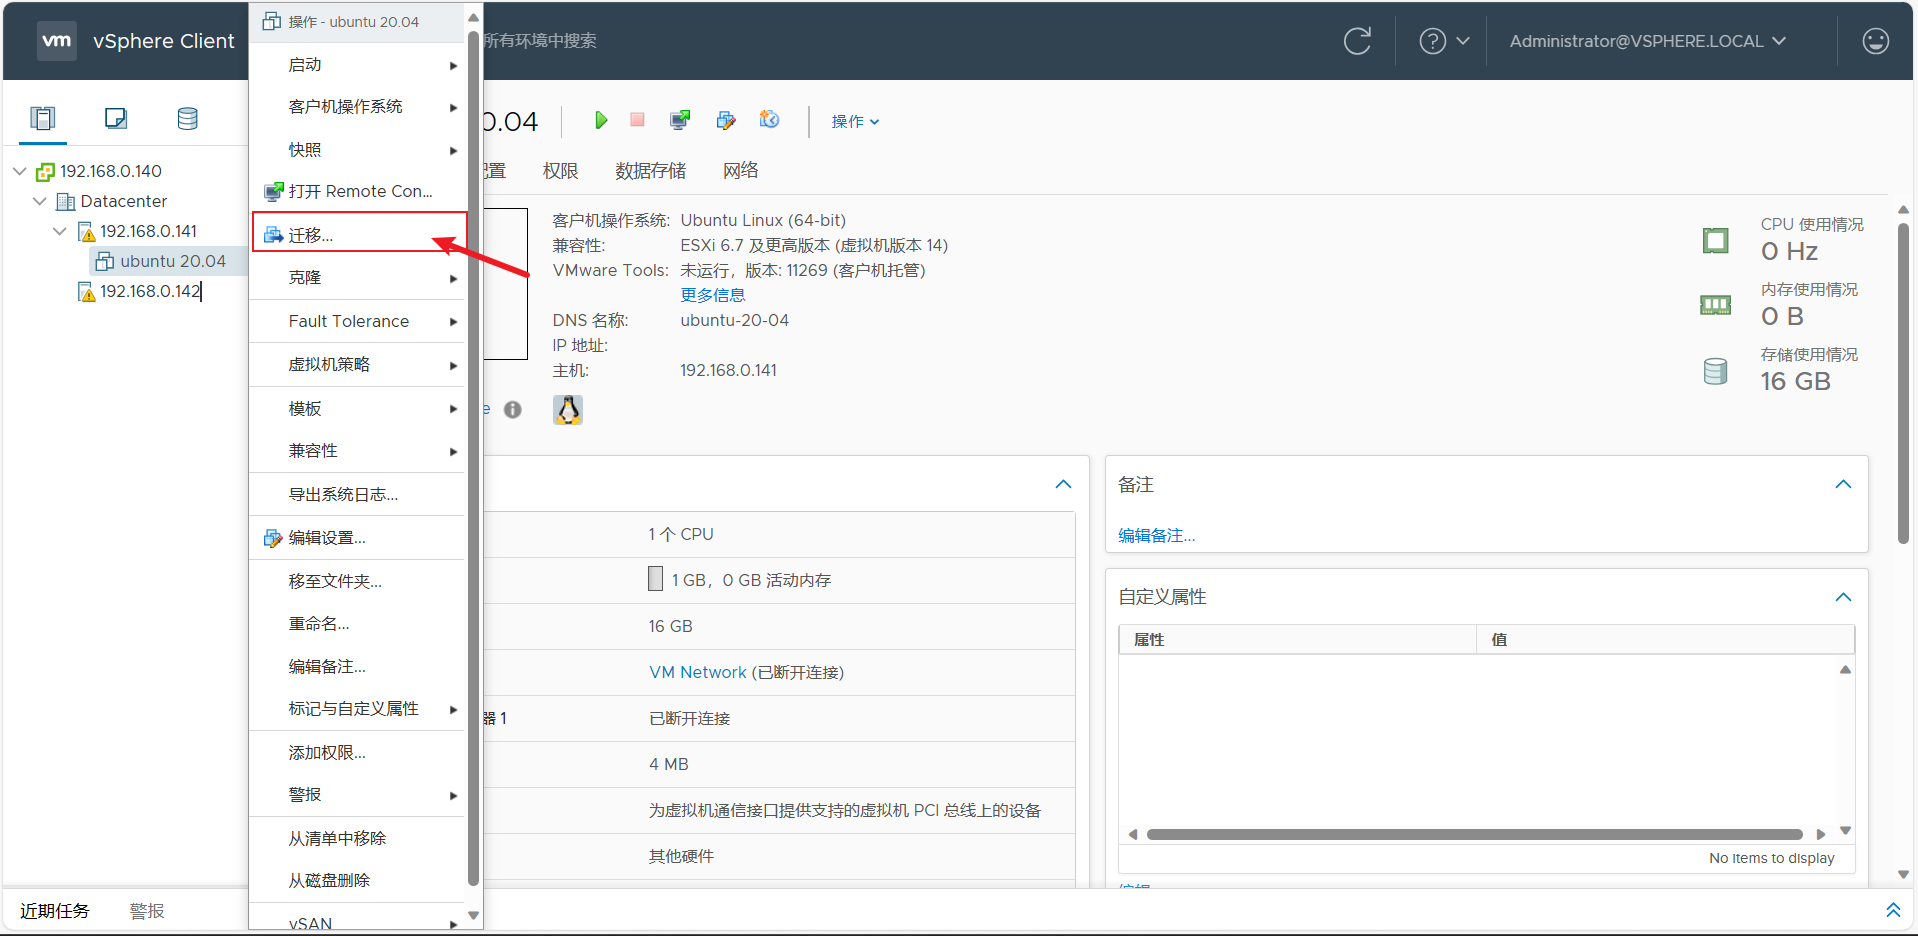
虚拟机安装好后,确保虚拟机为关机状态
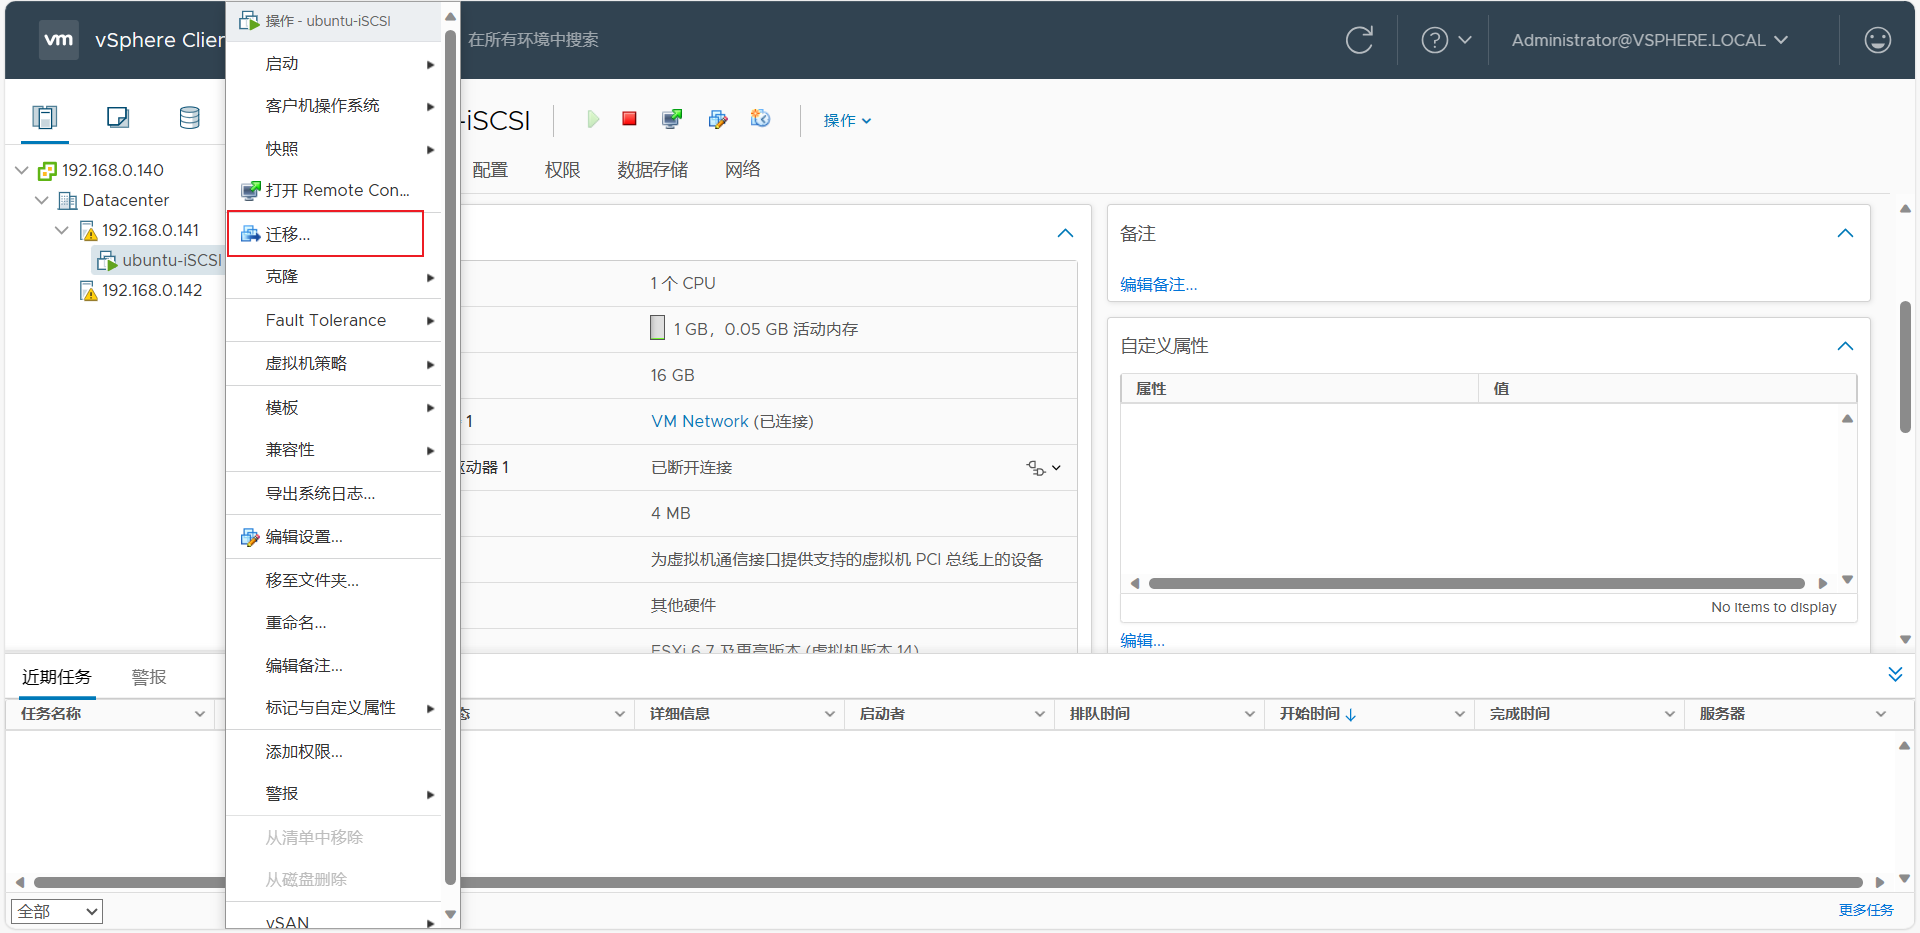
右键虚拟机,选择迁移选项
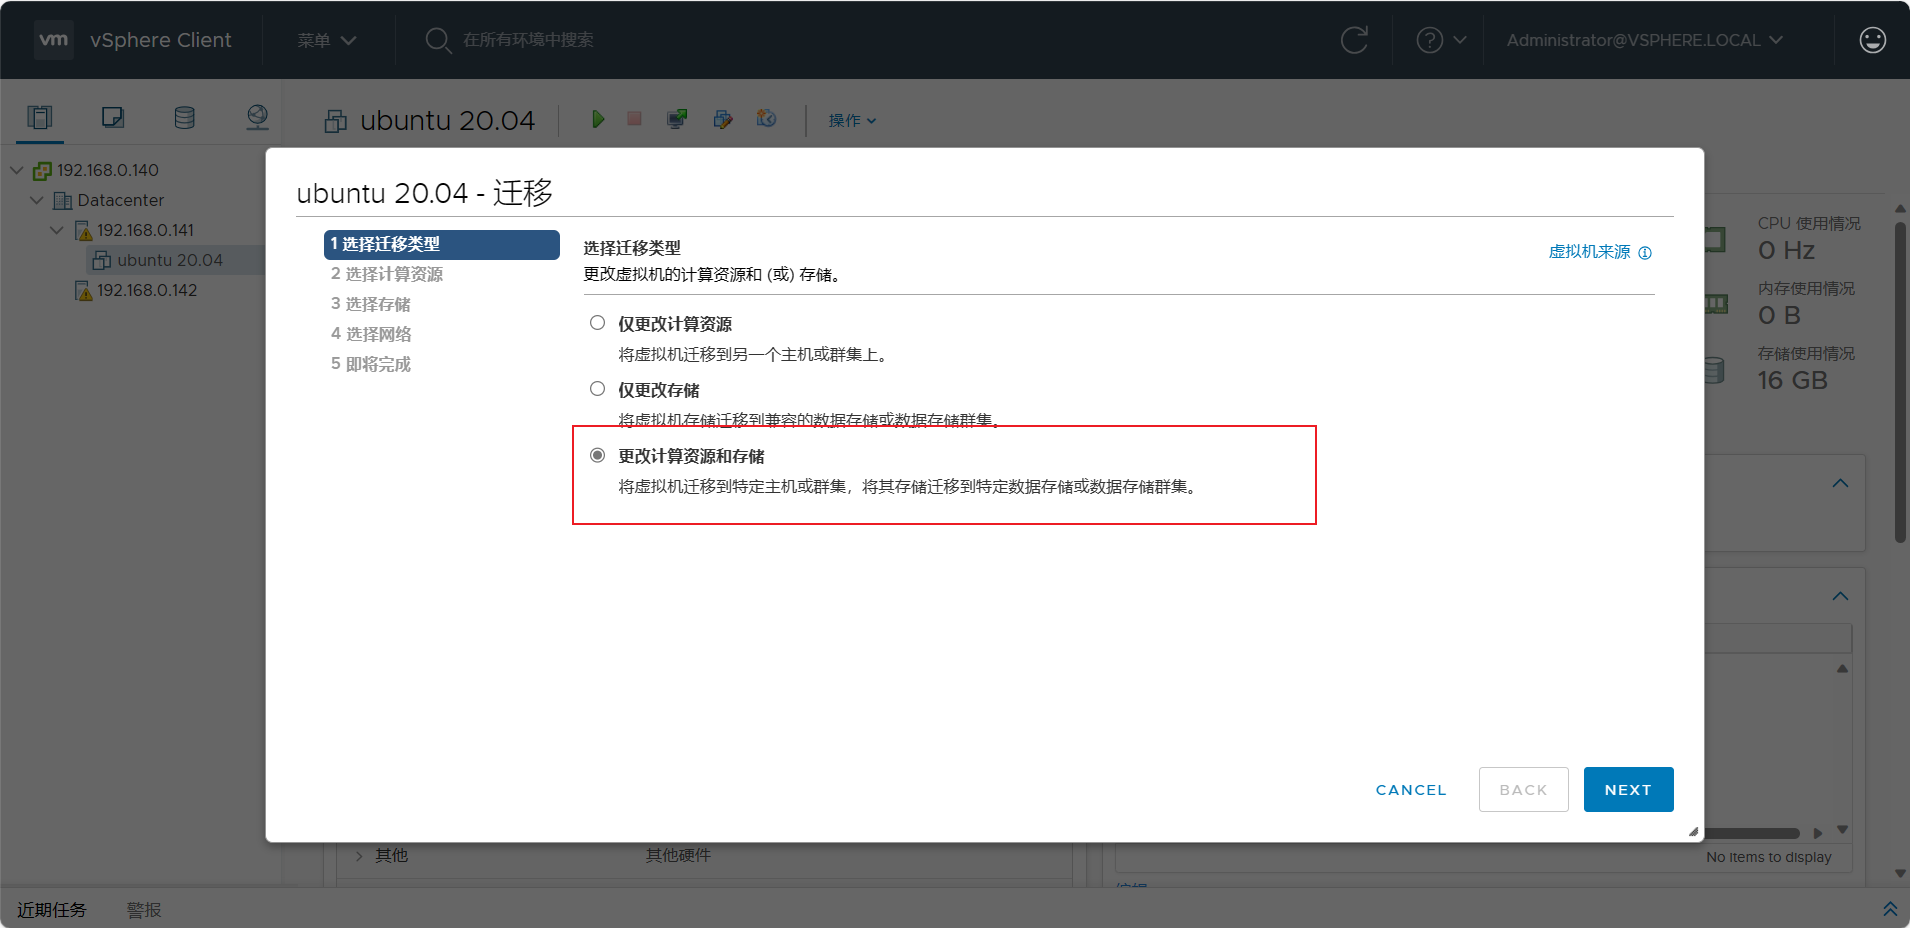
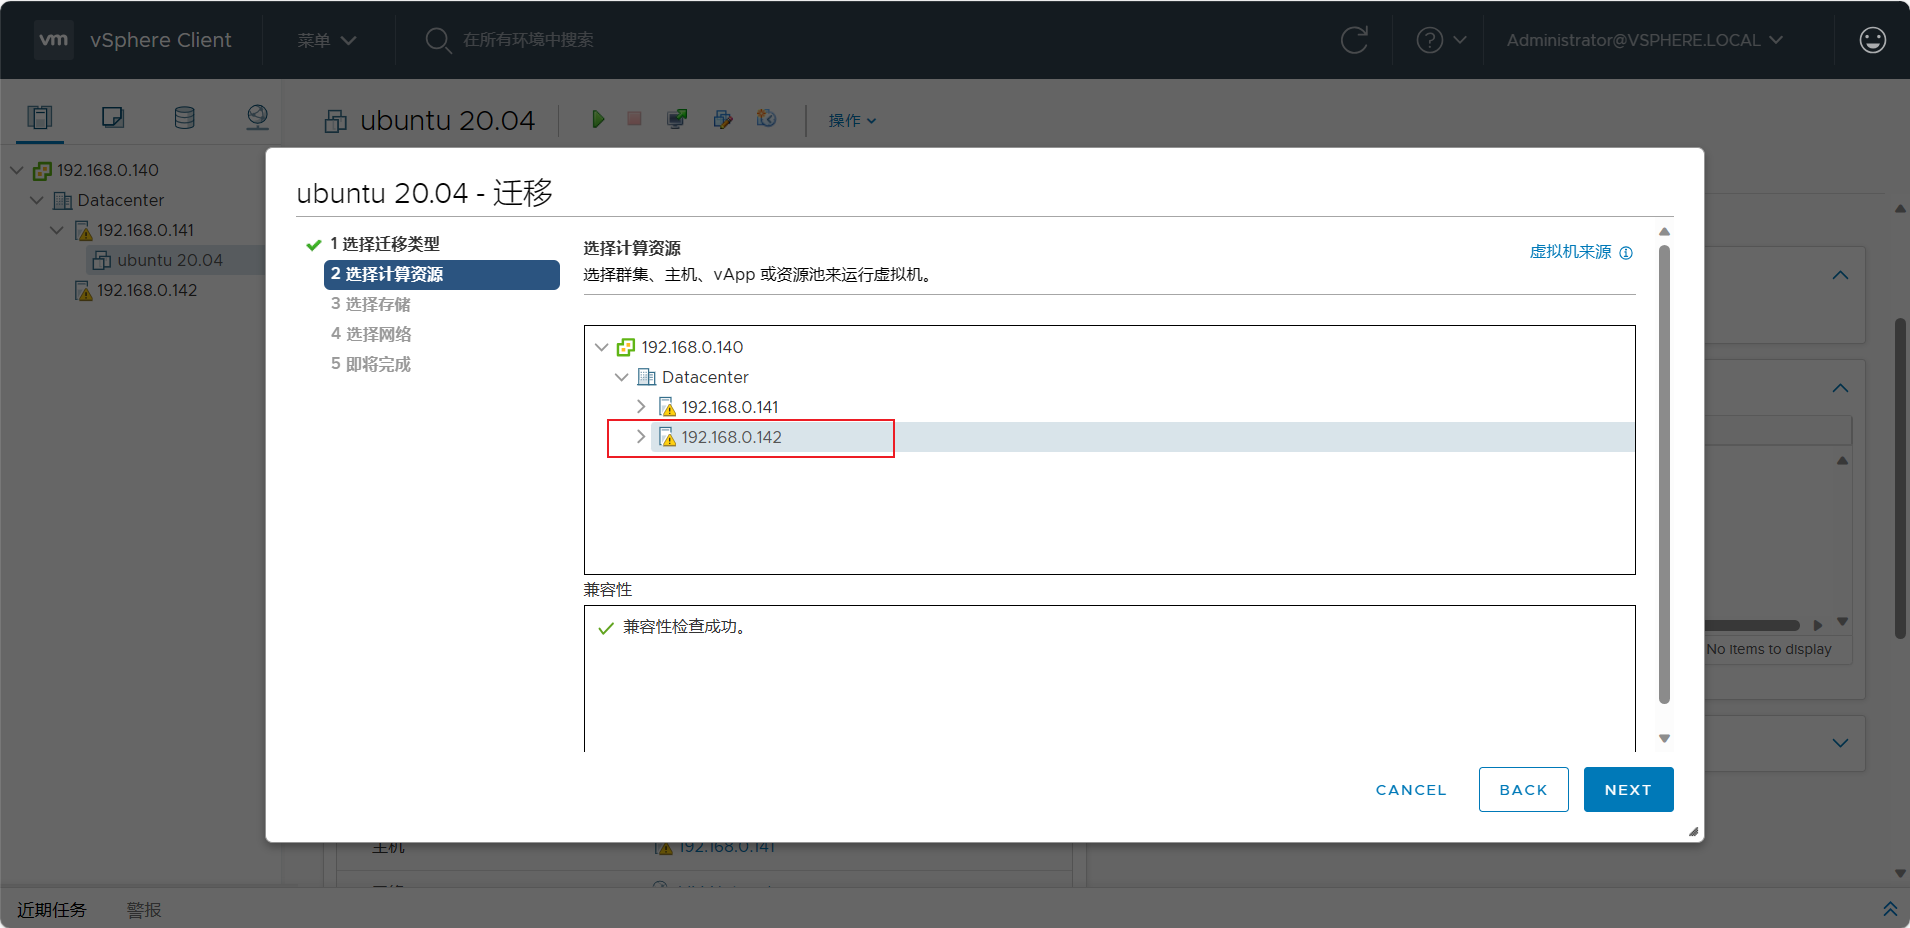
选择更改计算资源和存储
选择另一台esxi主机,会自动检测是否满足冷迁移条件
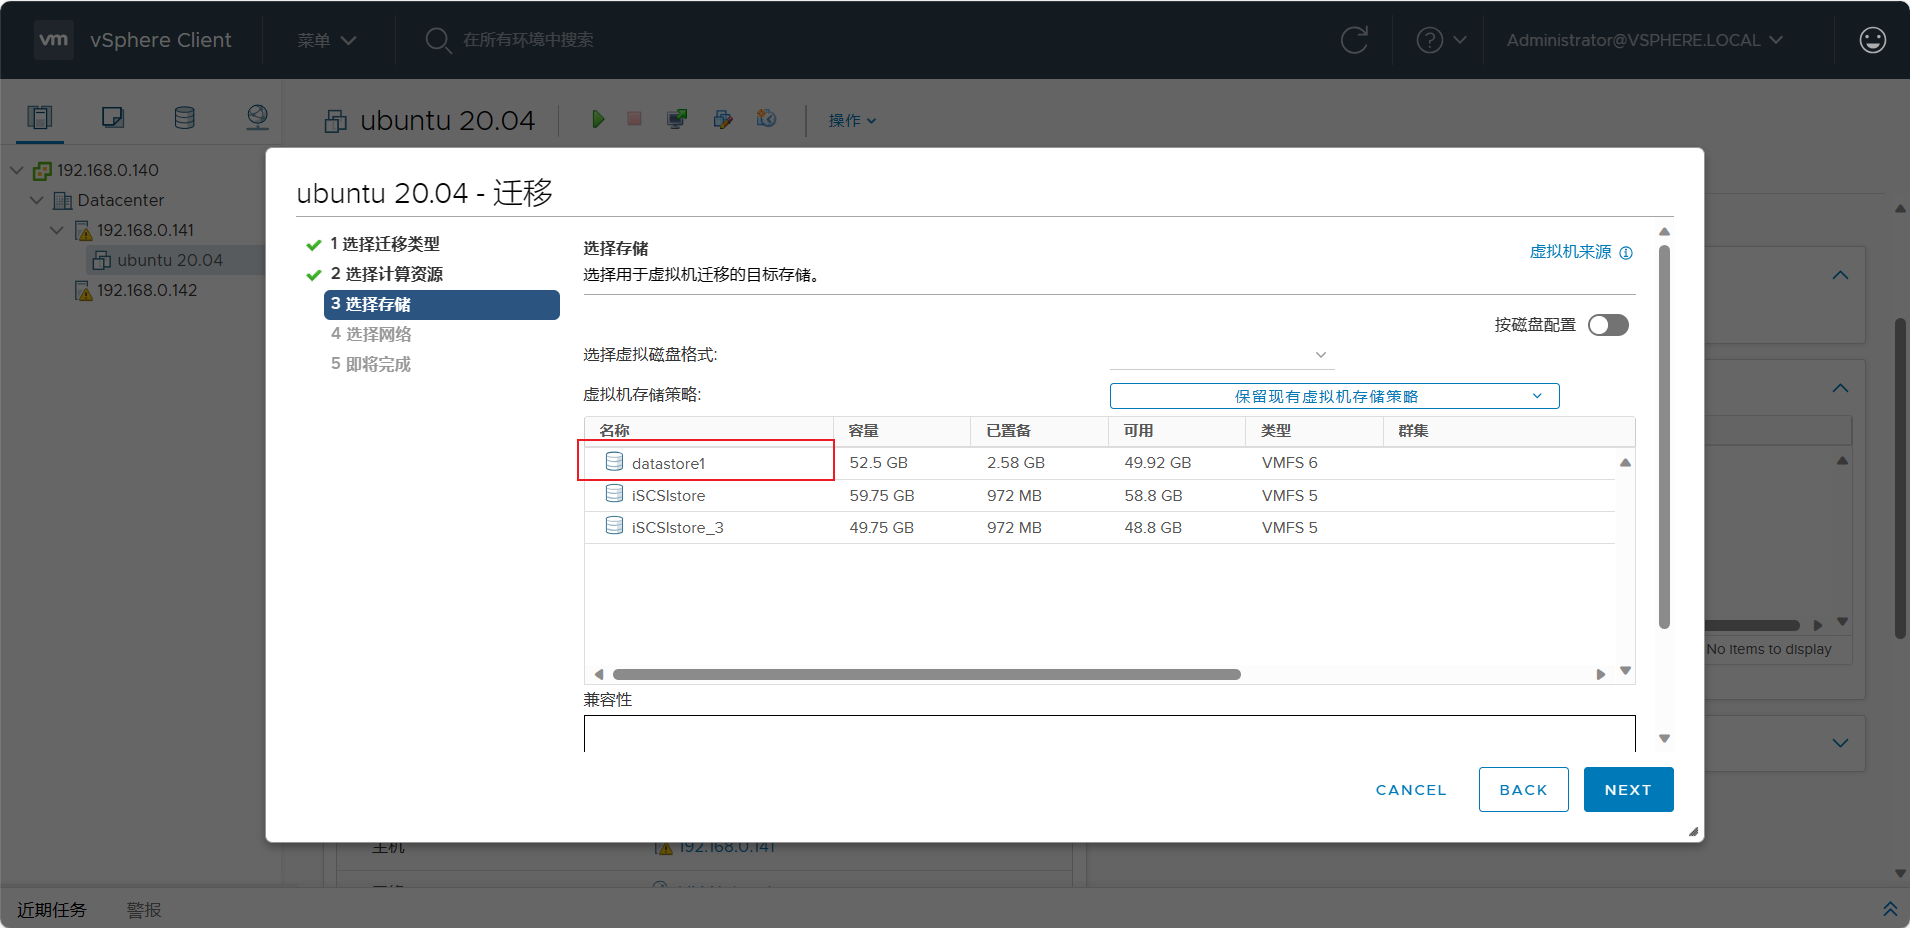
目标存储,选择在将转移过去的esxi主机上的存储池(这里我是datastore1)
网络还是虚拟机网络,不变
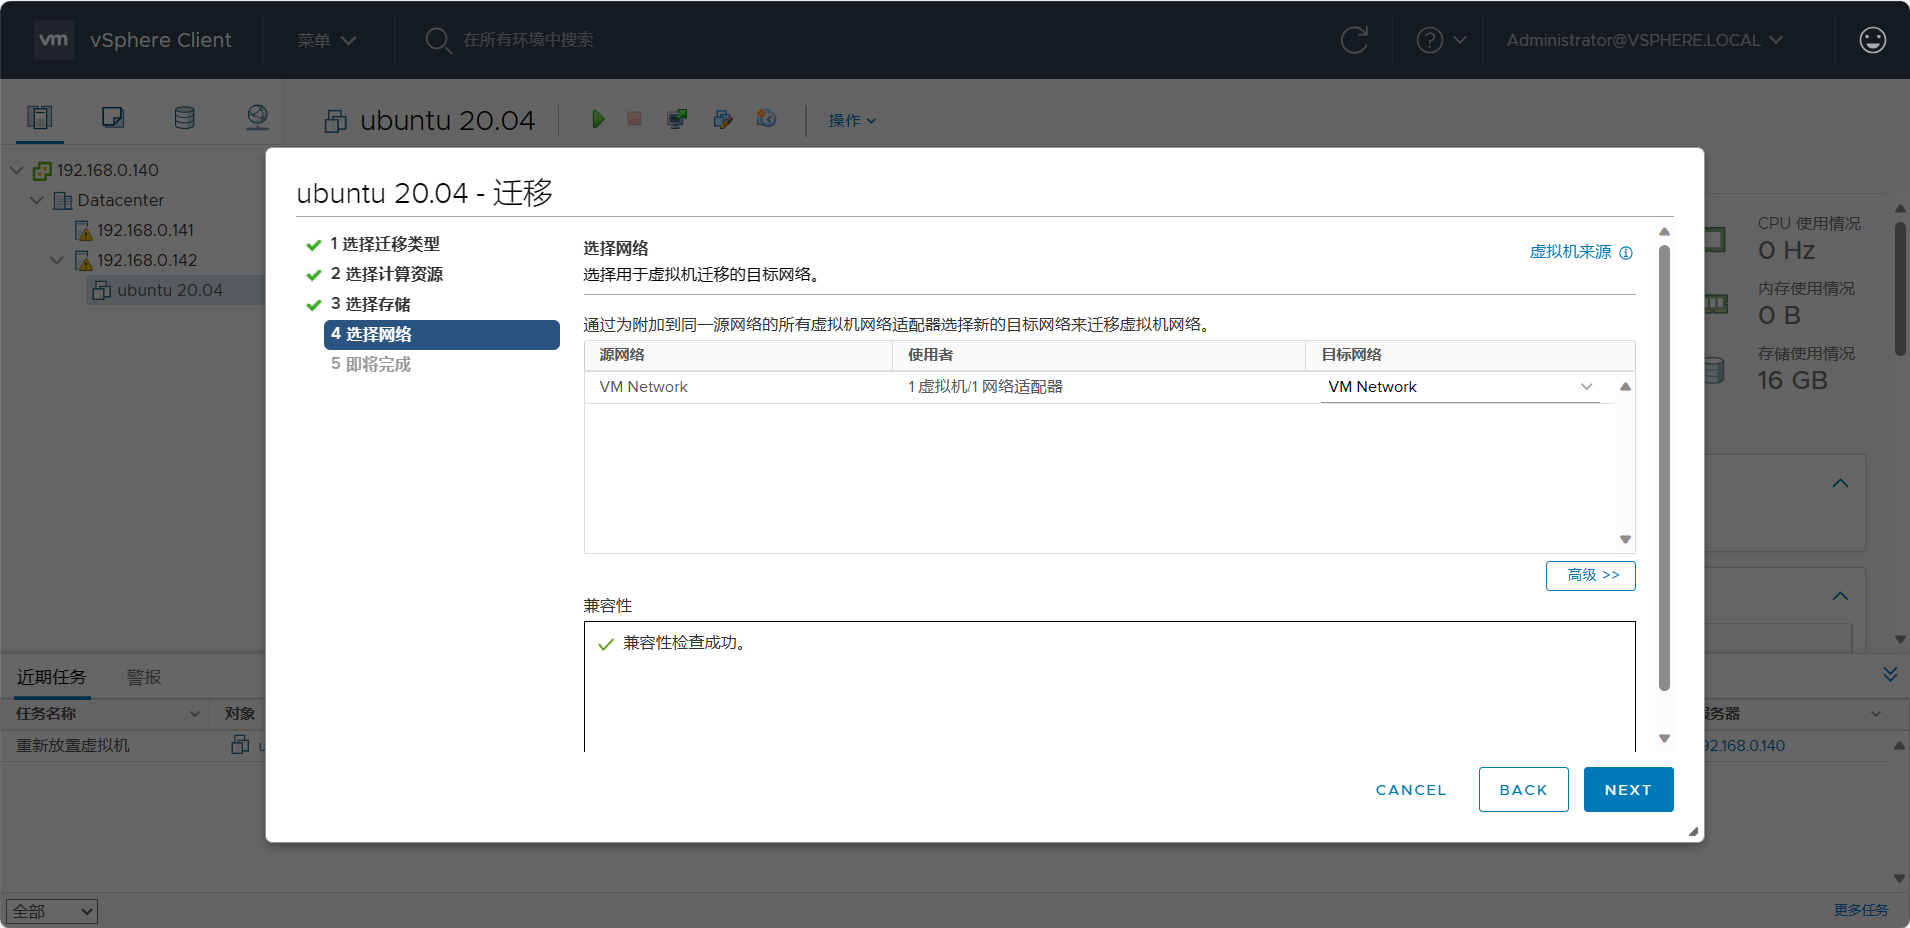
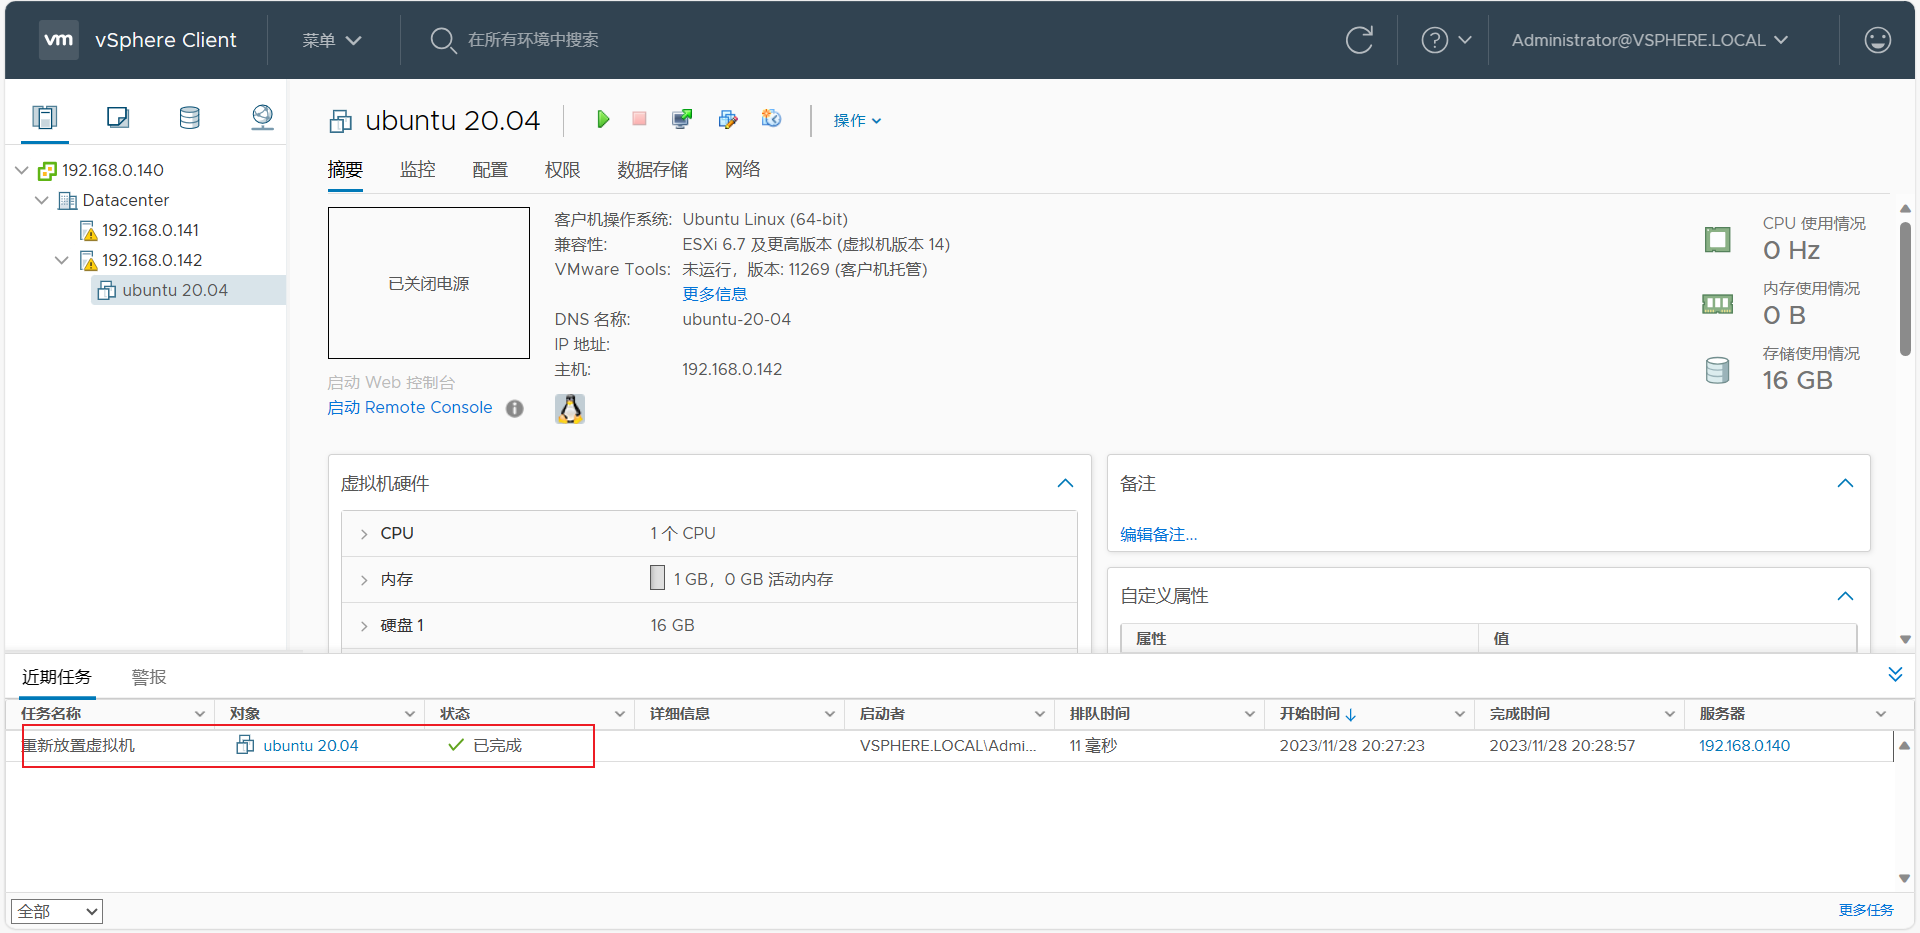
随后点击完成,等待迁移结束
2. vMotion 实时迁移
2.1 使用vMotion迁移基于共享存储的虚拟机
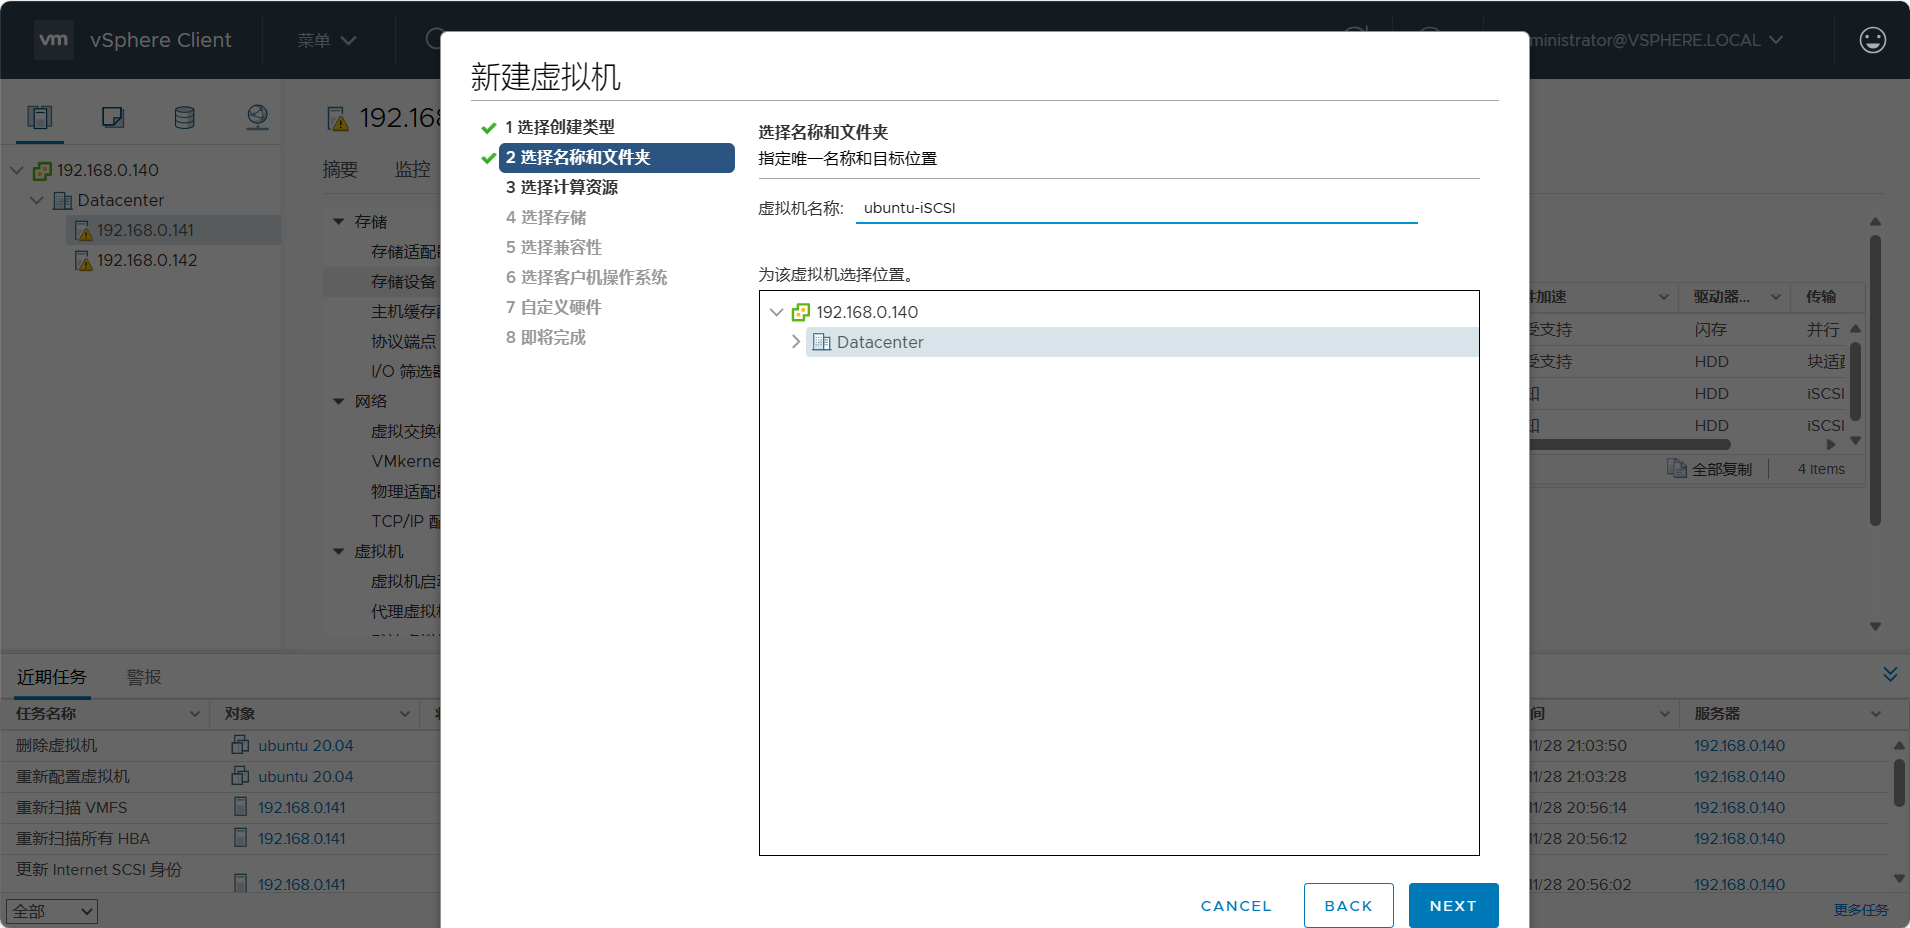
这个实验需要我们重新建一个虚拟机,需要数据存放在共享存储中,如iSCSI
如果虚拟机已存储在esxi主机本地,需要做迁移到iSCSI上,这里跳过
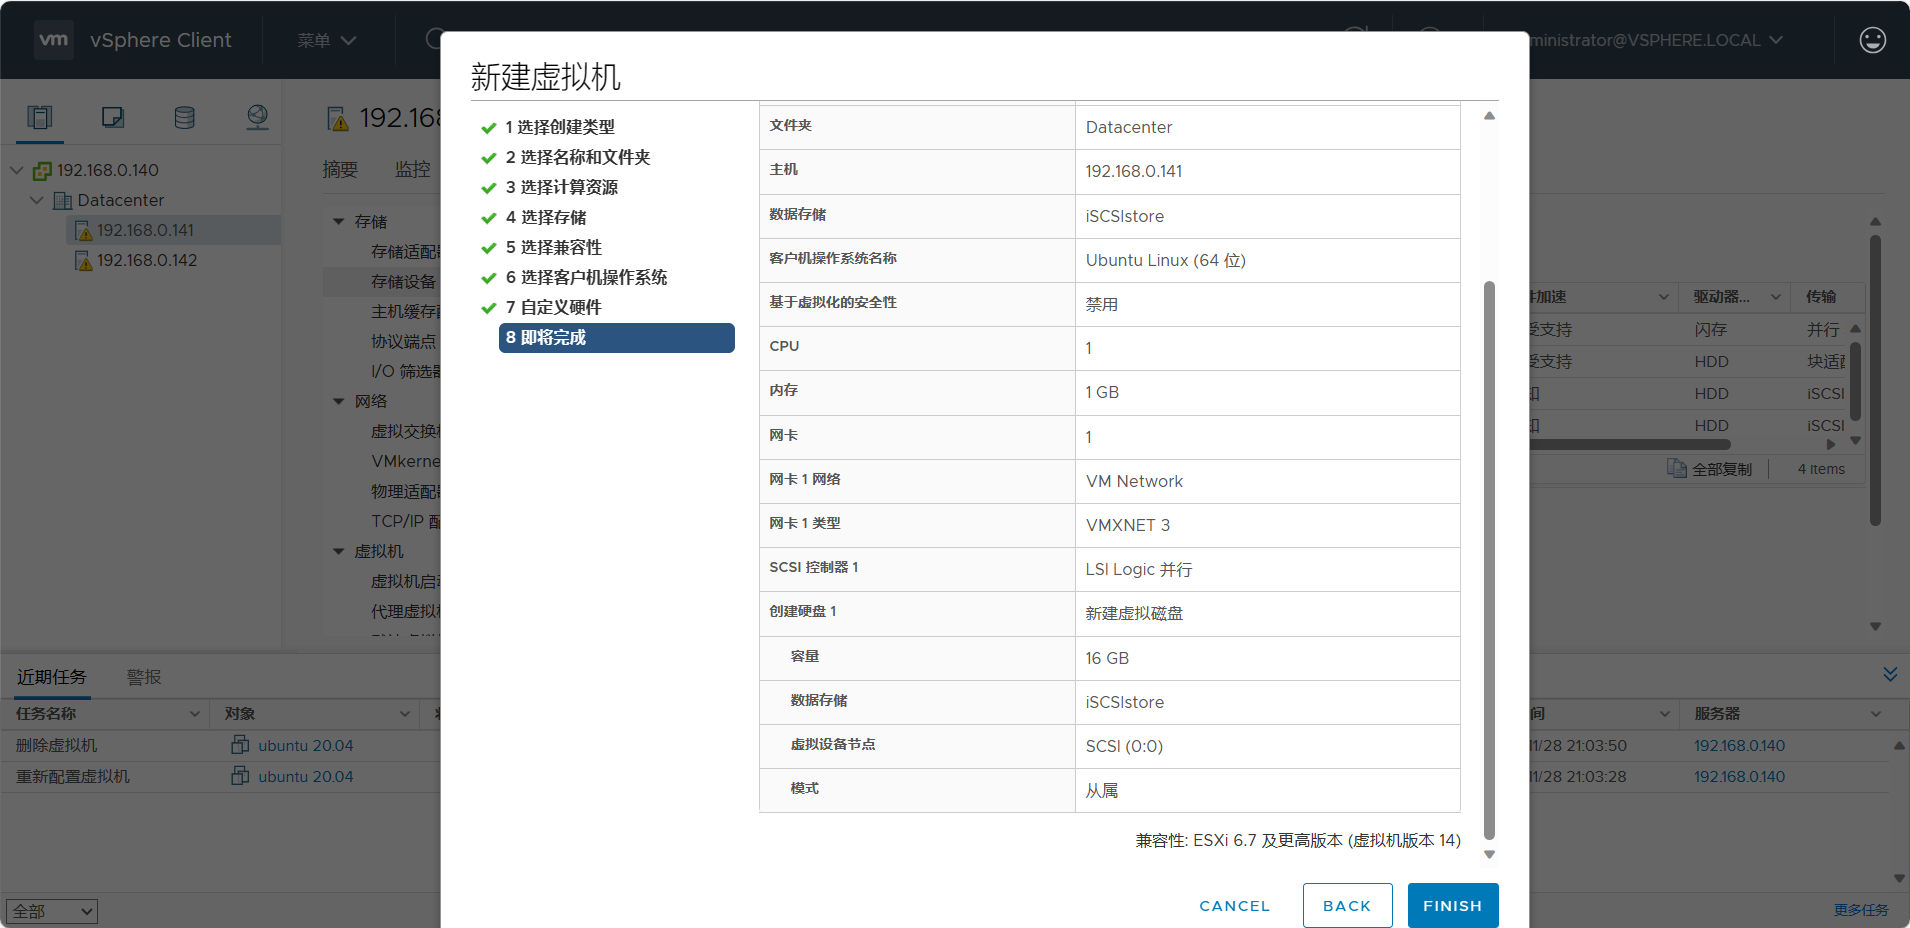
这里我创建虚拟机名为Ubuntu-iSCSI
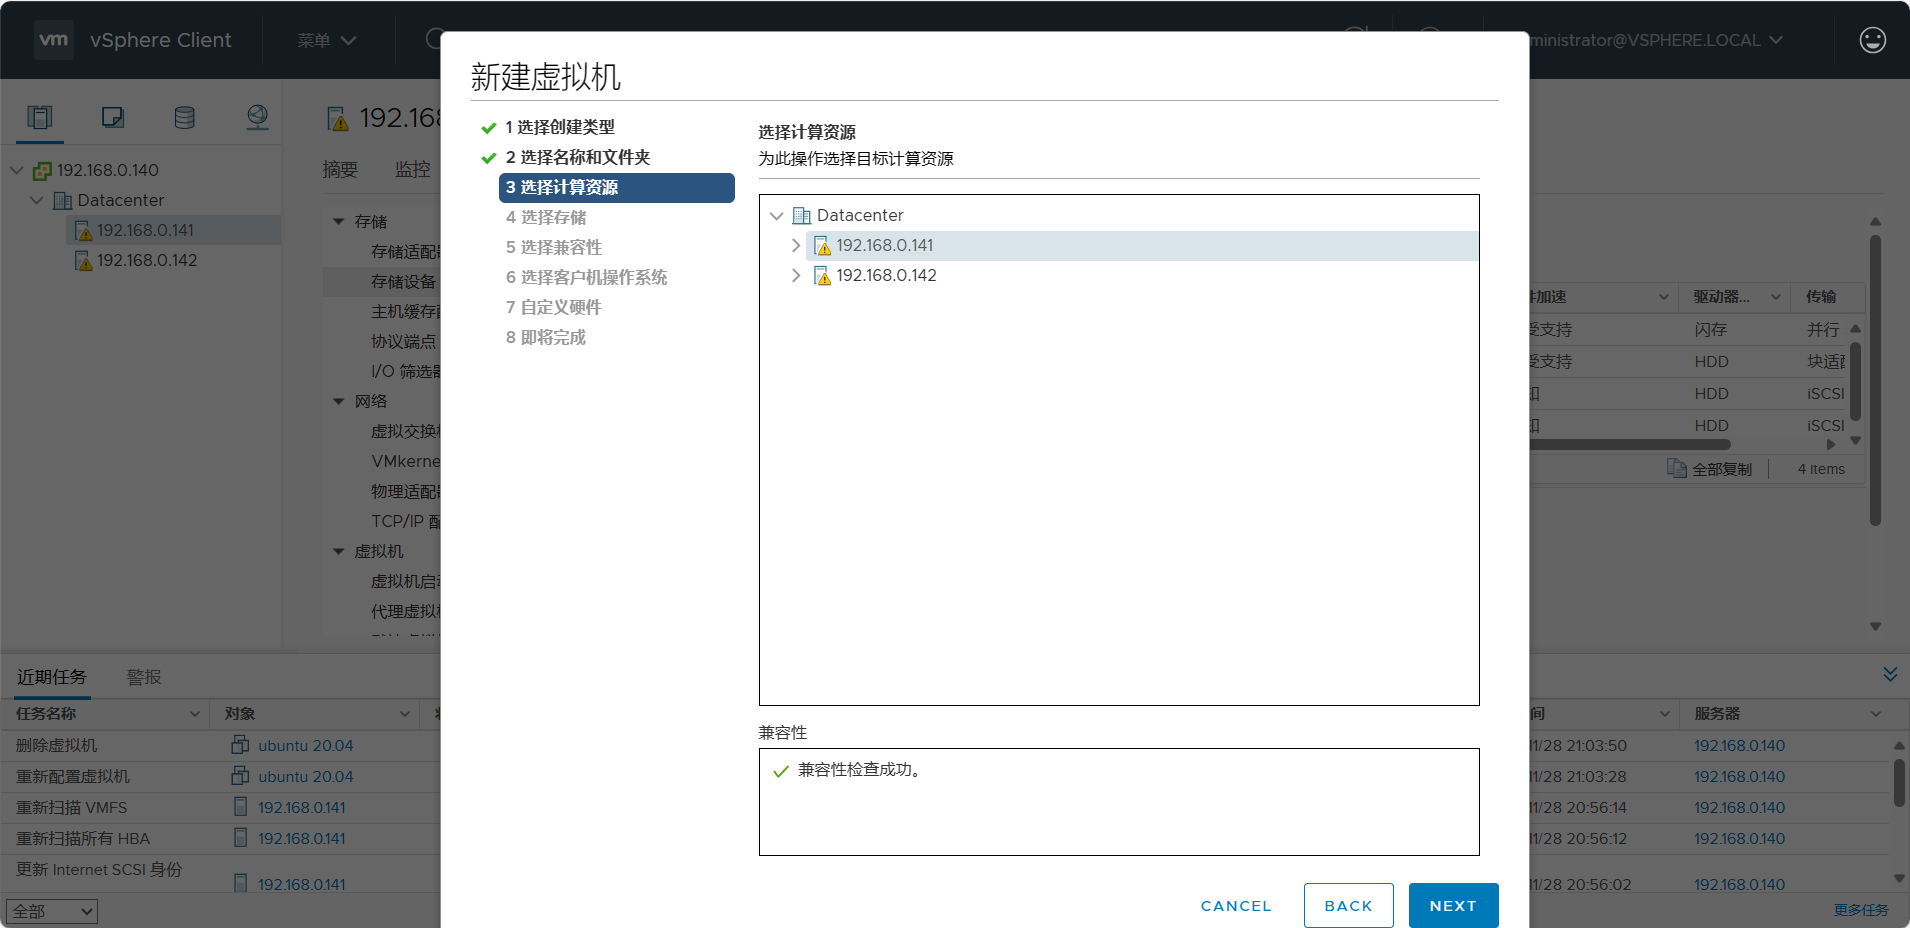
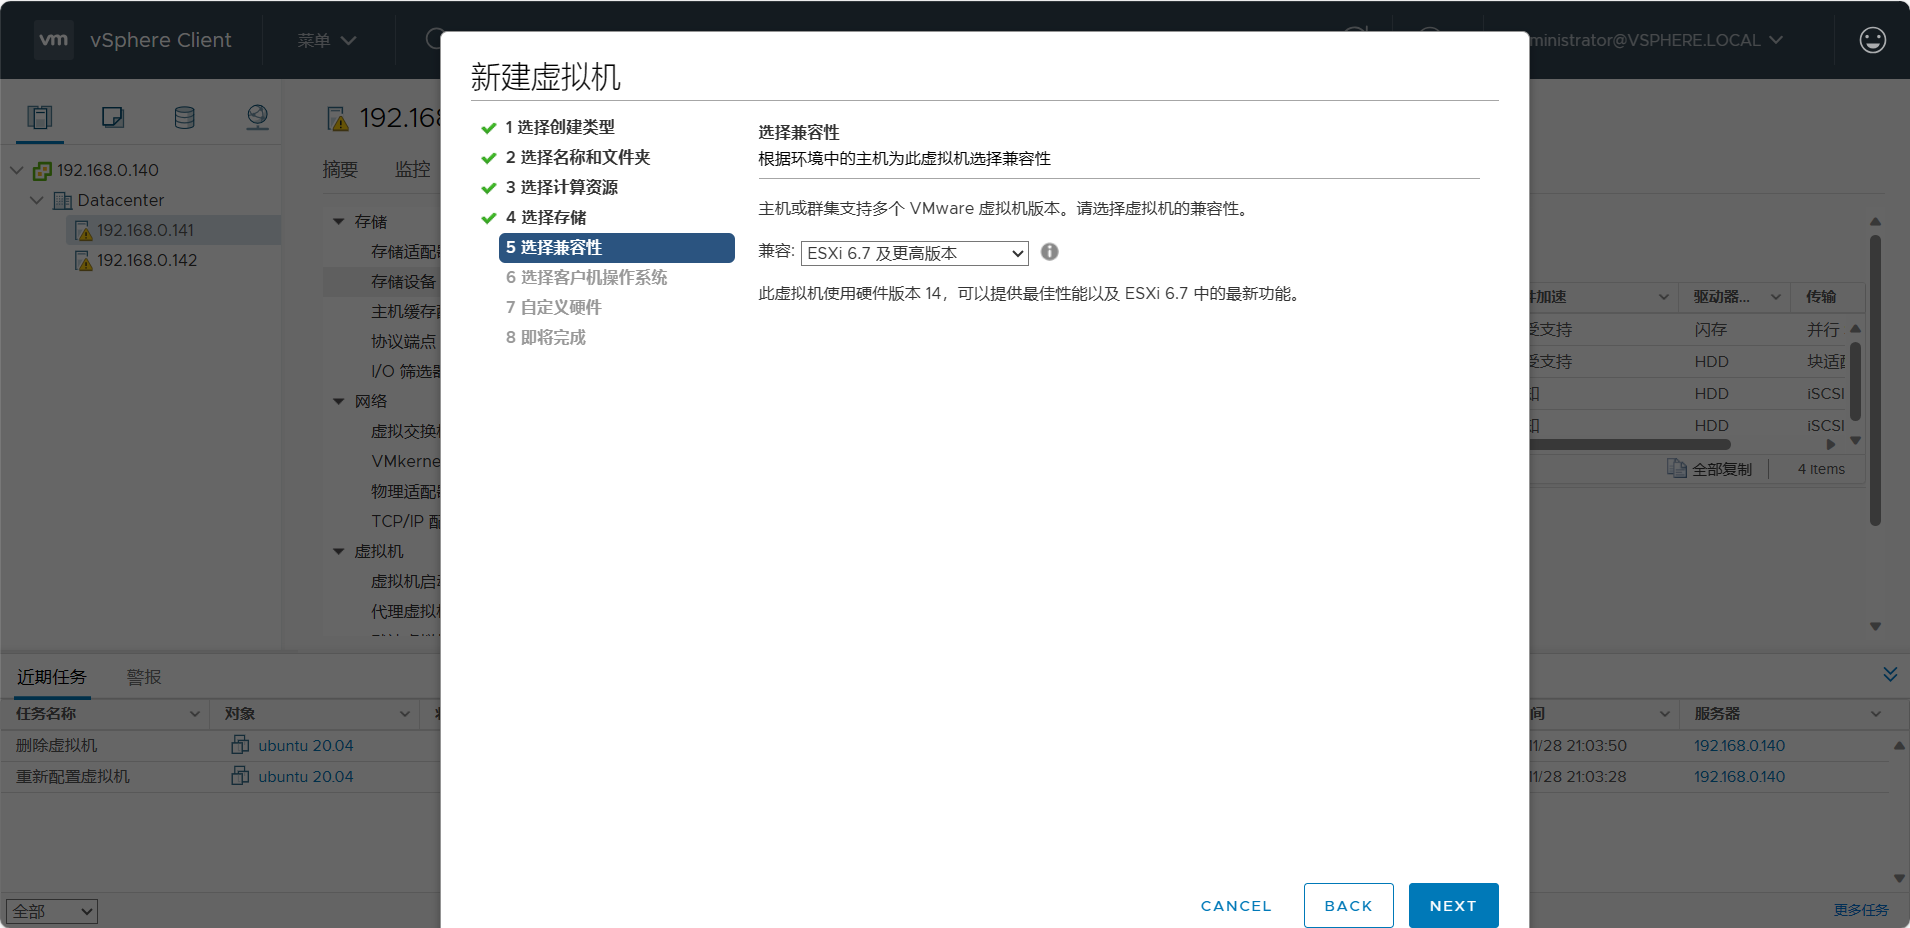
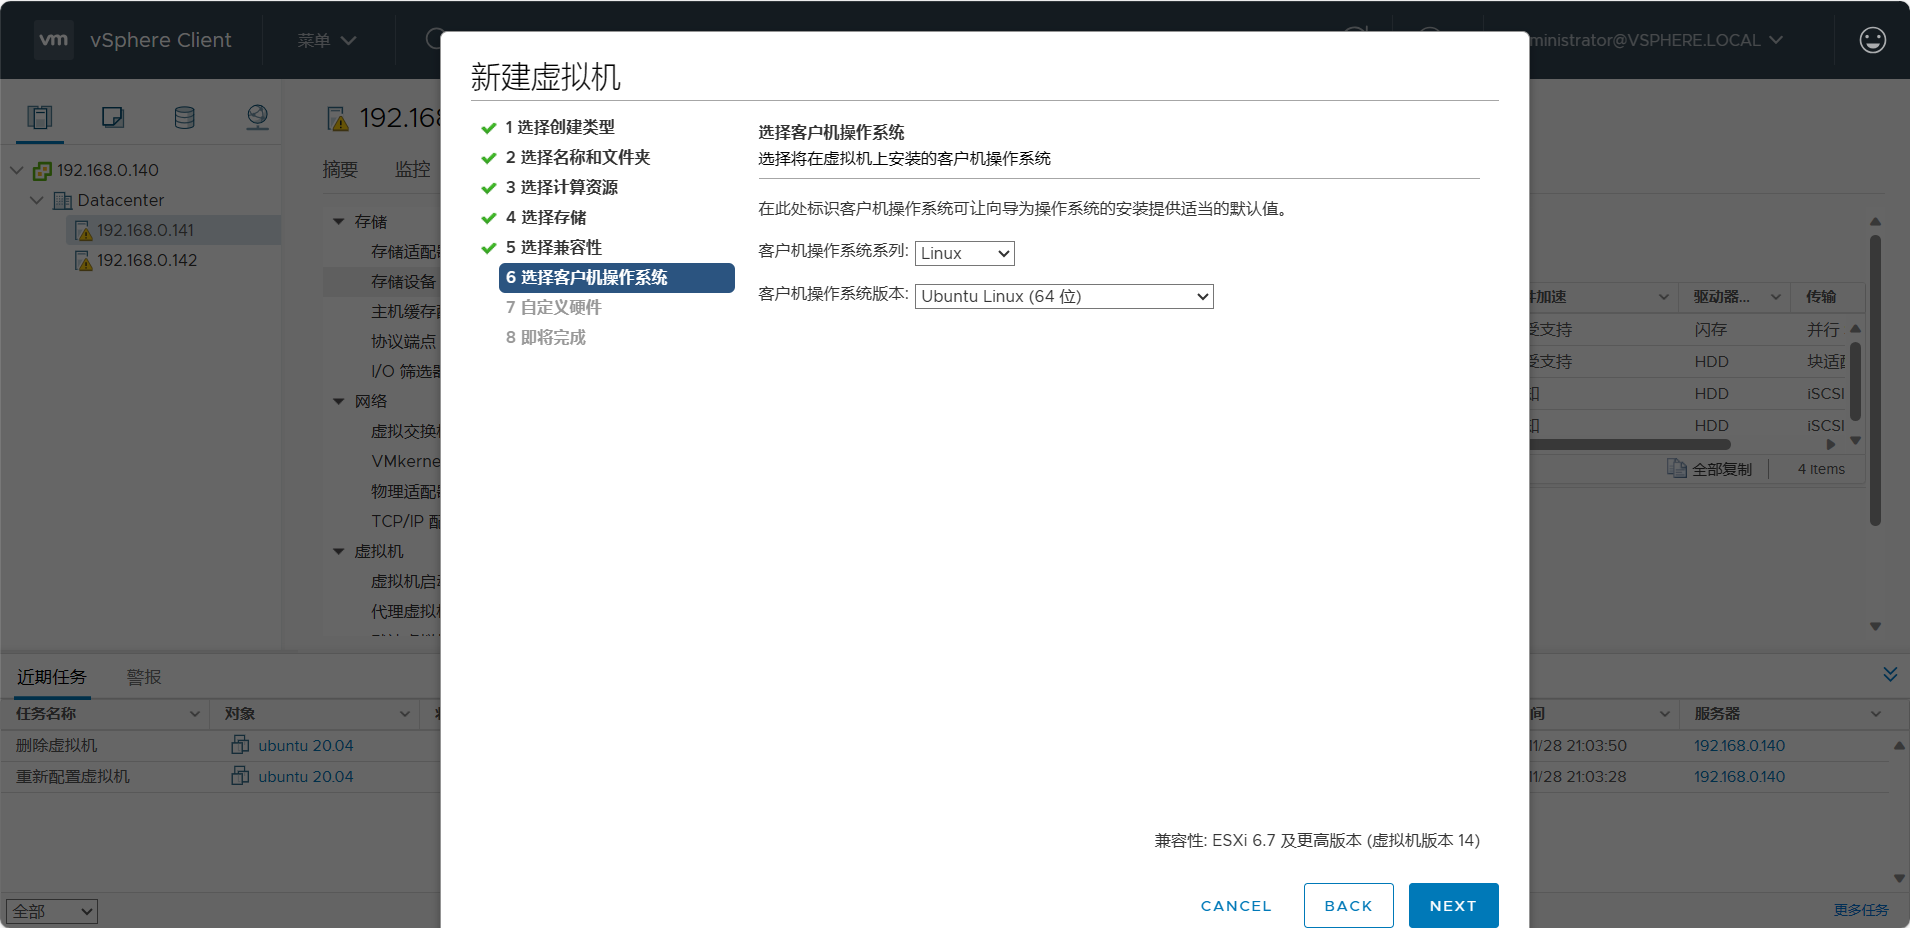
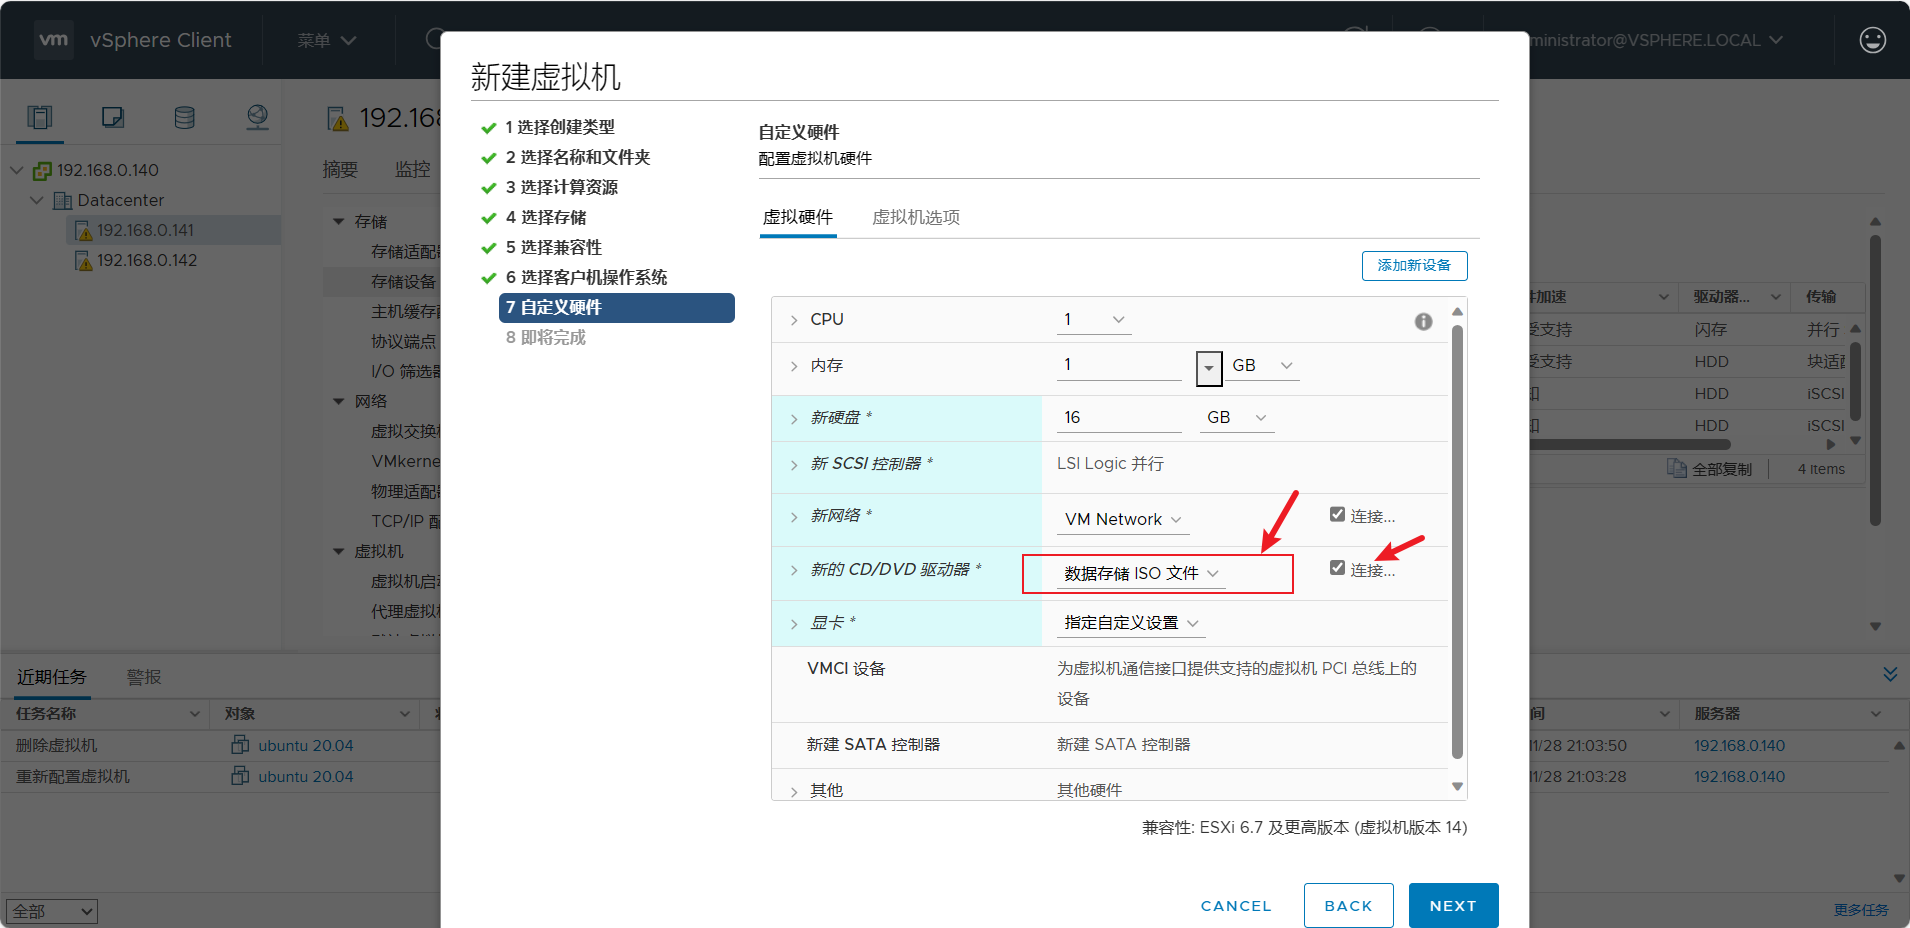
设置如下
注意存储需要选之前设置的iSCSI共享存储池

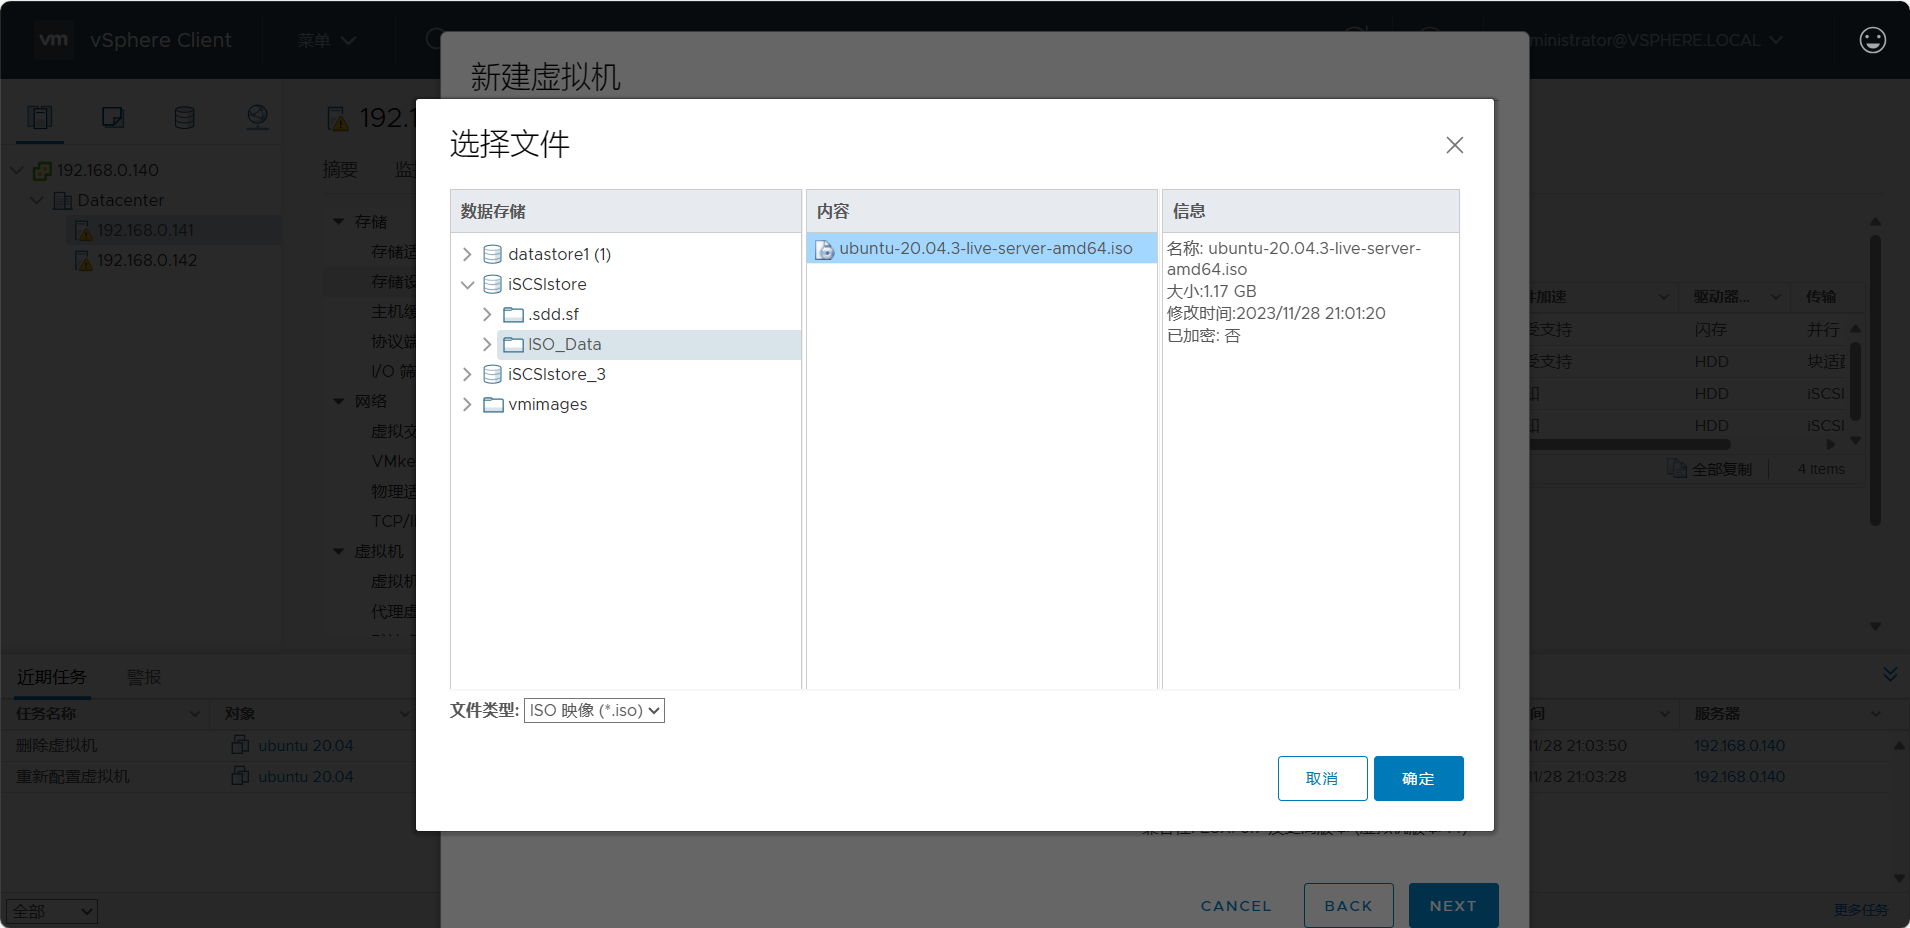
安装镜像也存放在iSCSI的存储池中,并配置到光驱
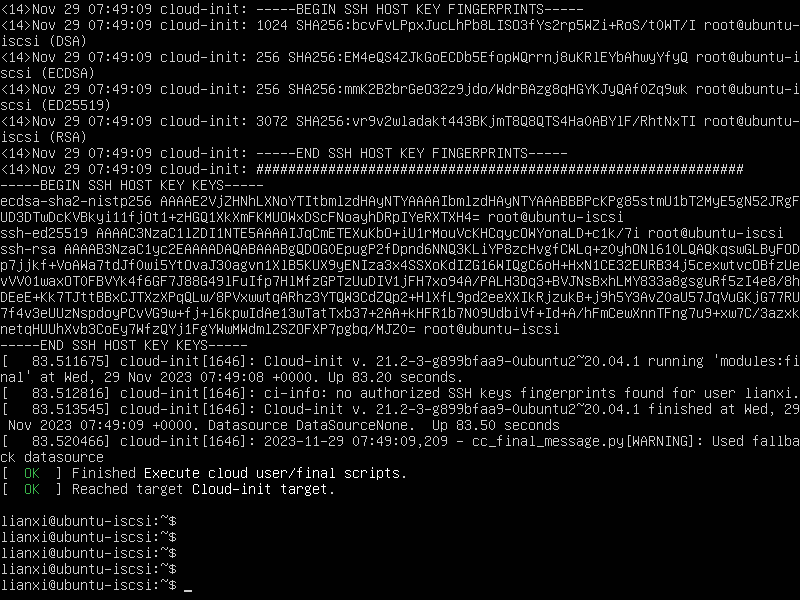
安装系统过程跳过
检查vMotion虚拟机限制
需要注意,使用vMotion时,虚拟机的光驱需要为断开状态

实时迁移虚拟机
步骤与前文的冷迁移相似,右键虚拟机,选择迁移
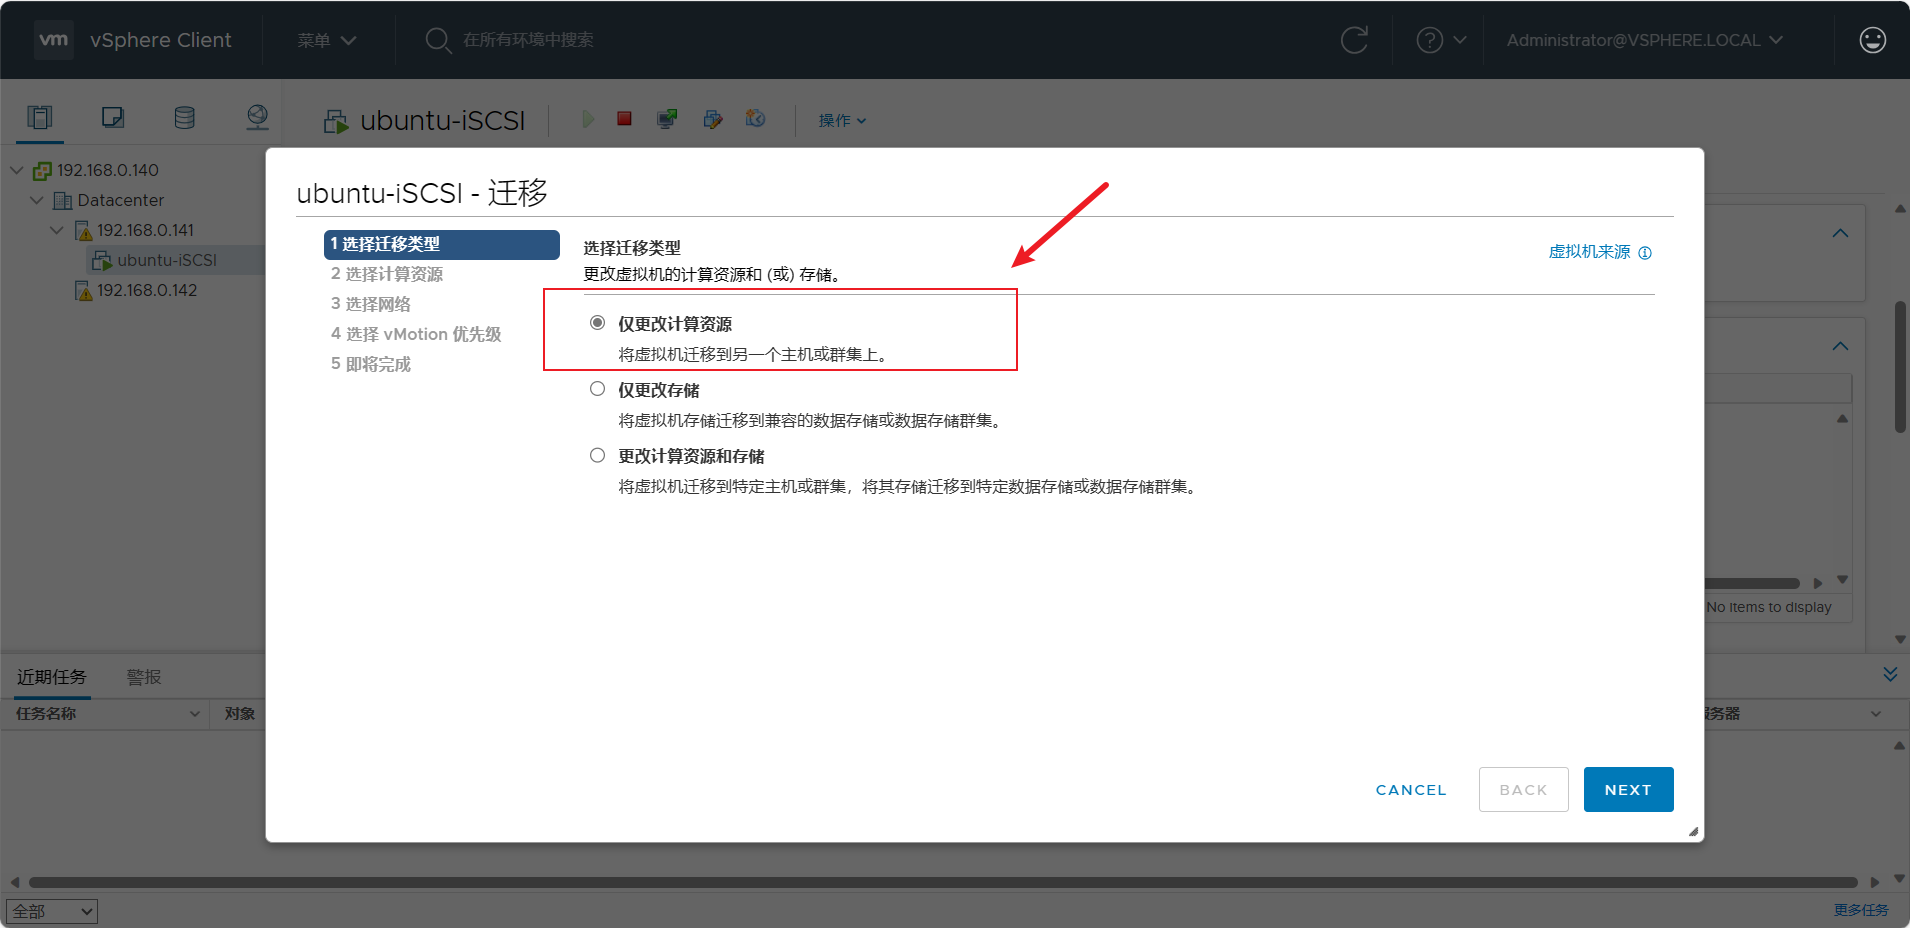
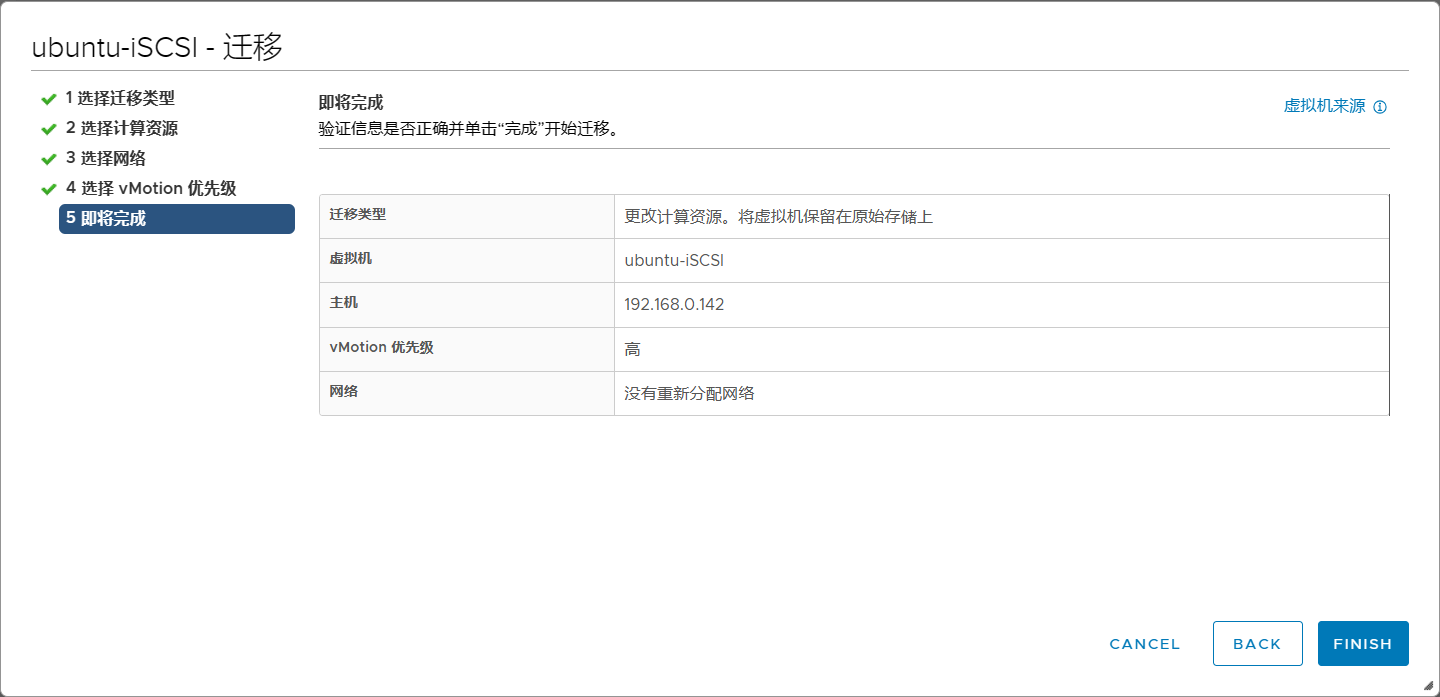
需要注意迁移类型应该选为仅更改计算资源
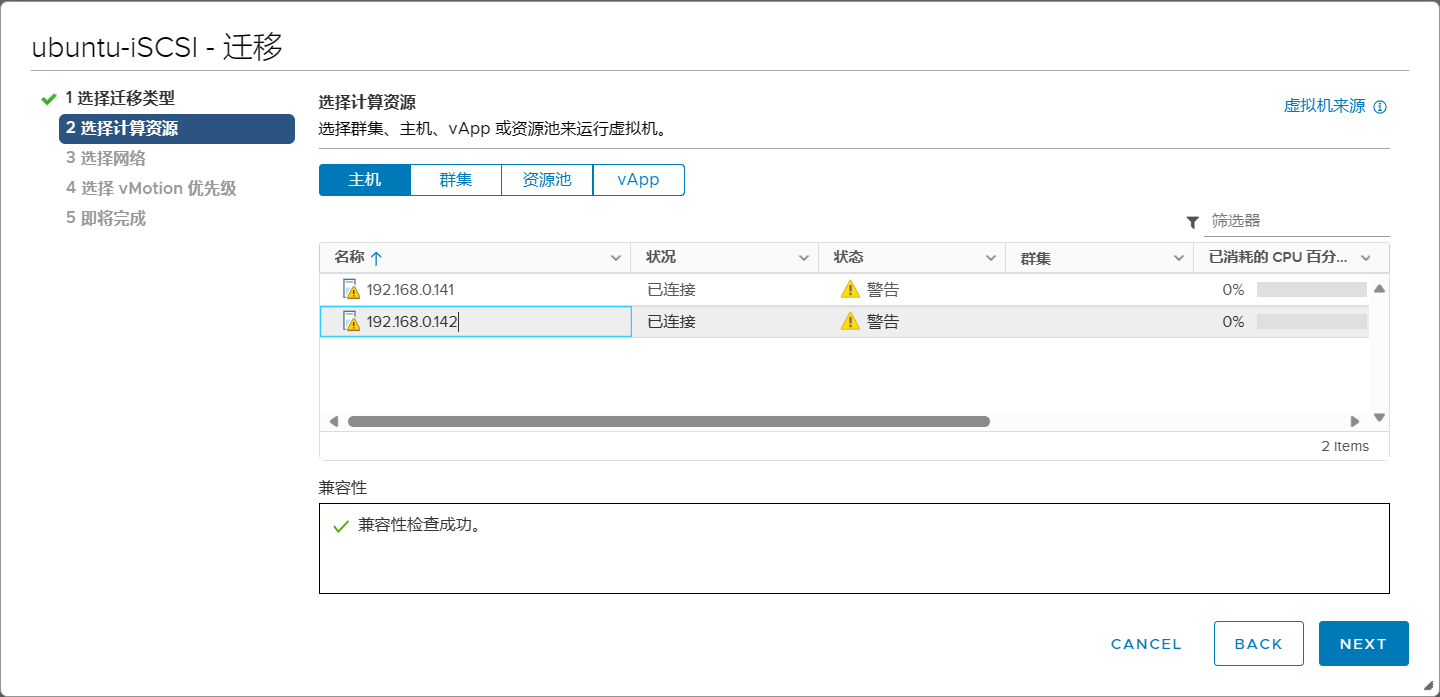
选择另一台esxi主机作为迁移后的宿主机
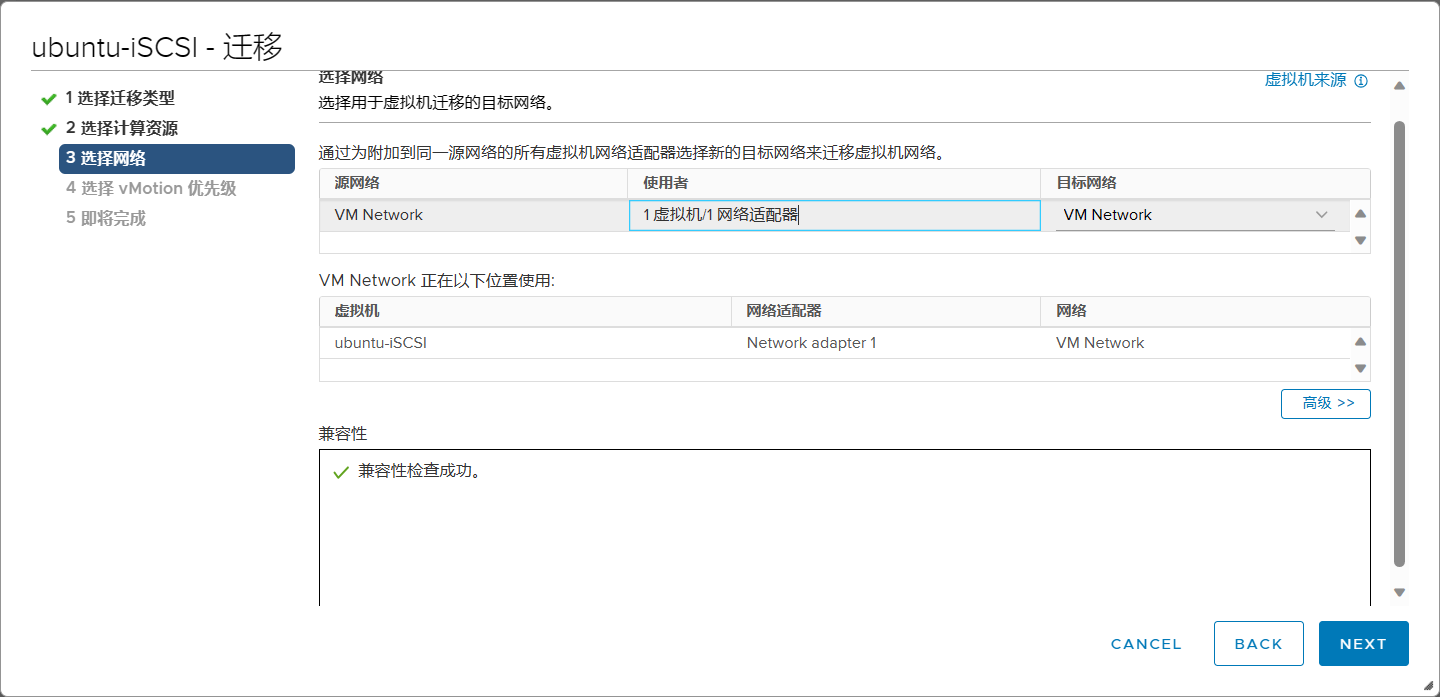
网络保持不变
使用默认的优先级选项

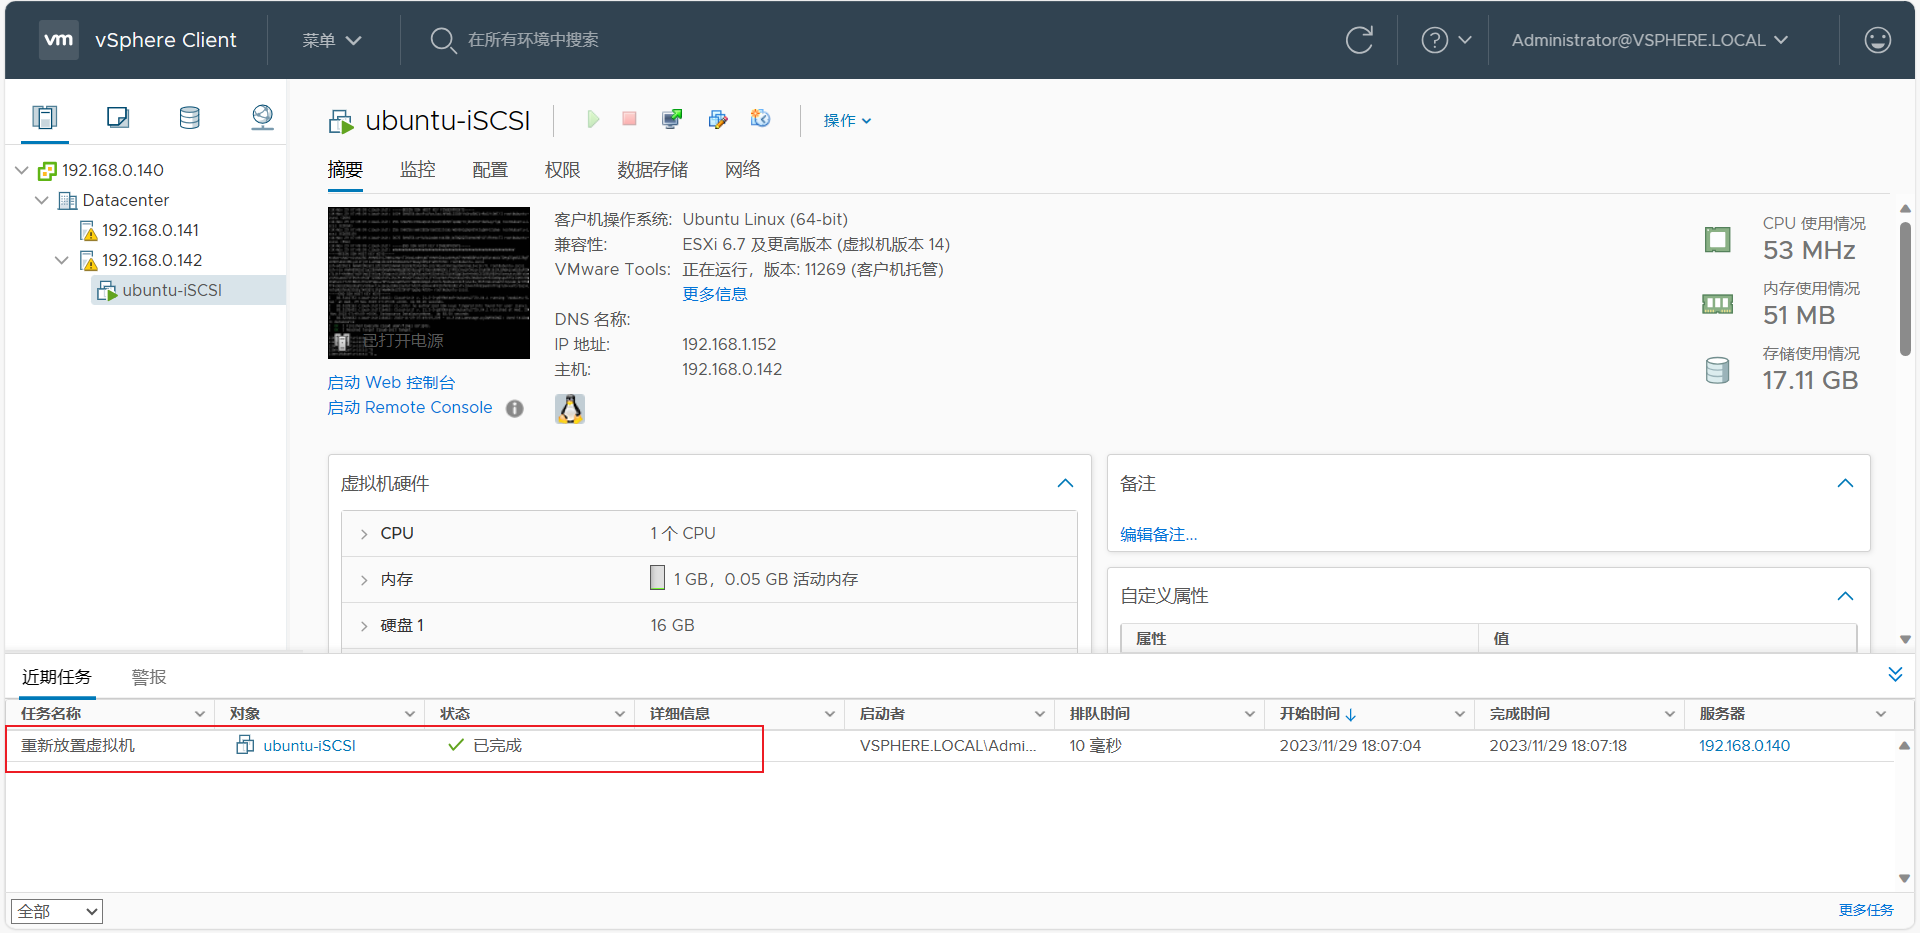
等待一会(速度取决于两个esxi之间的网络速度)提示完成
2.2 使用Storage vMotion 迁移
Storage vMotion(存储实时迁移),字面意思,可在虚拟机运行时,将虚拟机及其磁盘文件迁移到另一个数据存储池
使用Storage vMotion 迁移虚拟机存储
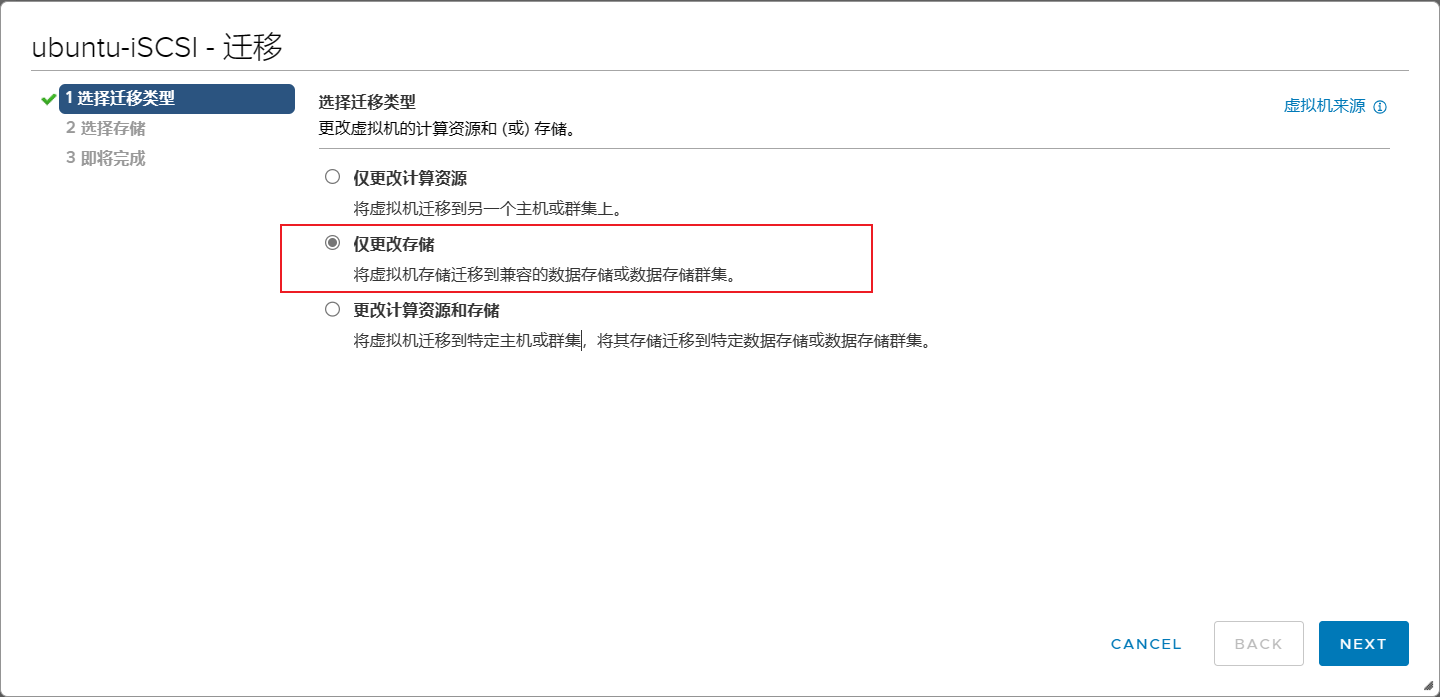
与上文迁移虚拟机类似,需要注意迁移类型应该选为仅更改存储
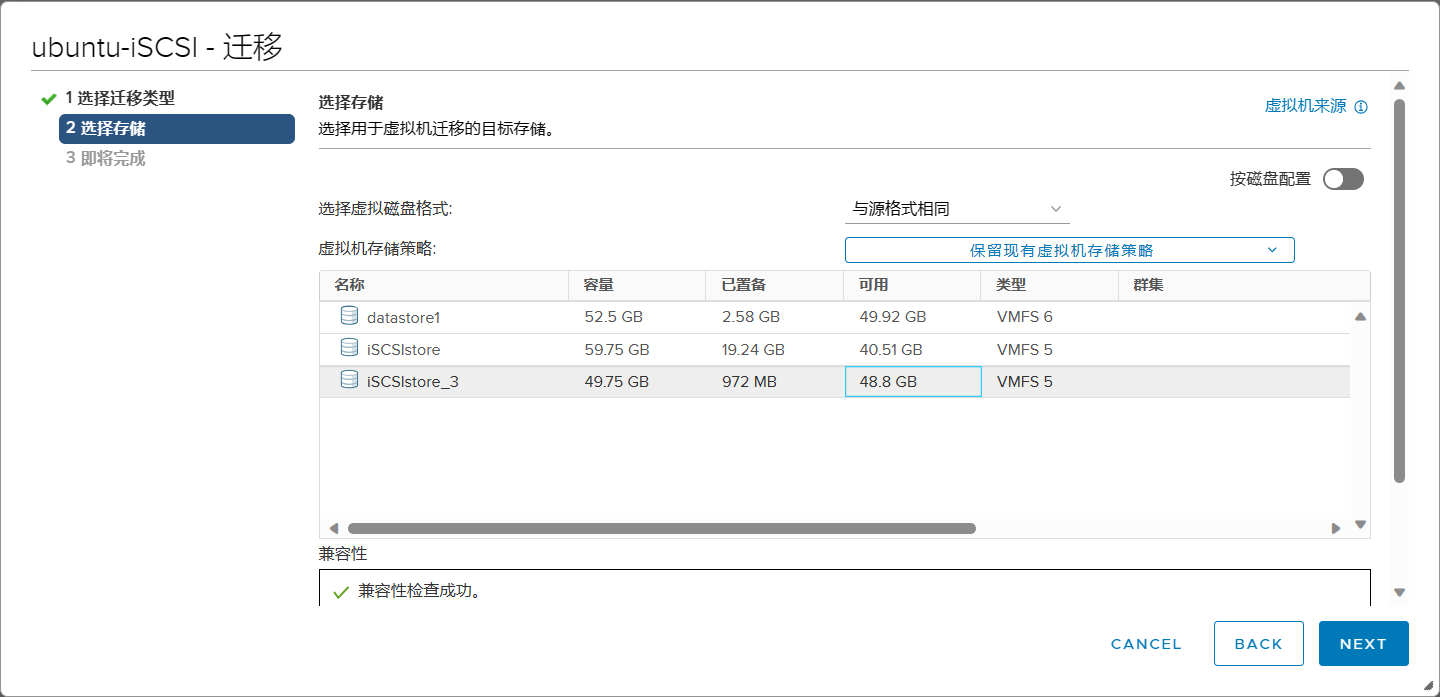
将虚拟机的存储从iSCSIstore迁移到iSCSIstore_3

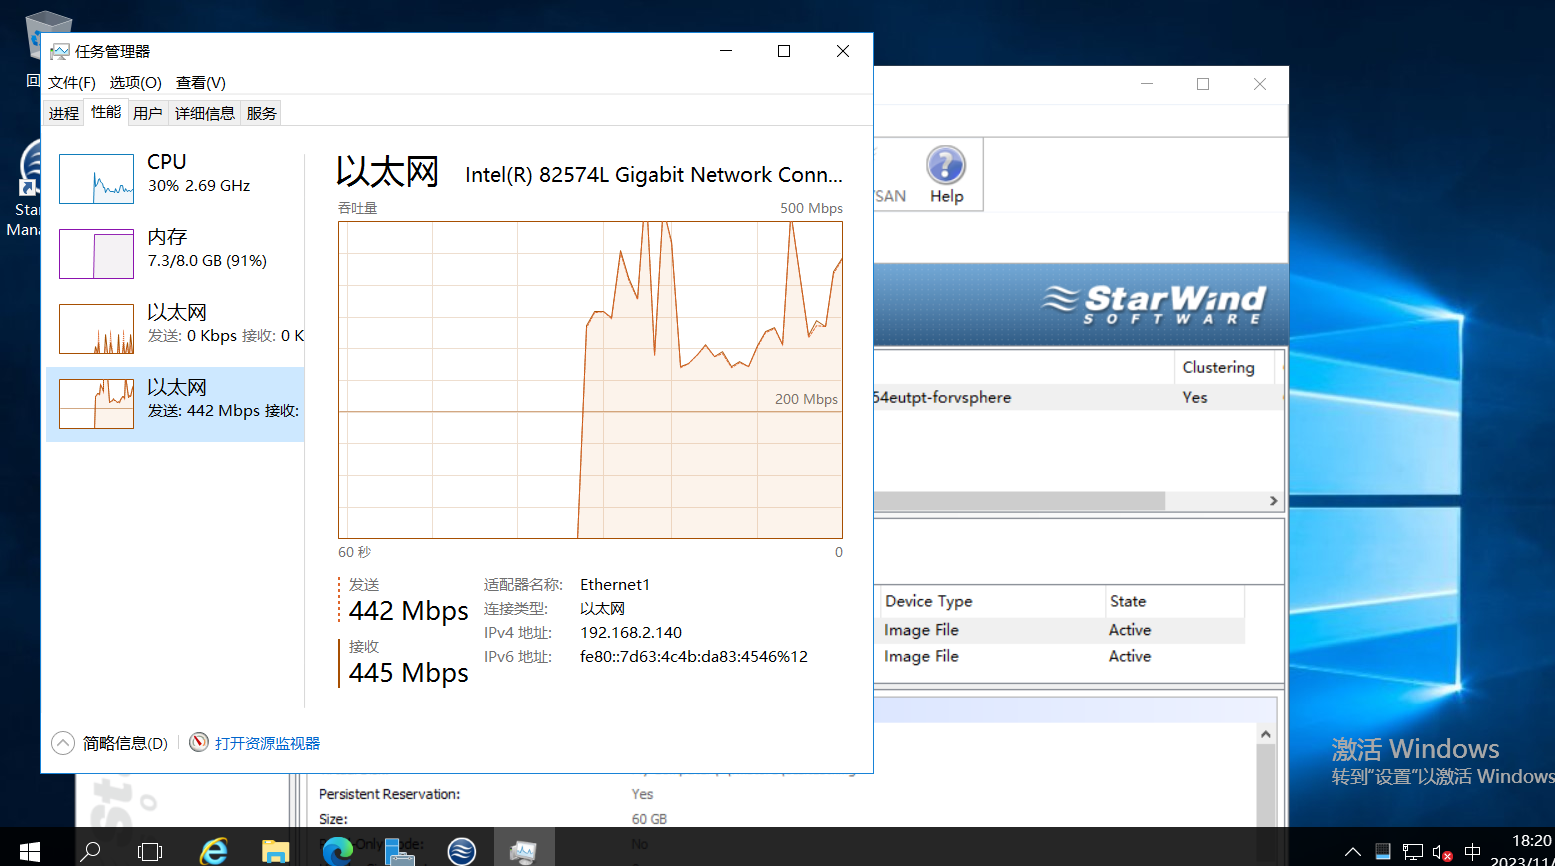
在iSCSI的主机上查看网卡,发现开始转移等待一会,转移结束

Comments NOTHING