安装docker
以centos7为例
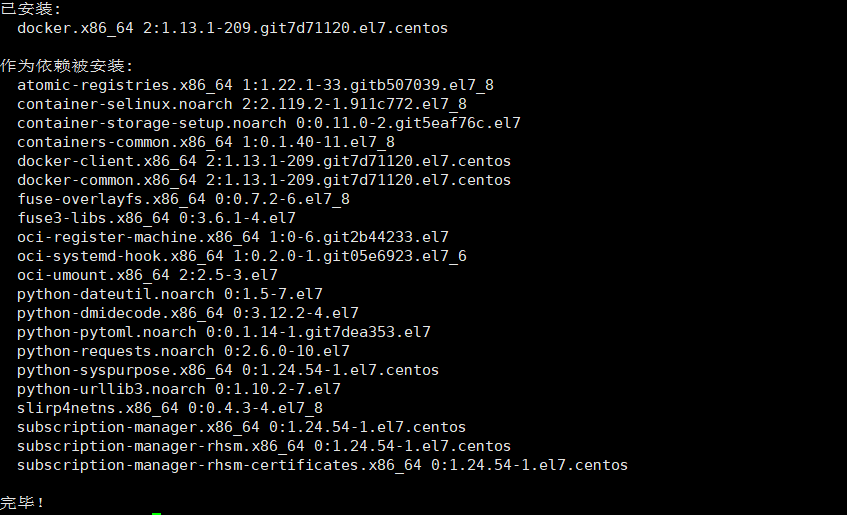
yum install docker -y
sudo yum remove docker \
                  docker-client \
                  docker-client-latest \
                  docker-common \
                  docker-latest \
                  docker-latest-logrotate \
                  docker-logrotate \
                  docker-engine
#安装所需的软件包
sudo yum install -y yum-utils \
  device-mapper-persistent-data \
  lvm2
#设置稳定的仓库(阿里云)
sudo yum-config-manager \
    --add-repo \
    http://mirrors.aliyun.com/docker-ce/linux/centos/docker-ce.repo
#安装最新版本的 Docker Engine-Community 和 containerd
sudo yum install docker-ce docker-ce-cli containerd.io docker-compose-plugin
#启动docker
sudo systemctl start docker
#开机自启
sudo systemctl enable docker
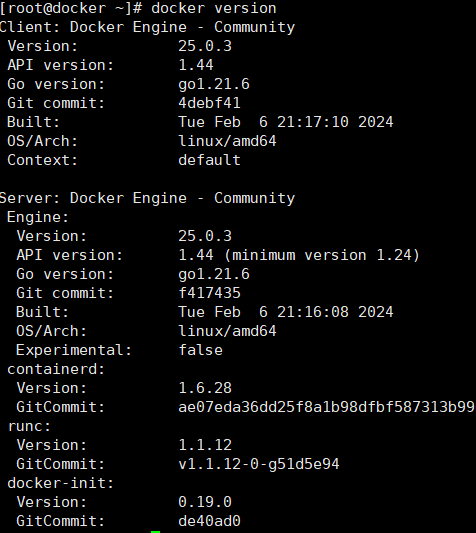
查看docker版本
docker version
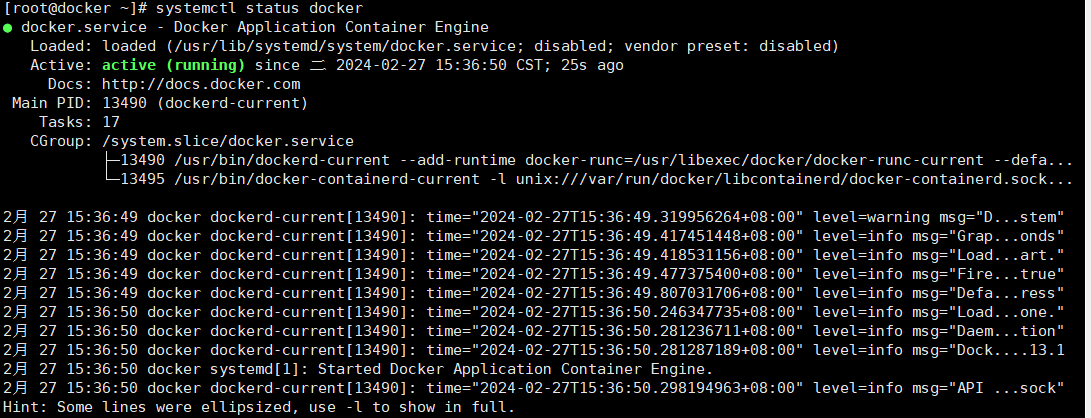
启动docker
systemctl start docker
systemctl status docker
开机自启
systemctl enable docker
配置docker加速器
sudo mkdir -p /etc/docker
sudo tee /etc/docker/daemon.json <<-'EOF'
{
  "registry-mirrors": ["你的加速器代理地址"]
}
EOF
sudo systemctl daemon-reload
sudo systemctl restart docker
测试hello-world
[root@docker ~]# sudo docker run hello-world

Hello from Docker!
This message shows that your installation appears to be working correctly.

To generate this message, Docker took the following steps:
 1. The Docker client contacted the Docker daemon.
 2. The Docker daemon pulled the "hello-world" image from the Docker Hub.
    (amd64)
 3. The Docker daemon created a new container from that image which runs the
    executable that produces the output you are currently reading.
 4. The Docker daemon streamed that output to the Docker client, which sent it
    to your terminal.

To try something more ambitious, you can run an Ubuntu container with:
 $ docker run -it ubuntu bash

Share images, automate workflows, and more with a free Docker ID:
 https://hub.docker.com/

For more examples and ideas, visit:
 https://docs.docker.com/get-started/


Comments NOTHING